Persistence setup on MS Azure
Sign in to azure portal
-
Visit the Azure portal.
-
Sign in with your Azure account credentials.
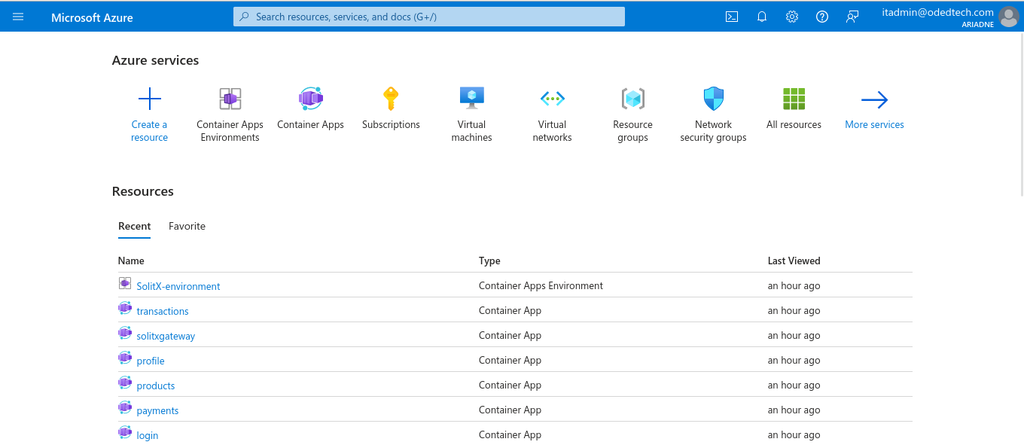
Navigate to Create a resource
-
Click on the
+ Create a resourcebutton on the left-hand side.
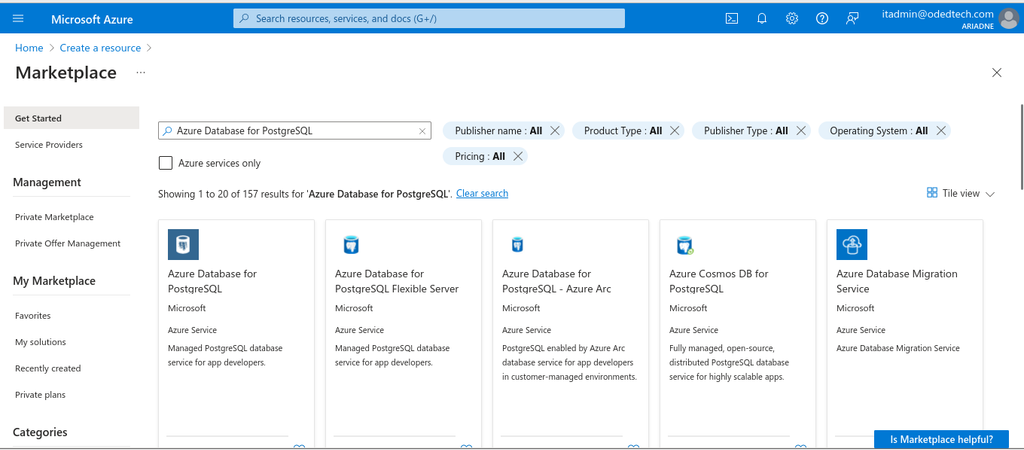
1. Search for Azure Database for PostgreSQL
-
In
Search the Marketplacebox, typeAzure Database for PostgreSQL. -
Select
Azure Database for PostgreSQLfrom the search results.
-
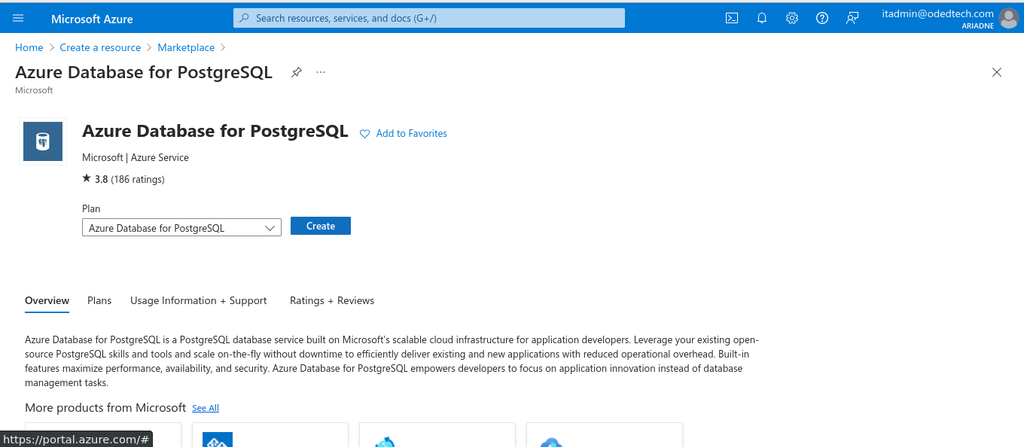
Click on the
Azure Database for PostgreSQL→ Create.
2. Select deployment options
-
Choose between Single server and Flexible server deployment options based on your requirements.
-
Flexible server offers more control over configuration options.
-
The default would be the flexible server only.
Basics
Configure basic details of the project.
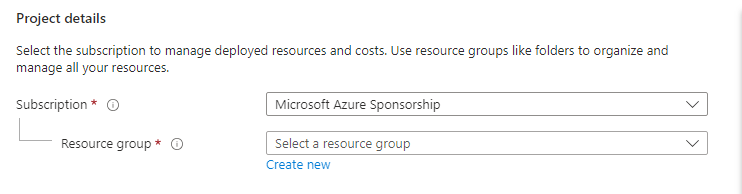
1. Project details
-
Select the default resource group or create a new resource group.
-
In the
Subscriptionfield, enter the name of the subscription that is to be used for the azure server. -
In the event of multiple subscriptions, please specify the subscription to be used for billing purposes.
-
In the
Resource groupfield, create a new resource group or select an existing one from your subscription.
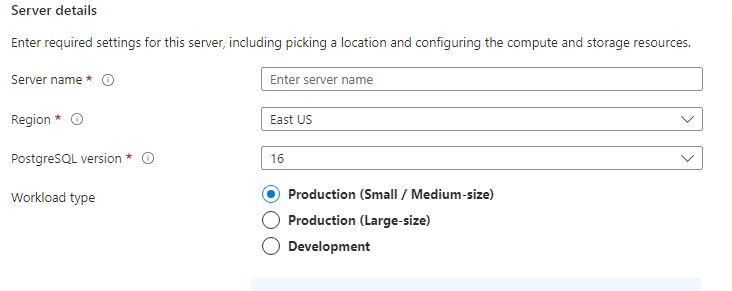
2. Server details
-
Provide a unique name for your PostgreSQL server.
-
Choose the appropriate region for your PostgreSQL server.
-
Select appropriate version of PostgreSQL.
-
Select the workload type as per the requirement.
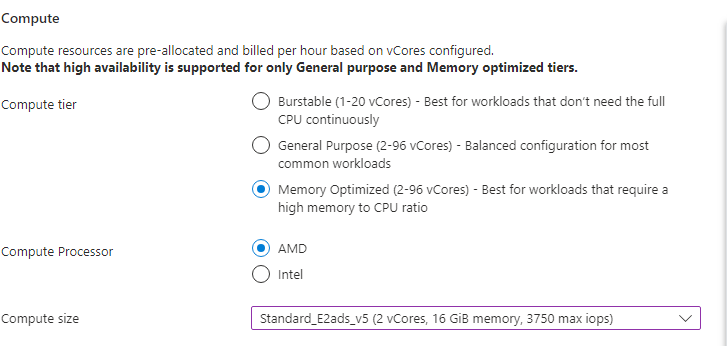
2.1. Compute server settings
-
In the
Server details, after the workload type, in theCompute + storagesection, click onConfigure serverto configure the storage, availability and backups based on the requirement.

-
Select the compute tier as per the behavior of application. In our case, the application is more of RAM resident so
Memory Optimizedis selected.
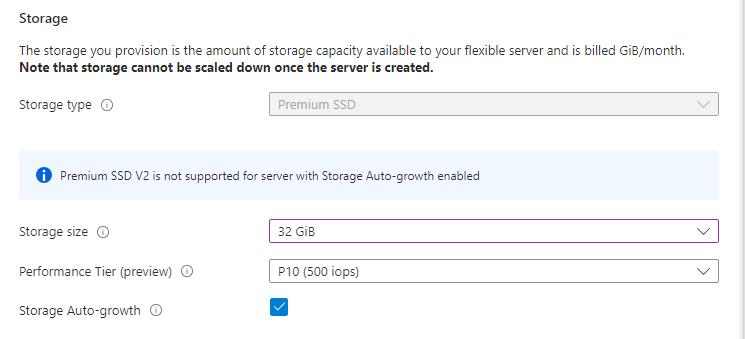
2.2. Storage
-
Specify the amount of storage required for the project and enable storage auto- growth which helps in scaling of the storage once the current storage is completely utilized.
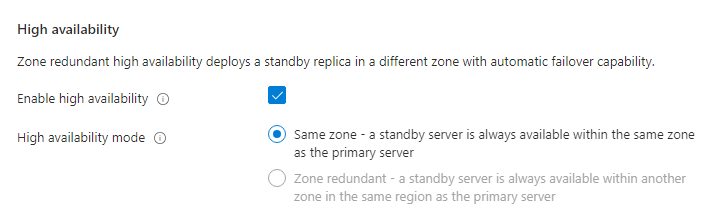
2.3. Availability
-
If higher availability is particularly required, we can enable high availability, which creates a standby server that also doubles the bill.
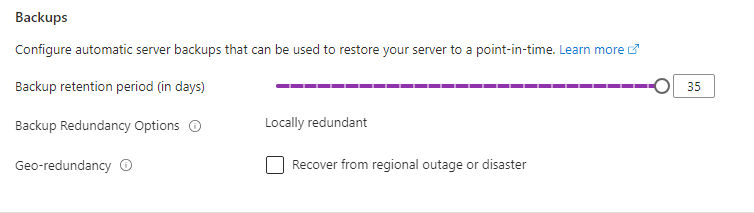
2.4. Backups
-
Database backups are automatically generated and stored in the form of snapshots.
-
The retention period can be set from 7 to 35 days.
-
Enabling Geo-redundancy replicates the backup across different regions which helps in disaster recovery or regional outage recovery, but enabling it increases the price.
-
After configuring all the
Compute + storagesection, click onSaveto continue.
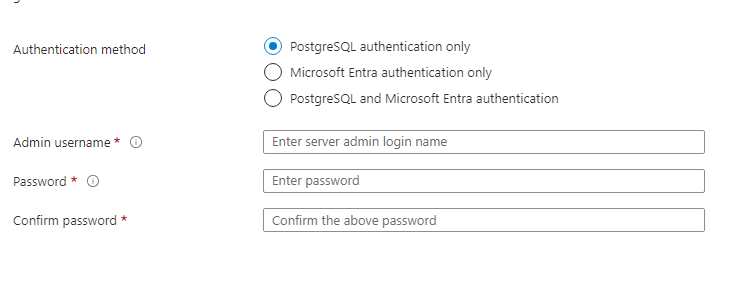
3. Authentication
-
Configure the admin username and password which indeed used in the code later on.
-
After configuring the
Basics, click onNextwhich is theNetworkingsection to configure the networking details.
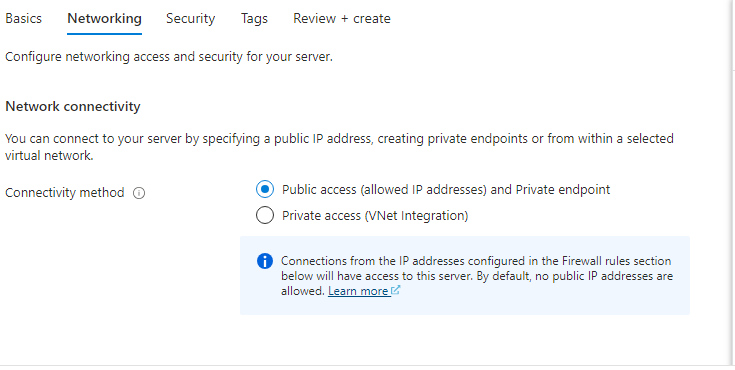
Networking
-
Configure network settings such as connectivity method (Public endpoint, Private endpoint).
-
Set up firewall rules to allow access to the server from specific IP addresses or Azure services.
-
After configuring the
Networking, click onNextwhich is theSecuritysection to configure the security details.
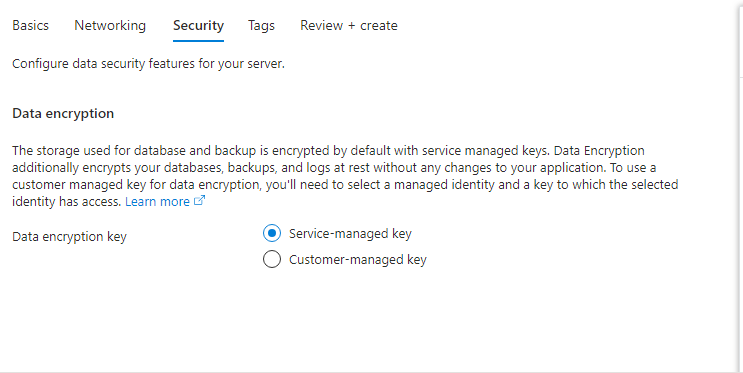
Security
-
A security key needs to be selected for the encryption of the stored database and backup.
-
After configuring the
Security, click onNextwhich is theTagssection to configure the tags.
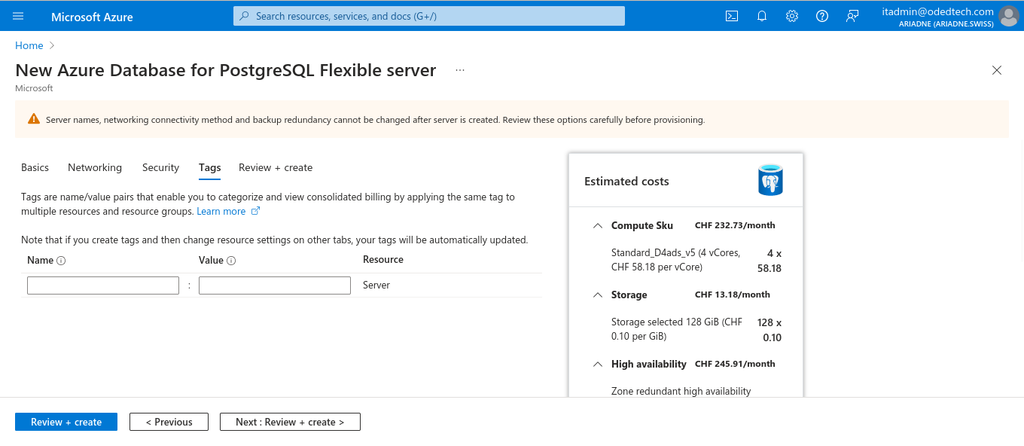
Tags
-
Name:Enter a name for the tag. Tag names must use letters, numbers, spaces, underscores, hyphens, equal signs, and colons (example: "department: engineering"). -
Value:Enter a value for the tag. Tag values can be any string (example: "Seattle").
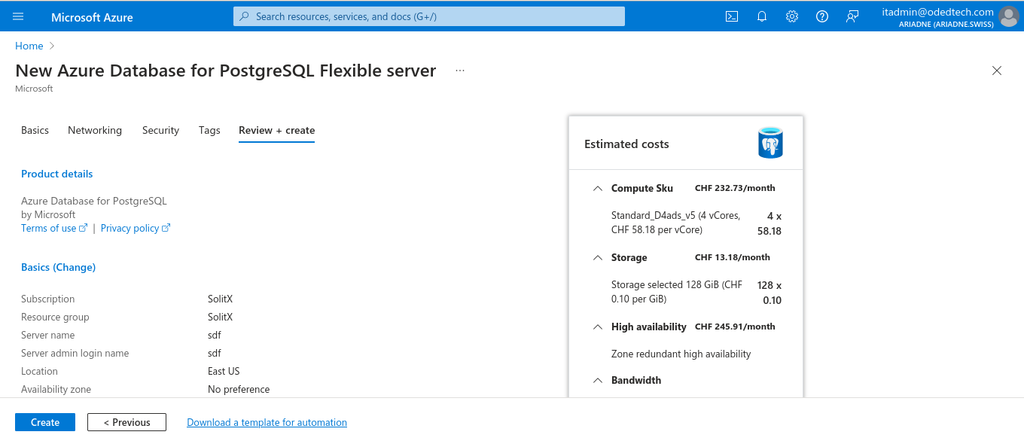
Review + create
-
After configuring the
Tags, click onNextwhich isReview + createsection to review and click onCreateto create the new azure database for PostgreSQL server. -
In this section, all the details which are configured during the creation process along with the estimated costs can be verified before actually creating the database.
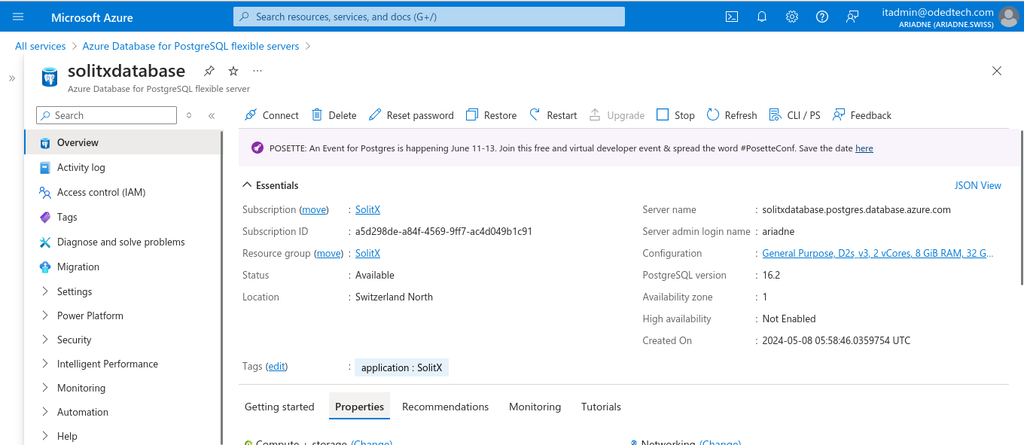
Overview
-
Select
Createto provision the server. This operation may take a few minutes. -
You will automatically be taken to a screen in which you can monitor the progress of your deployment. Once the deployment is done, you can select
Pin to dashboard, which creates a tile for this server on your Azure portal dashboard as a shortcut to the server’sOverviewpage. SelectingGo to resourceopens the server’sOverviewpage.