Deploying SolitX container-apps on Microsoft azure
Pre-requisites
Before creating and deploying the login-service and accessing Swagger via the gateway, make sure there is access for all the details below. Each item lists what it is and where to find it.
-
Docker Hub credentials — Username and password for the Docker registry that hosts the container image.
-
Example:
username: solitx(Don’t have access to the credentials? → Ask project’s Admin).
-
-
Docker image — The exact image name and tag to deploy (this is the image that will run in Azure).
-
Docker URL for login service solitx : Docker URl for Login service
-
Example:
solitx/loginservice:38. Copy this/the latest image tag from Docker Hub.
-
-
Vault connection details — The secrets store information used by the service. Provide all of these
-
Vault name : Name of the vault used Eg:
neptune. Refer : Vault UI -
Vault host : The VM’s public IP address (
Primary NIC public IP). Refer : VM-IP -
Vault port : The network port, e.g.,
8200. -
Vault scheme :
http. -
Vault token : The secret token used to access Vault. Refer : Vault token
-
-
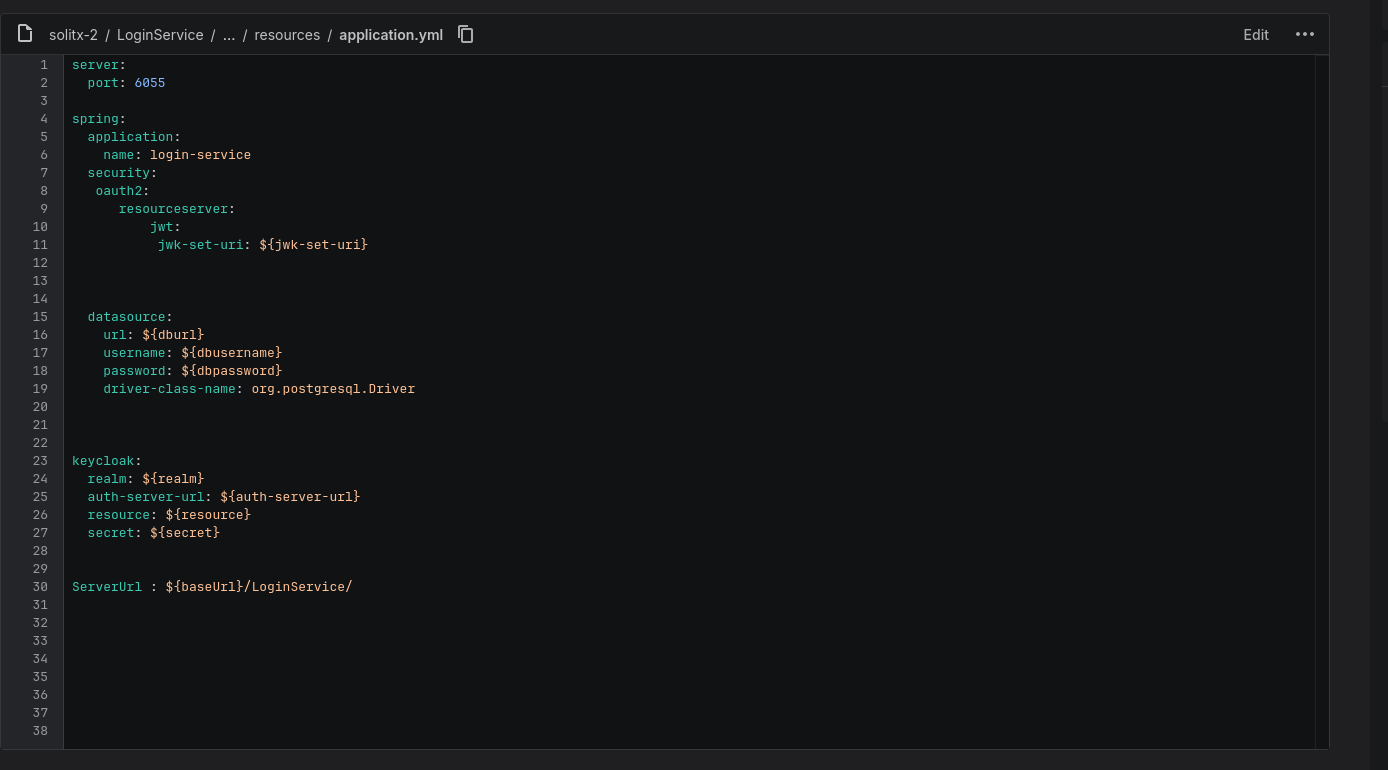
Service port number — The port that the application listens on (this is set in the service code in Bitbucket).
-
Example
-
5052forGateway serviceor6055forLogin service. Check the service’s Bitbucket repository for the exact value. -
Path to find port number of login service in the bitbucket source code →
LoginService/src/main/resources/application.yml.
-
-
-
Application name (App Id) — The name used by the application (also found in the service’s Bitbucket repository.
-
This is used for Dapr configuration and for identifying the app in Azure.
-
Example
-
login-serviceforLogin service(or)solitx-gatewayforGateway service. -
Path to find application name (App Id) of login service in the bitbucket source code →
LoginService/src/main/resources/application.yml.
-
-
1. Sign in to the Azure portal
-
Visit the Azure portal.
-
Sign in with Azure account credentials.
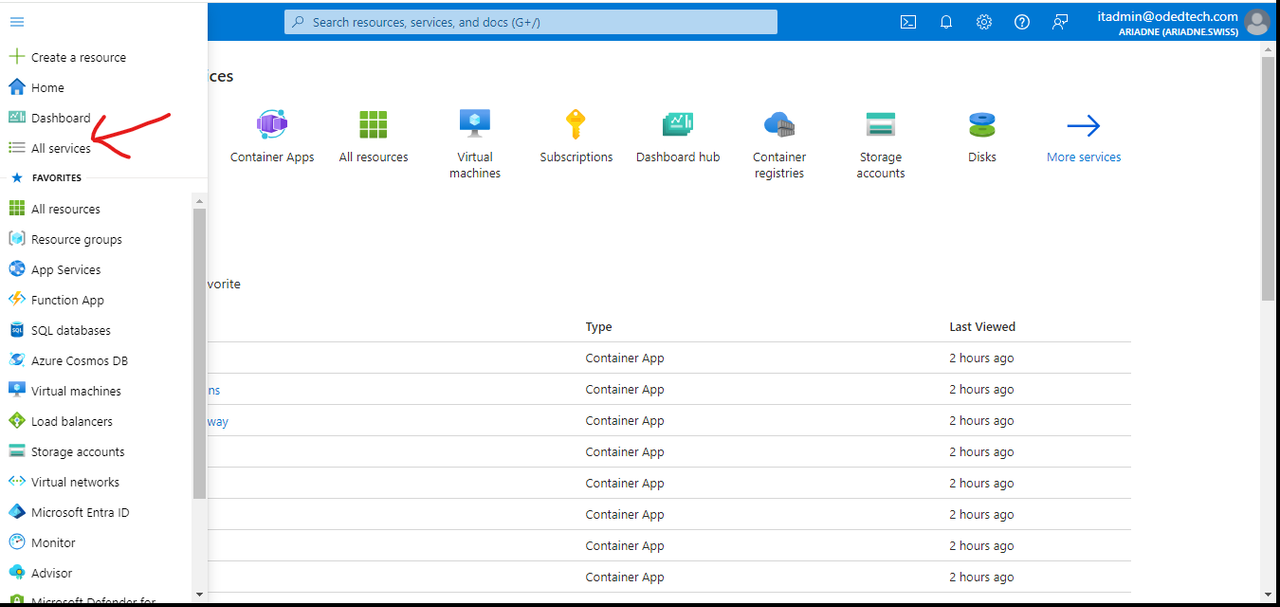
2. Navigate to "Create a resource"
-
Click on the
Menubutton on the left top corner and selectAll Servicesfrom the list.
-
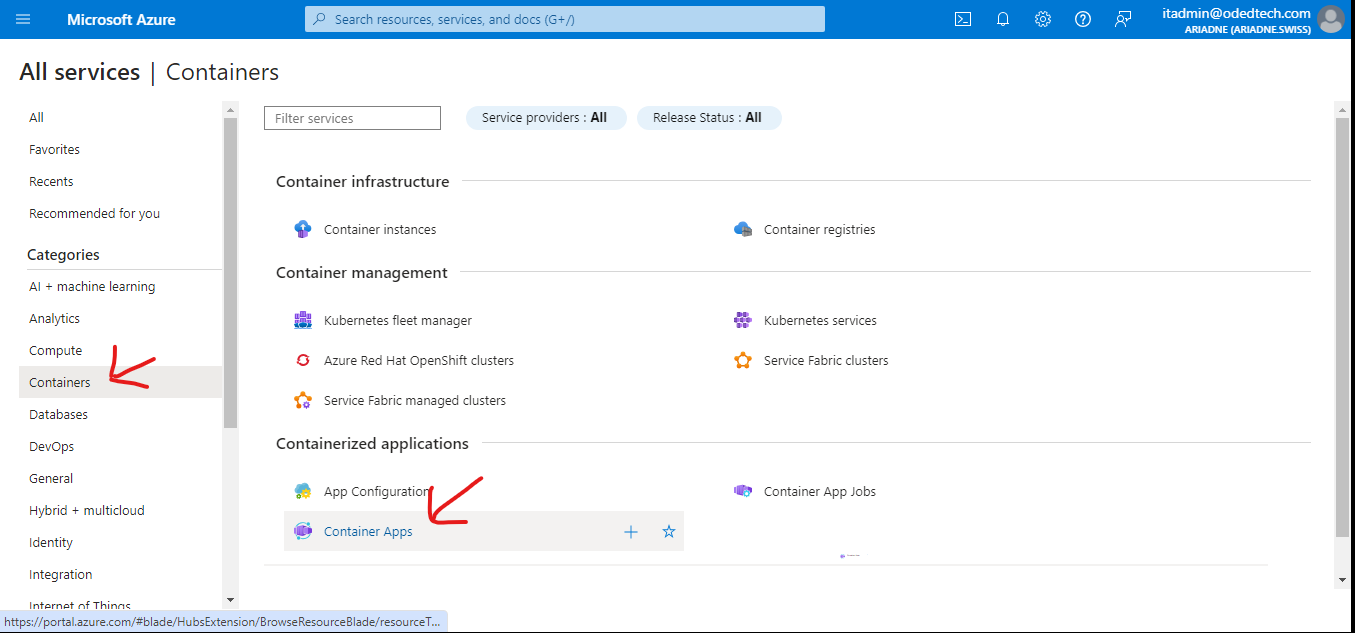
In the
Categoriessection, click onContainerson the left panel and selectContainer Apps.
-
Inside the
Container Appstab, click onCreate→Container App.

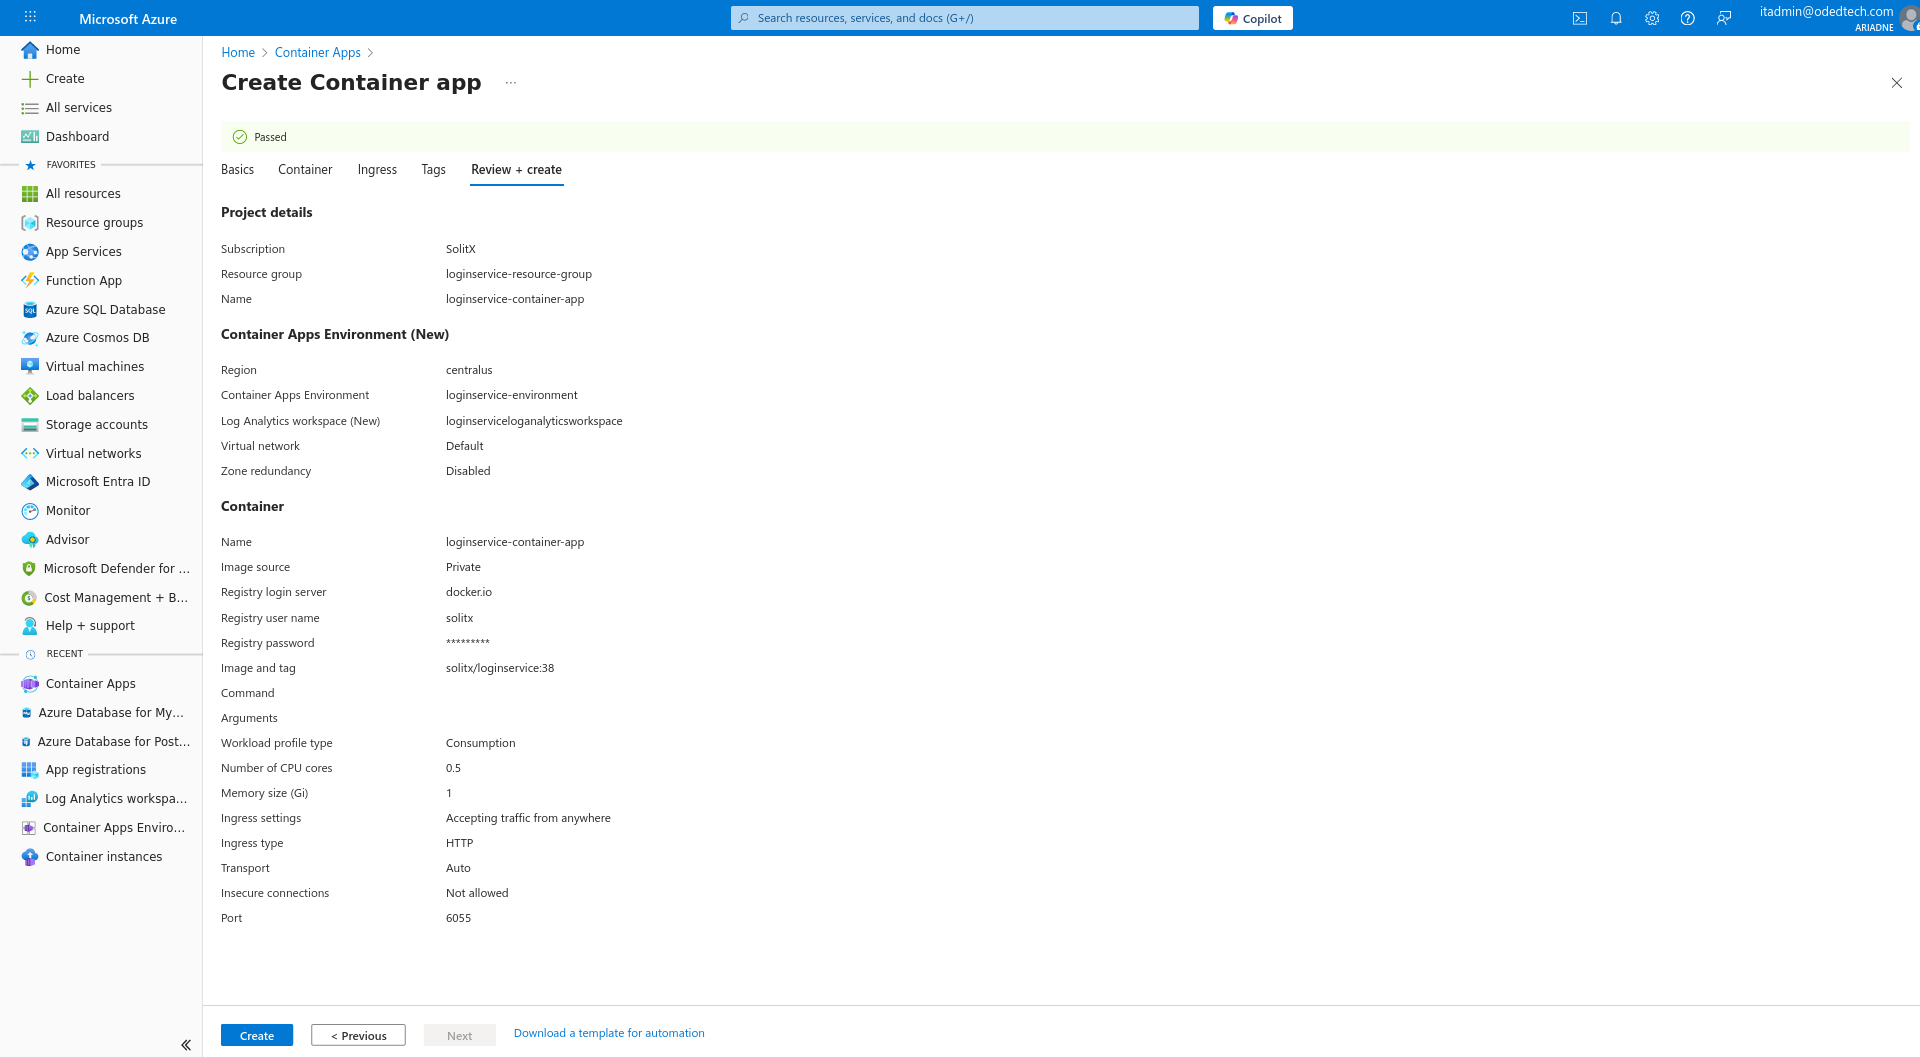
3. Create Container App
3.1. Basics
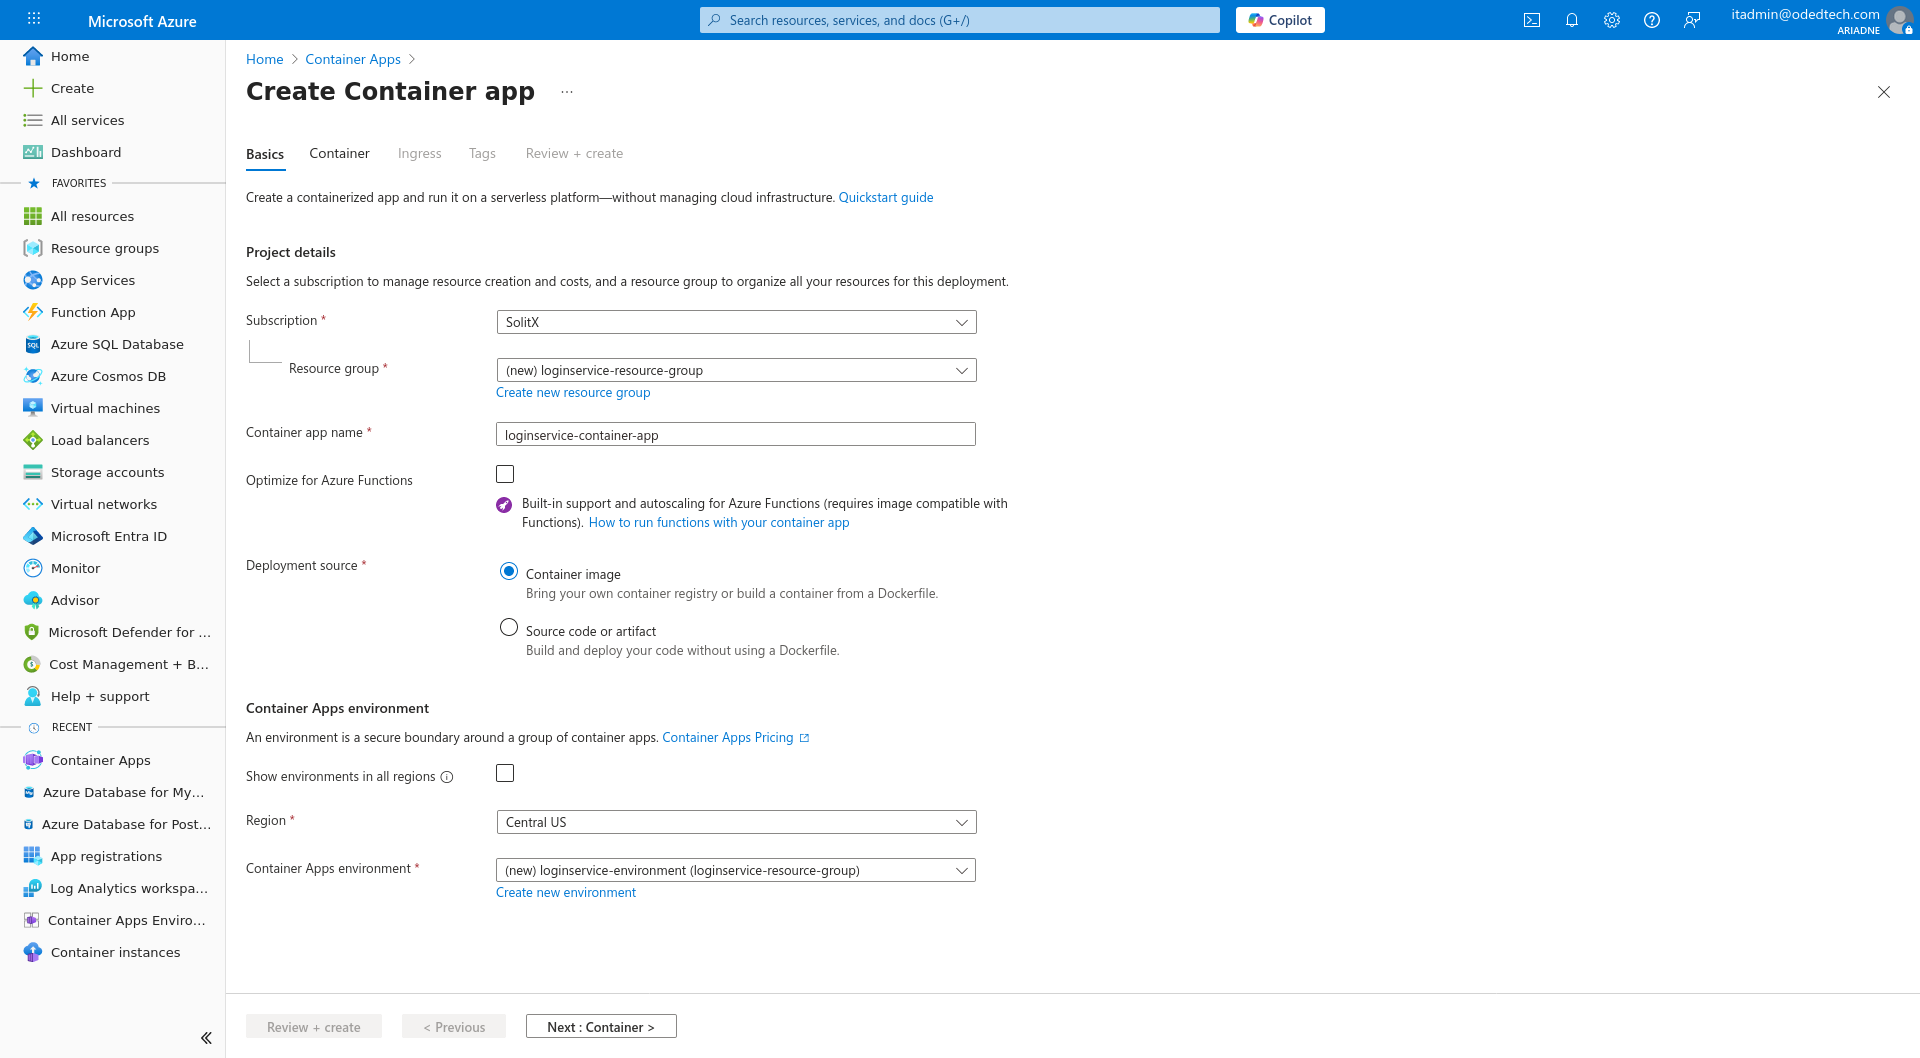
3.1.1. Project details
-
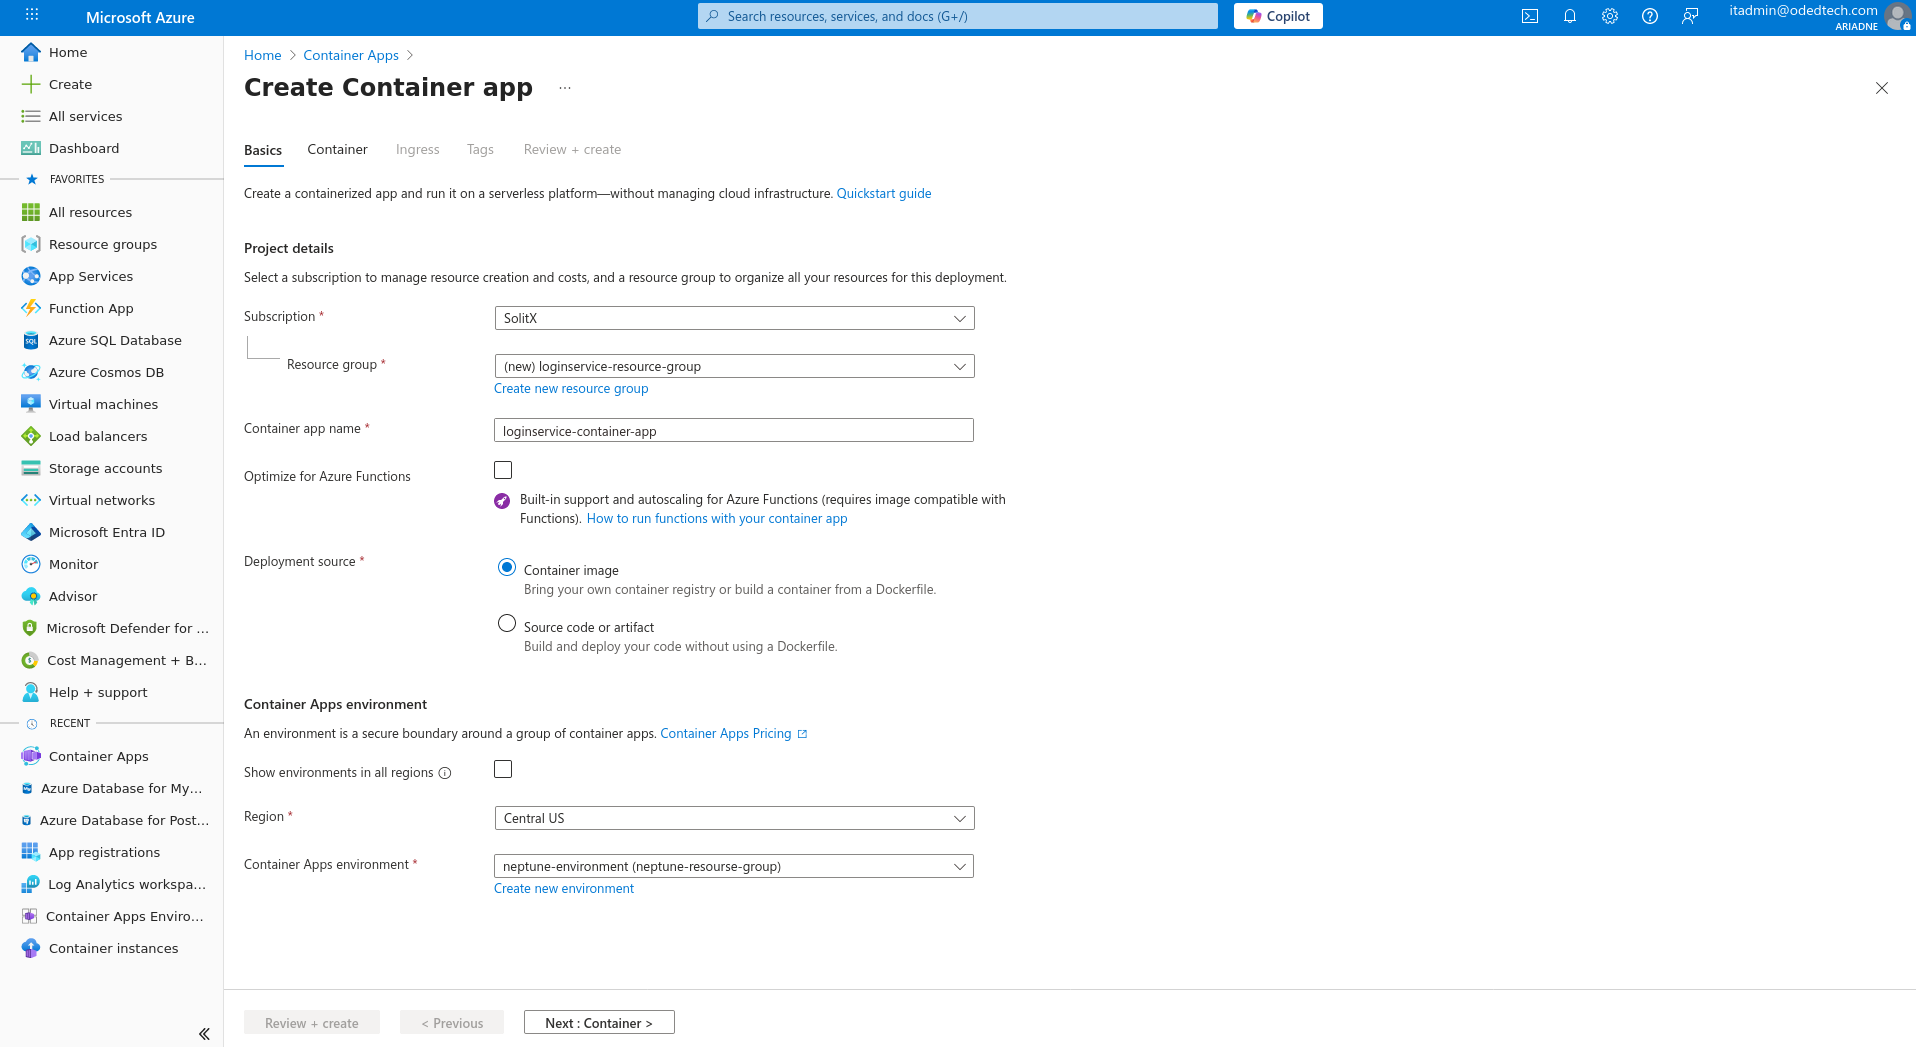
In the
Subscriptionfield, select the subscription that is to be used to create the container app. -
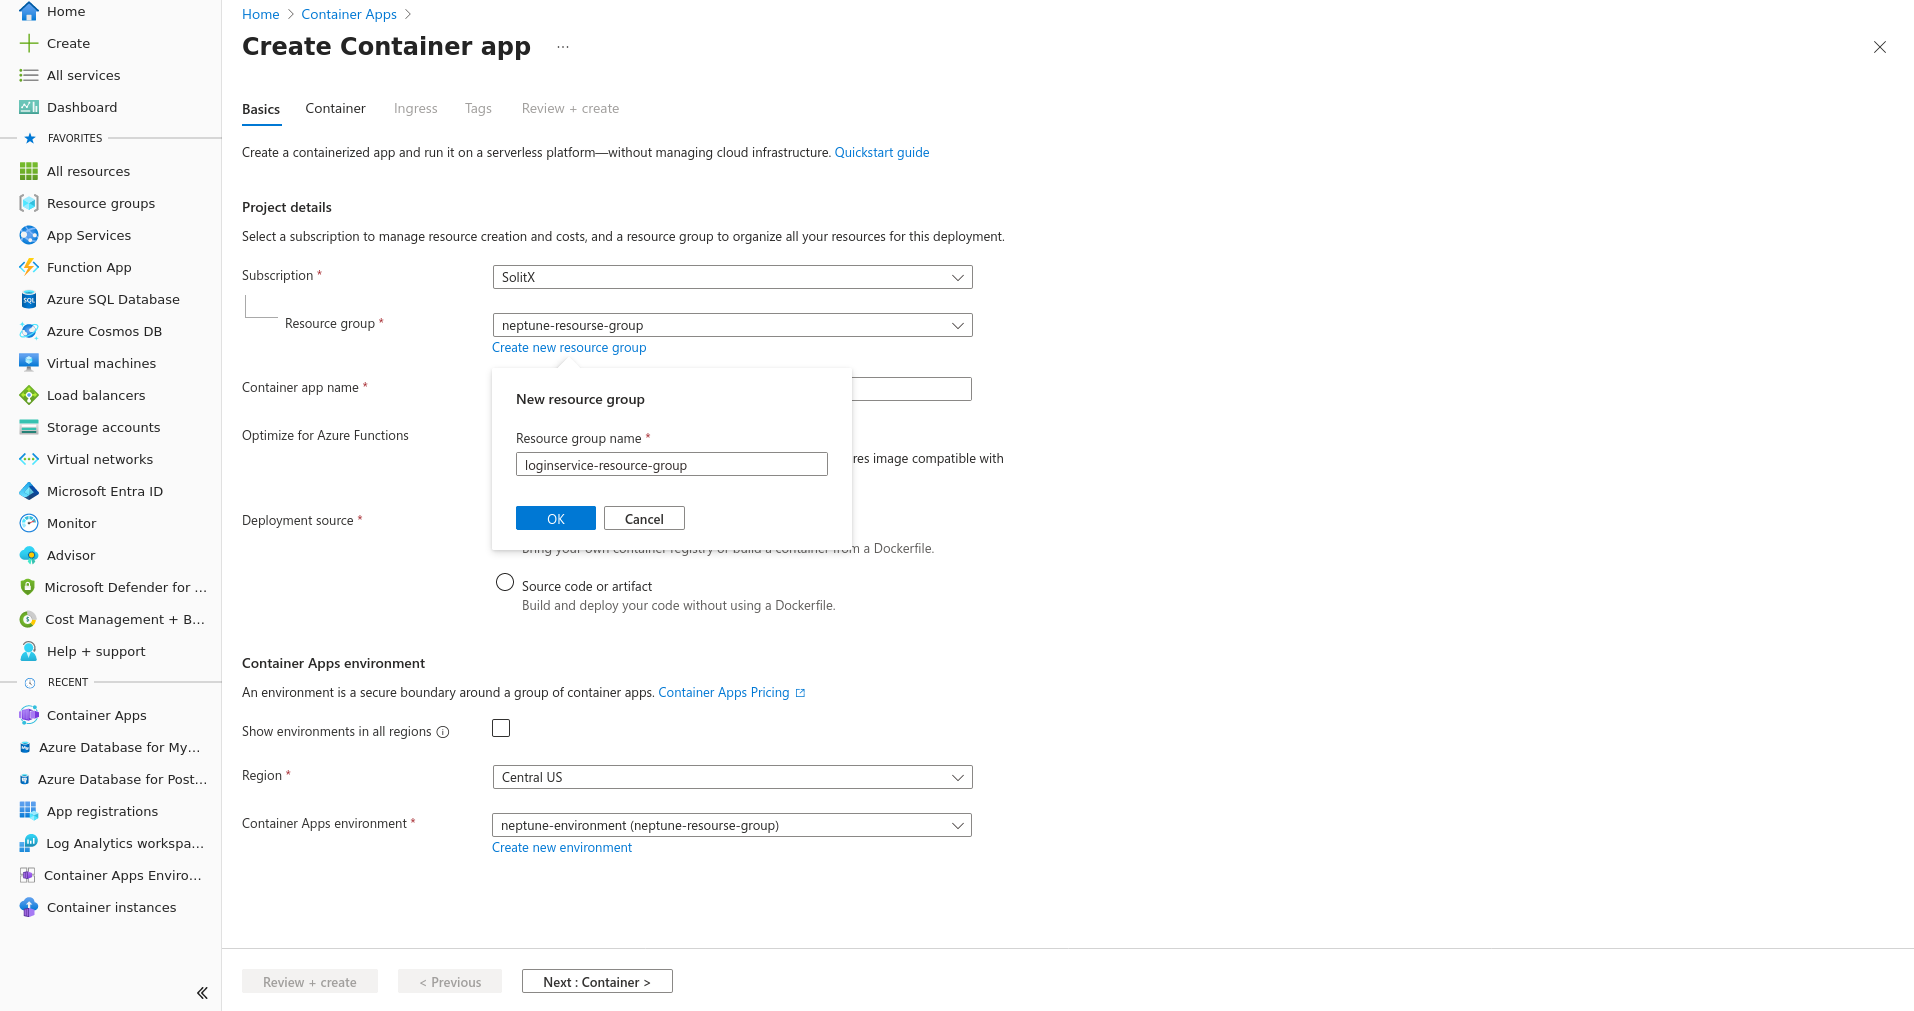
In the
Resource groupfield, select an existing resource group or create a new one by clicking onCreate new resource groupunderResource groupand enter a new name underResource group name. -
Example :
loginservice-resource-group.
-
In the
Container appname field, enter a unique name for the container app (Eg:loginservice-container-app).
3.1.2. Container apps environment
-
In the
Regionsection, selectCentral USfrom the dropdown. -
Select the required container apps environment from the dropdown menu or create a new environment by following the steps below.
-
Click
Create new environmentunderCreate Container Apps environment→Basic, enter a new name underEnvironment name(Eg:loginservice-environment).
-
-
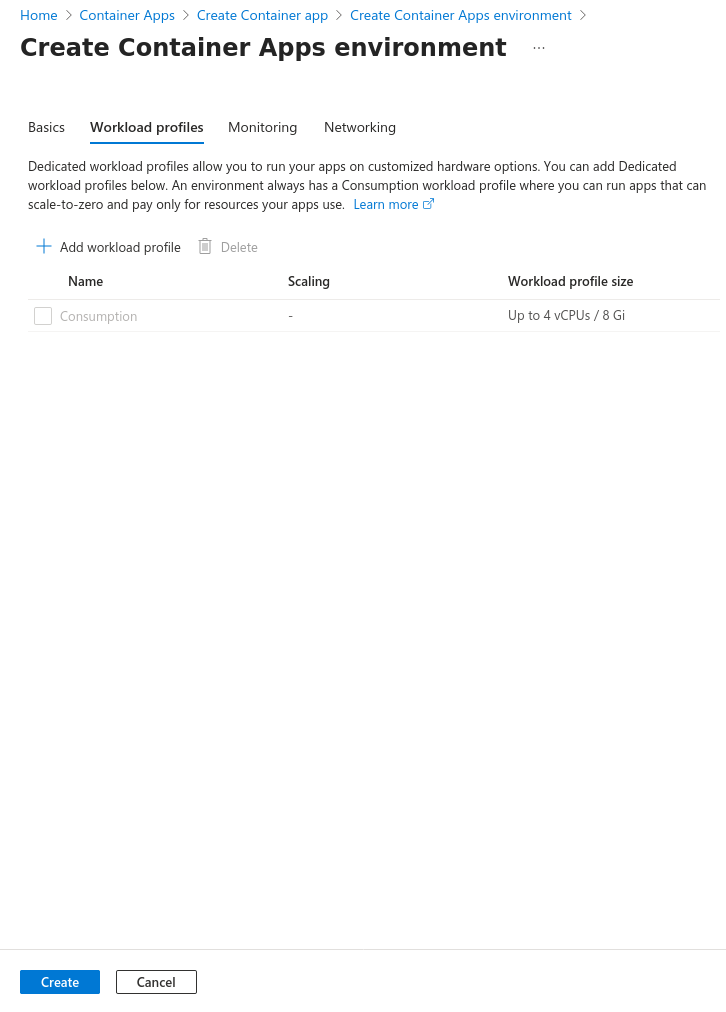
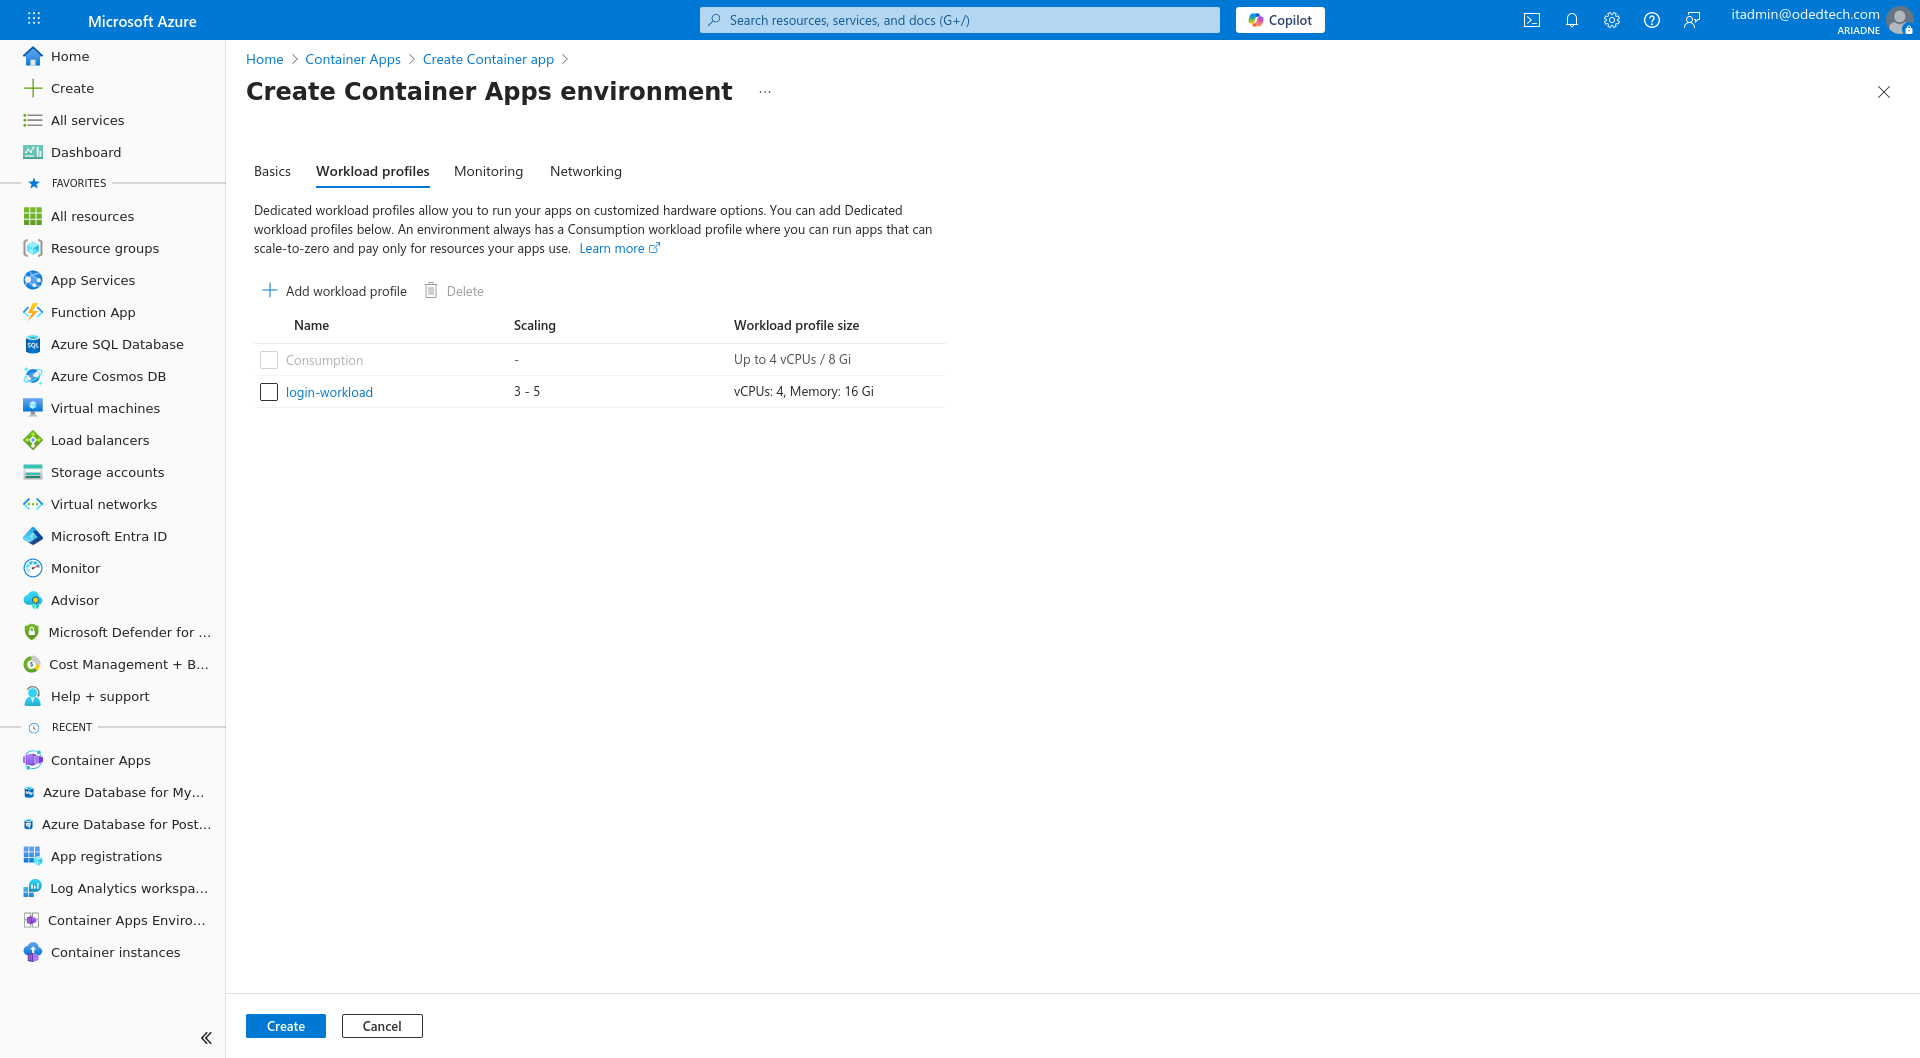
Click on
Workload Profilessection on top and clickAdd workload profile.
-
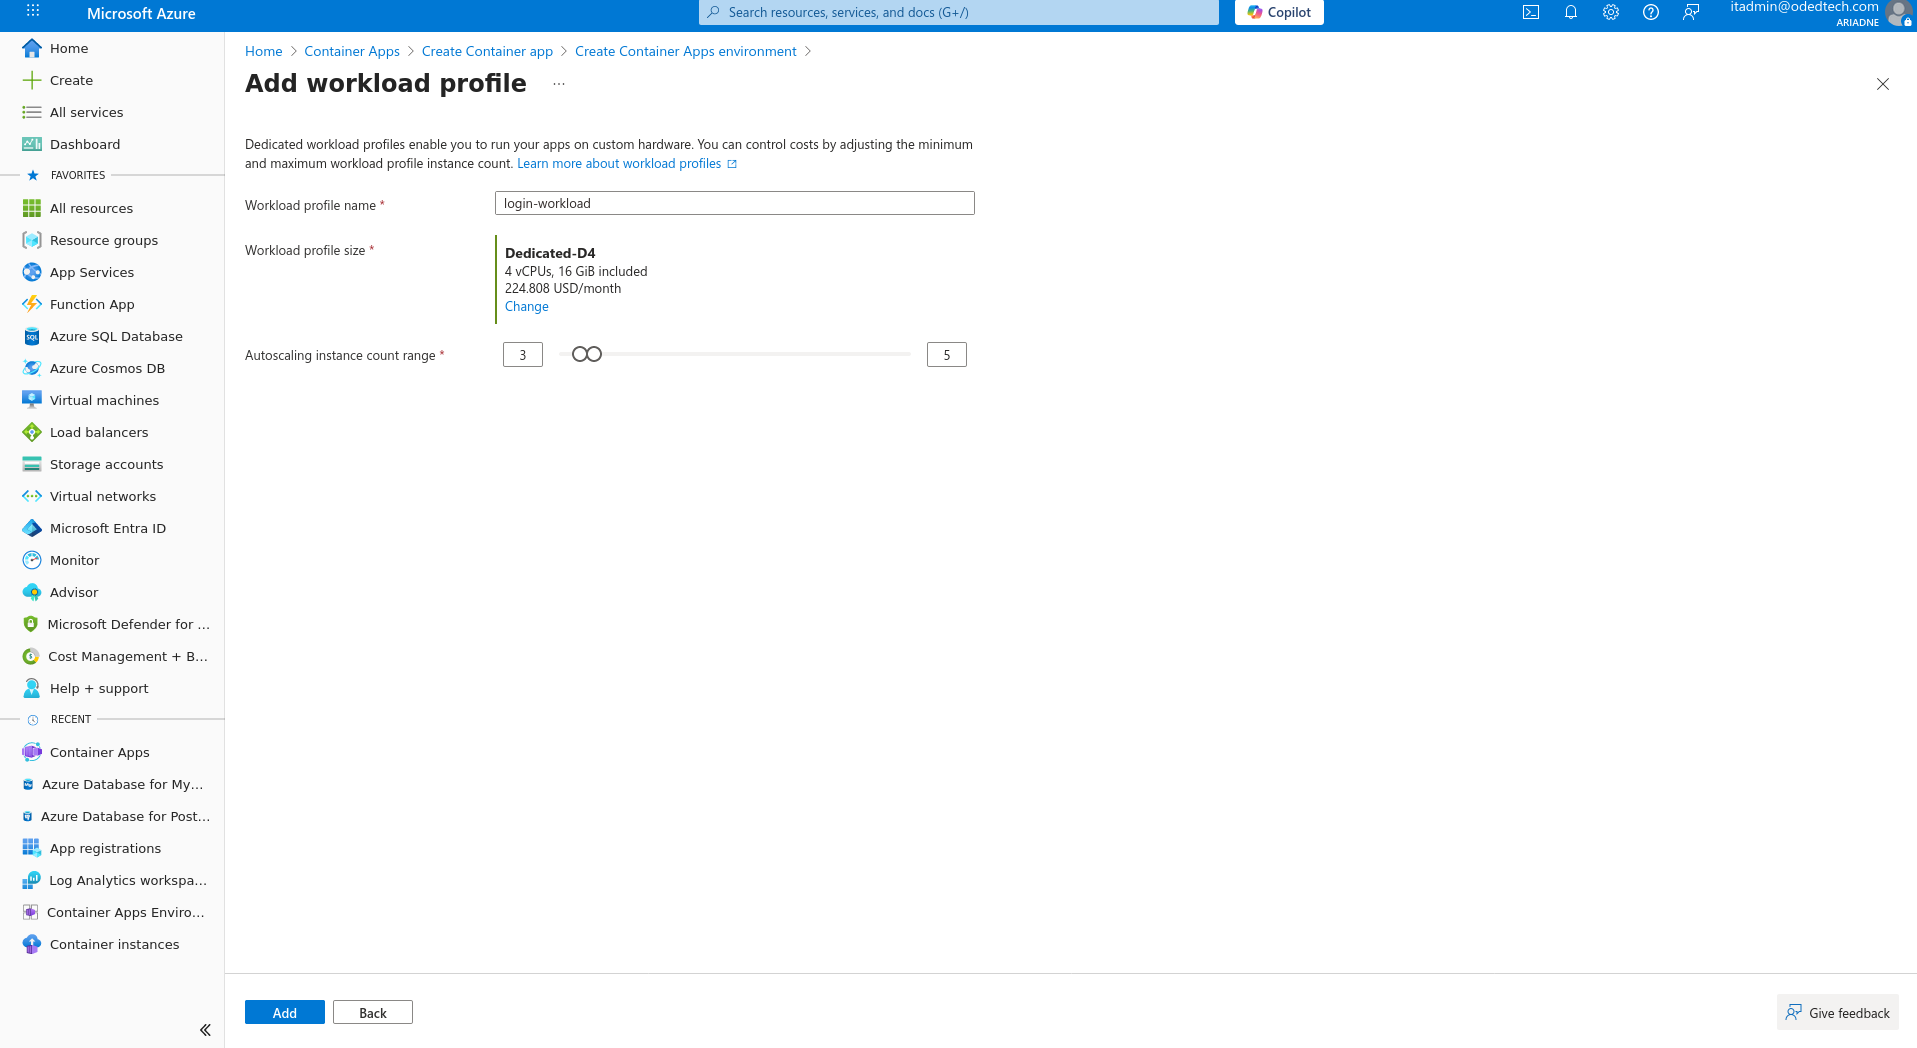
At
Workload profile nameenter the name of the workload profile (Eg:login-workload). -
At
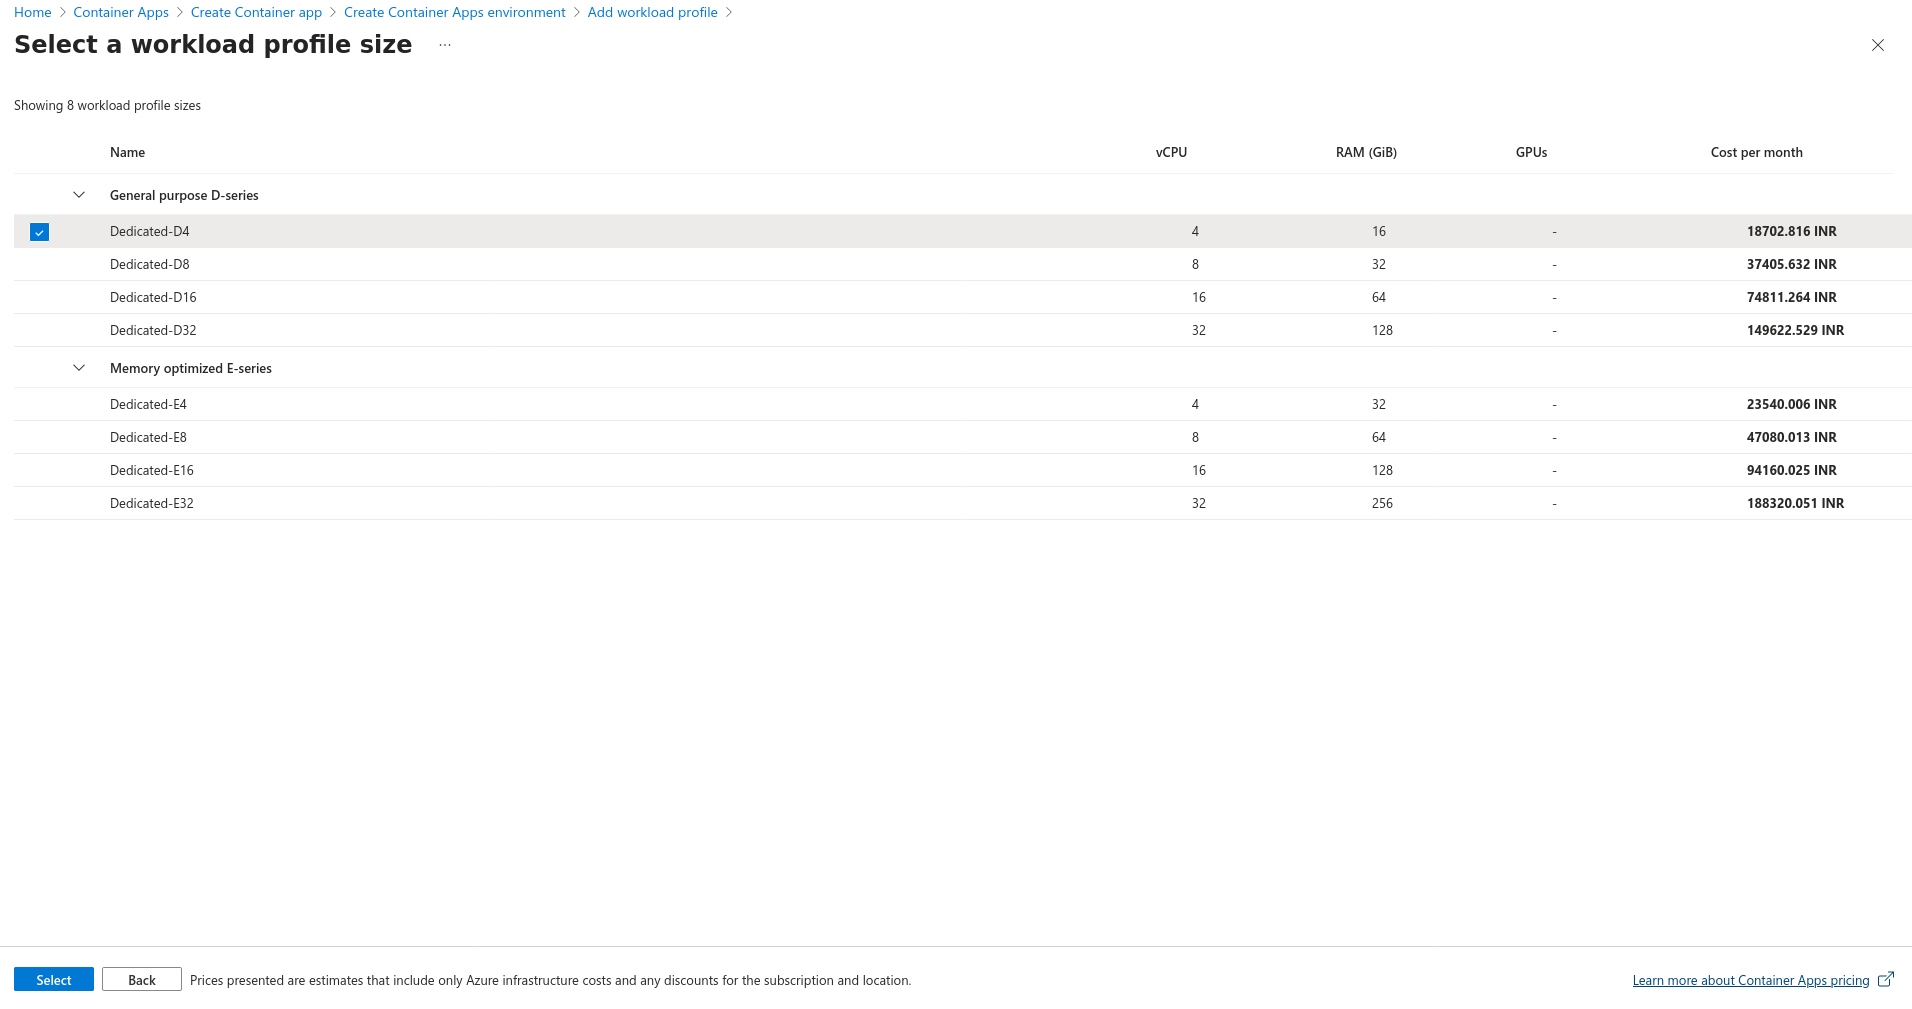
Workload profile size→Choose a size

-
Under
Select a workload profile sizeselectDedicated-D4and clickSelectat the bottom.
-
Click
Add.
-
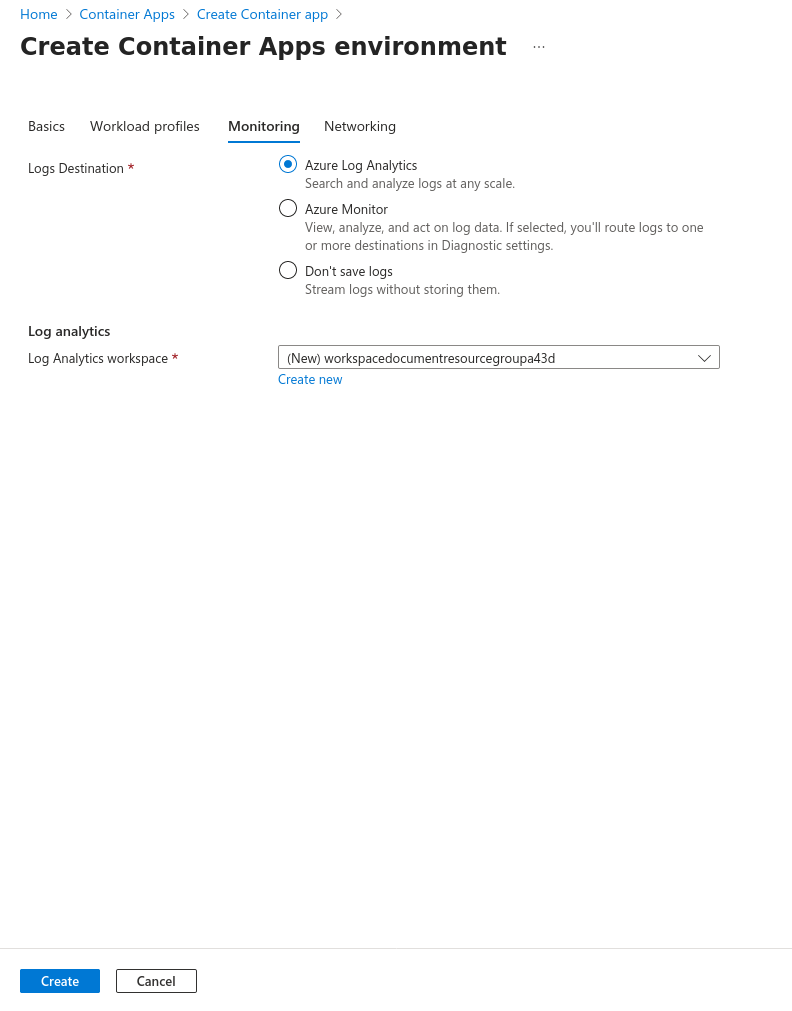
Click
Monitoringsection on top.
-
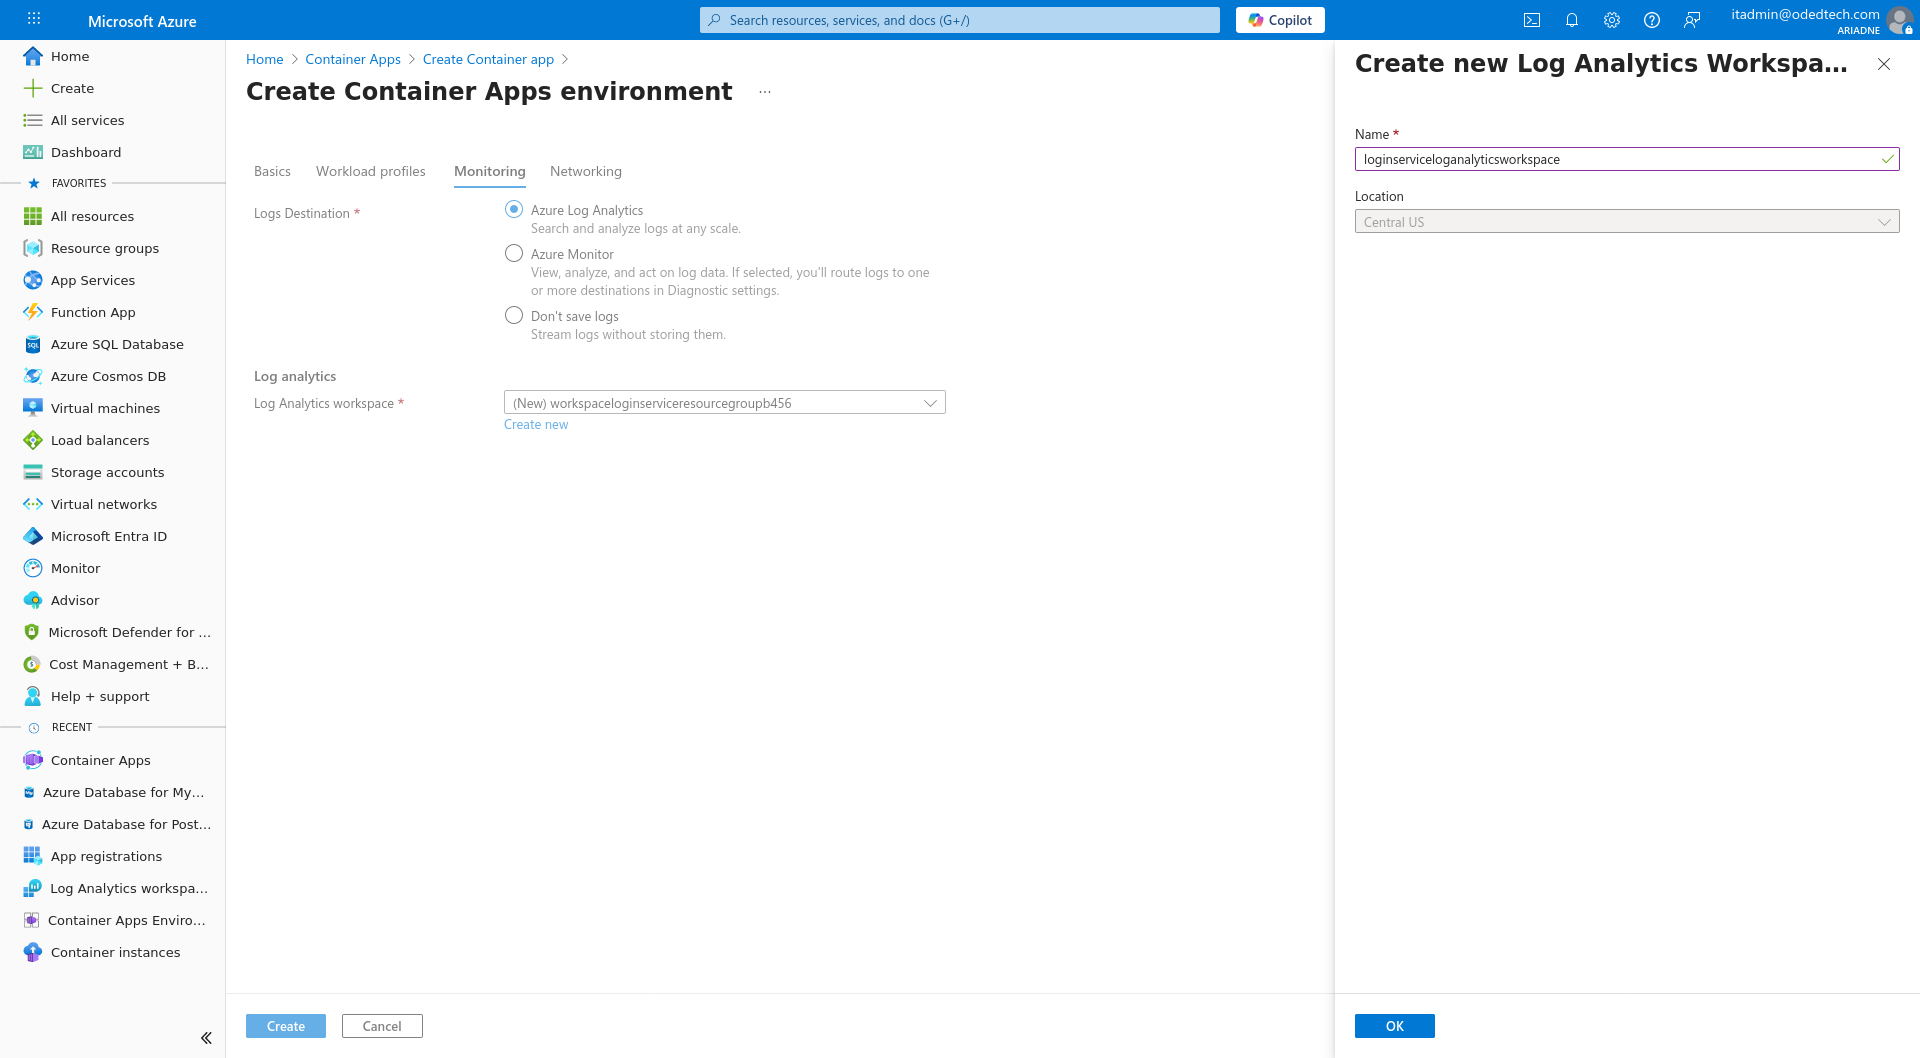
Click
Create newunderLog Analytics workspace.
-
A modal opens from the right. Enter name (Eg:
loginserviceloganalyticsworkspace) underNameand clickOK.
-
Click
Networkingsection on top, leave the default settings as is and click onCreateat the bottom.
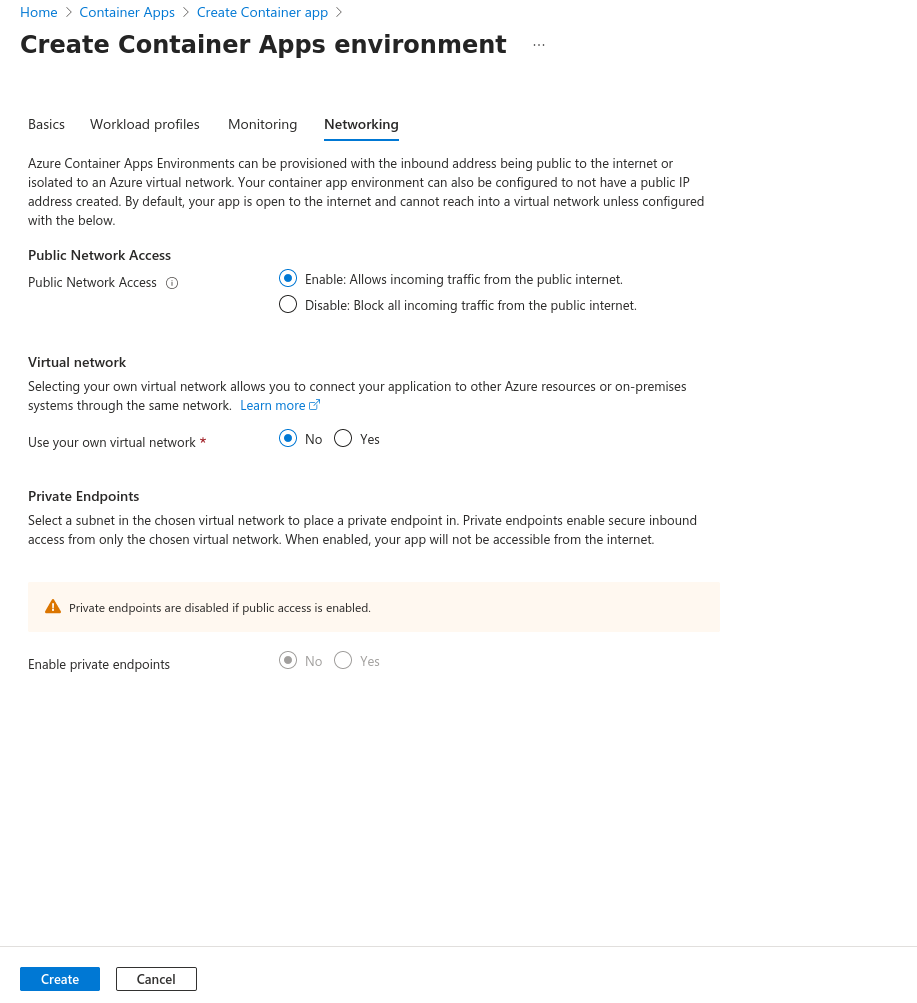
-
Click on
Next: Container >.
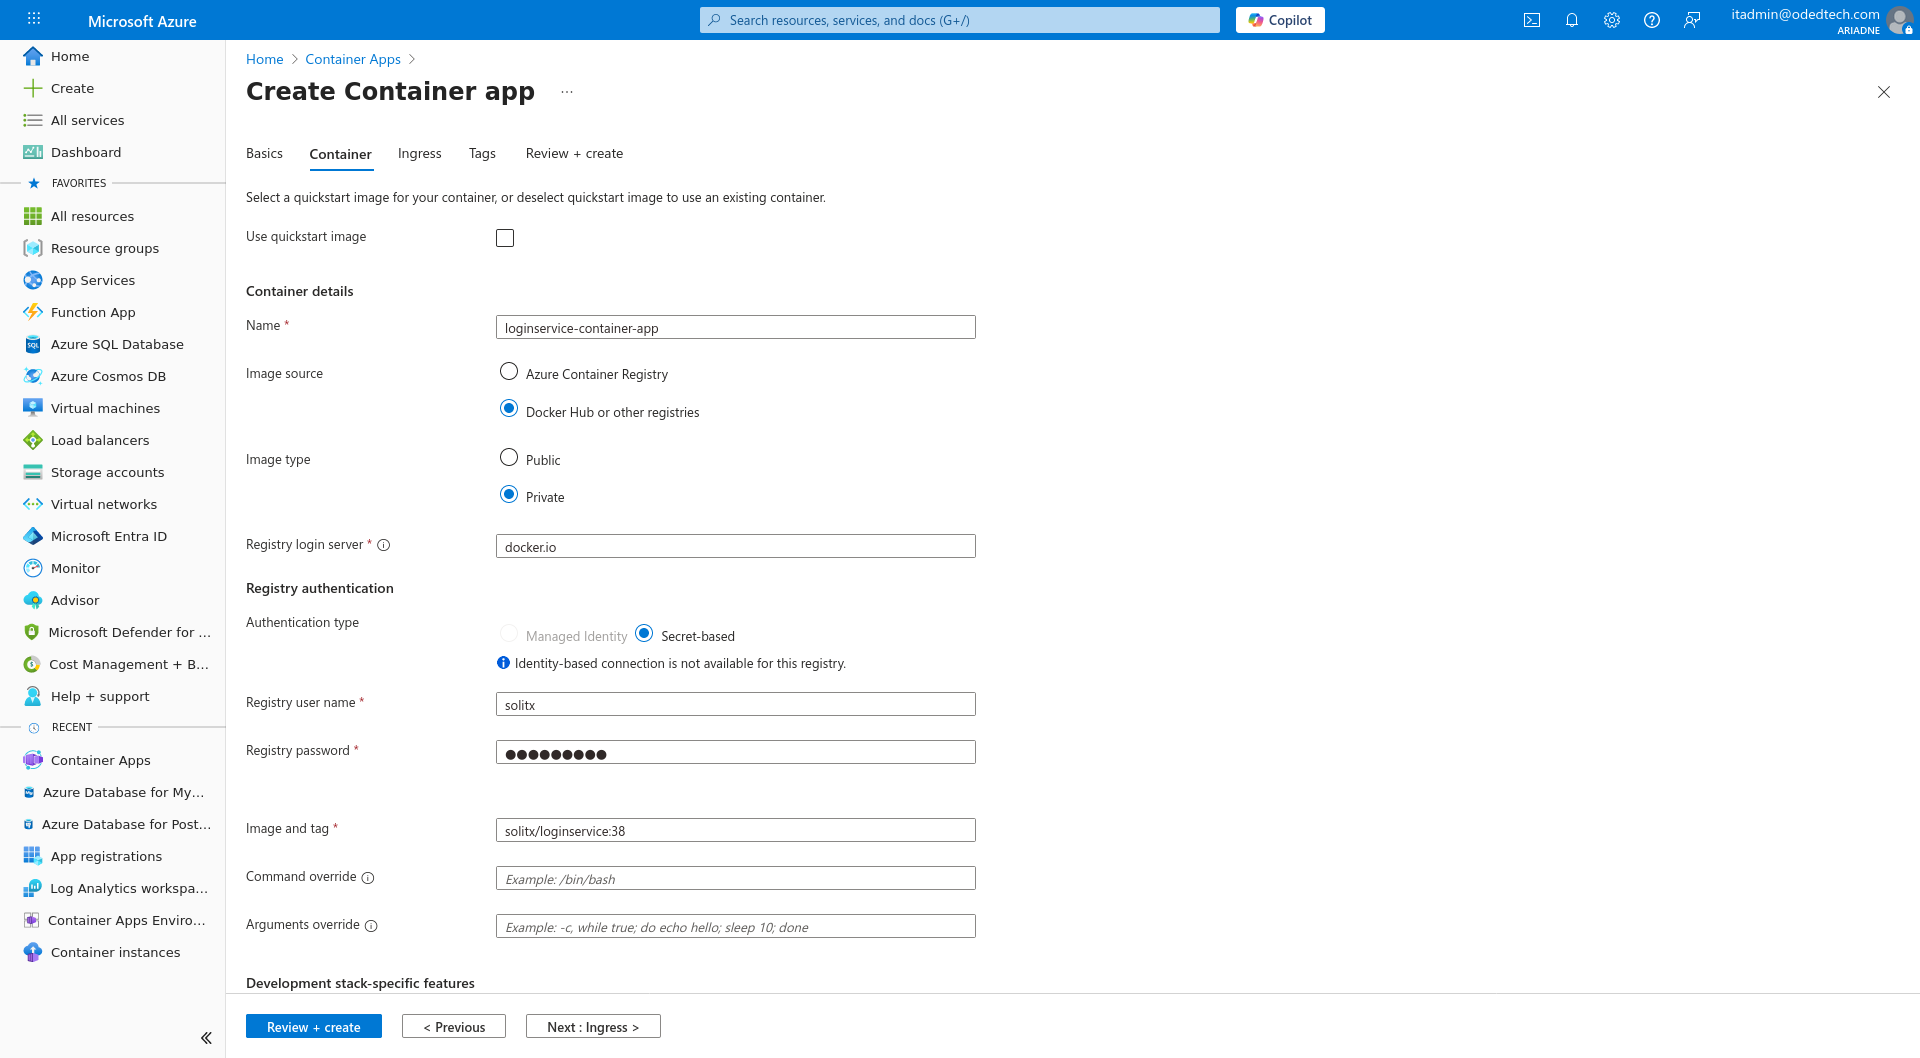
3.2. Container
-
Under
Namesection, enter name of the container (Eg:loginservice-container-app). -
Under
Image Sourceclick onDocker Hub or other registeries. -
Select
Image Type→Private. -
Enter
Registry user nameandRegistry passwordcredentials under username and password fields.
|
Contact |
-
For
Image and tagsection, take the docker image from dockerhub website. (Eg:solitx/loginservice:38) -
In
CPU and memoryselect required memory and CPU usage for the project (Eg:0.5 CPU cores, 1Gi Memory)
-
For
Environment variables, enter the values which are used in the project. -
Eg:
Few environment variables are given in the image below as an example.
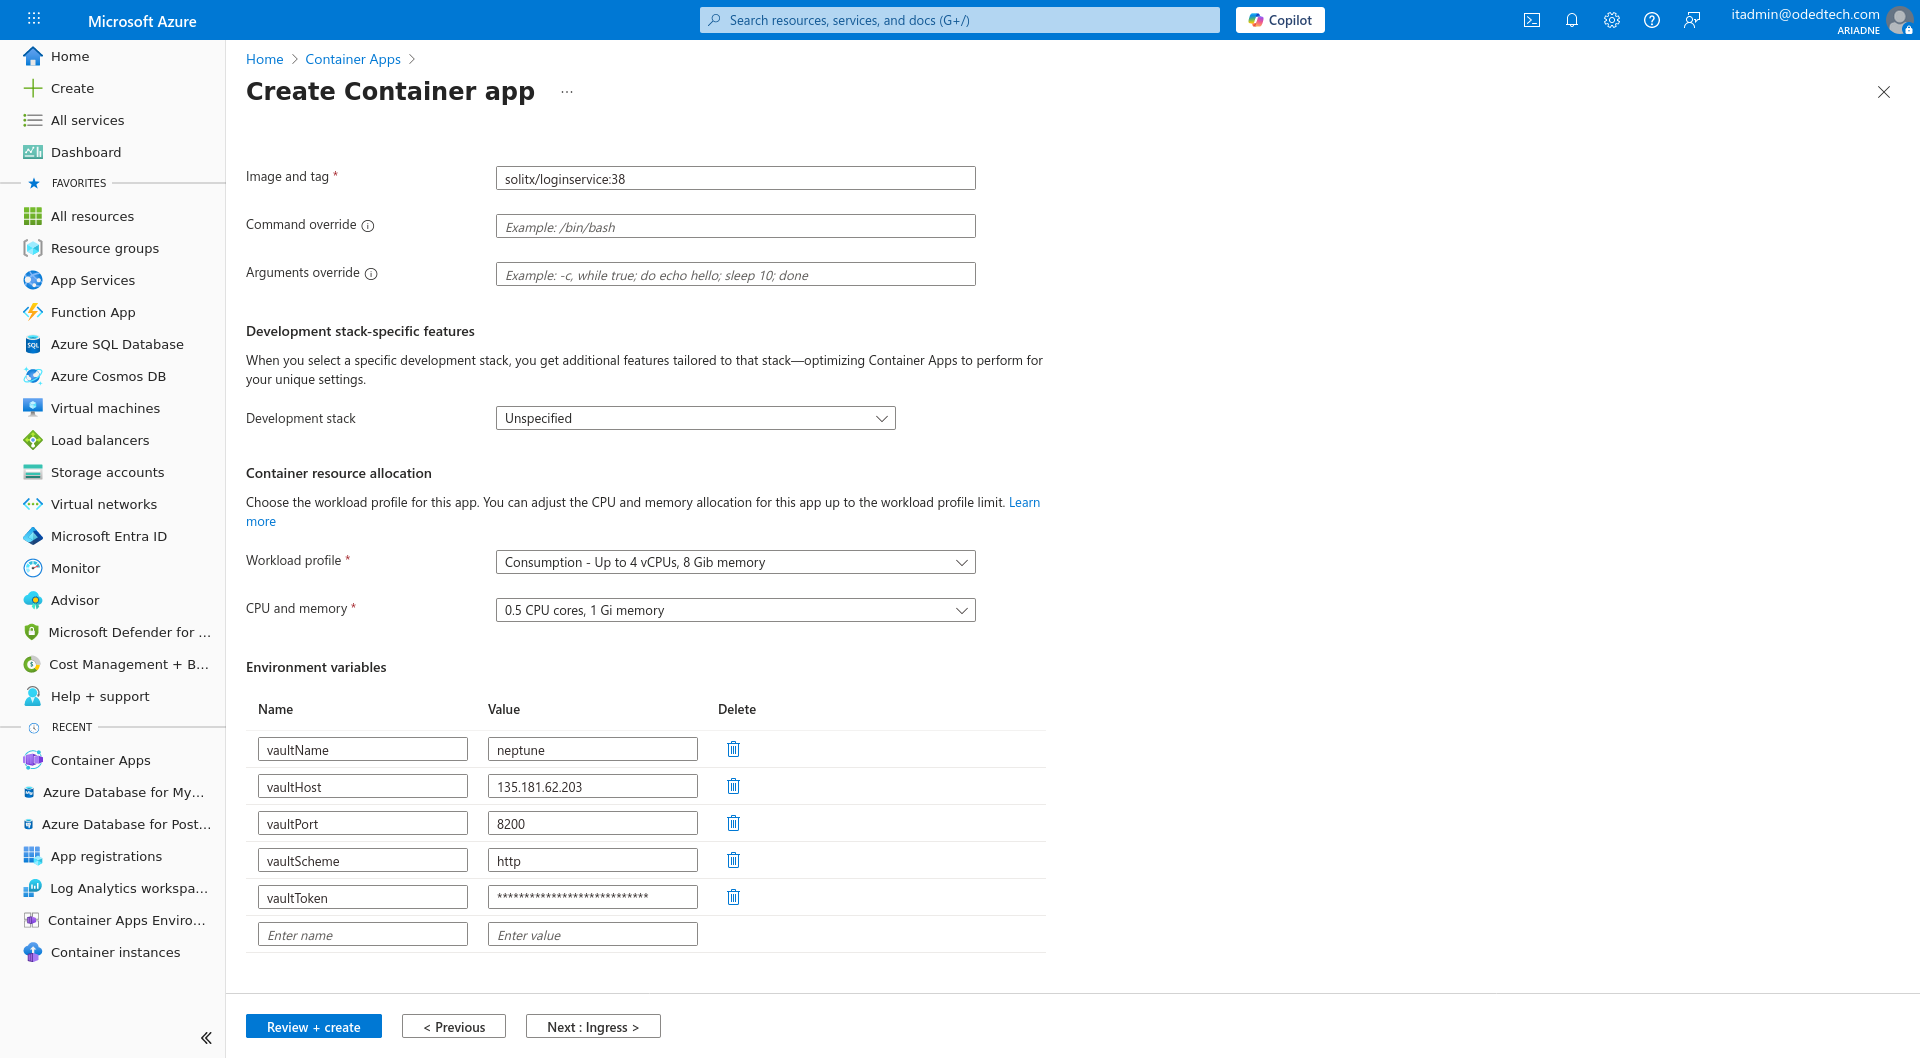
-
Click
Next: Ingress >.
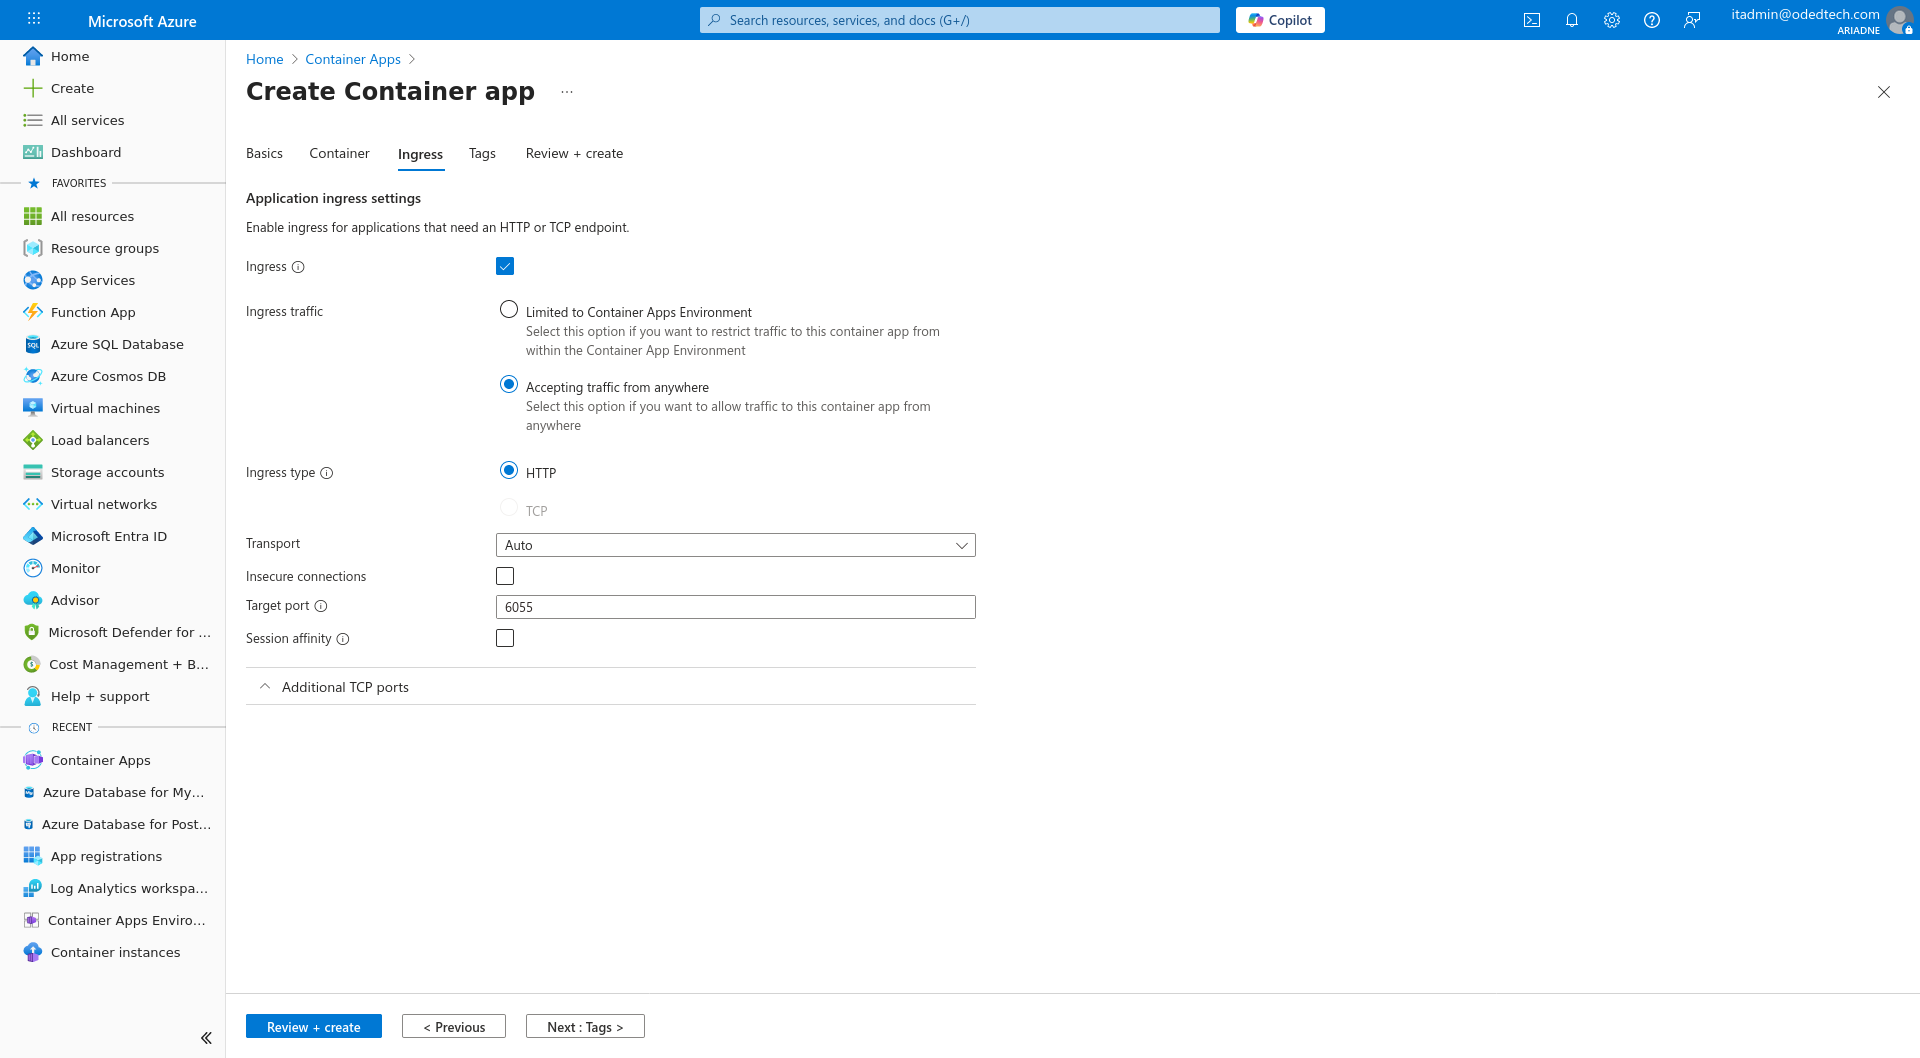
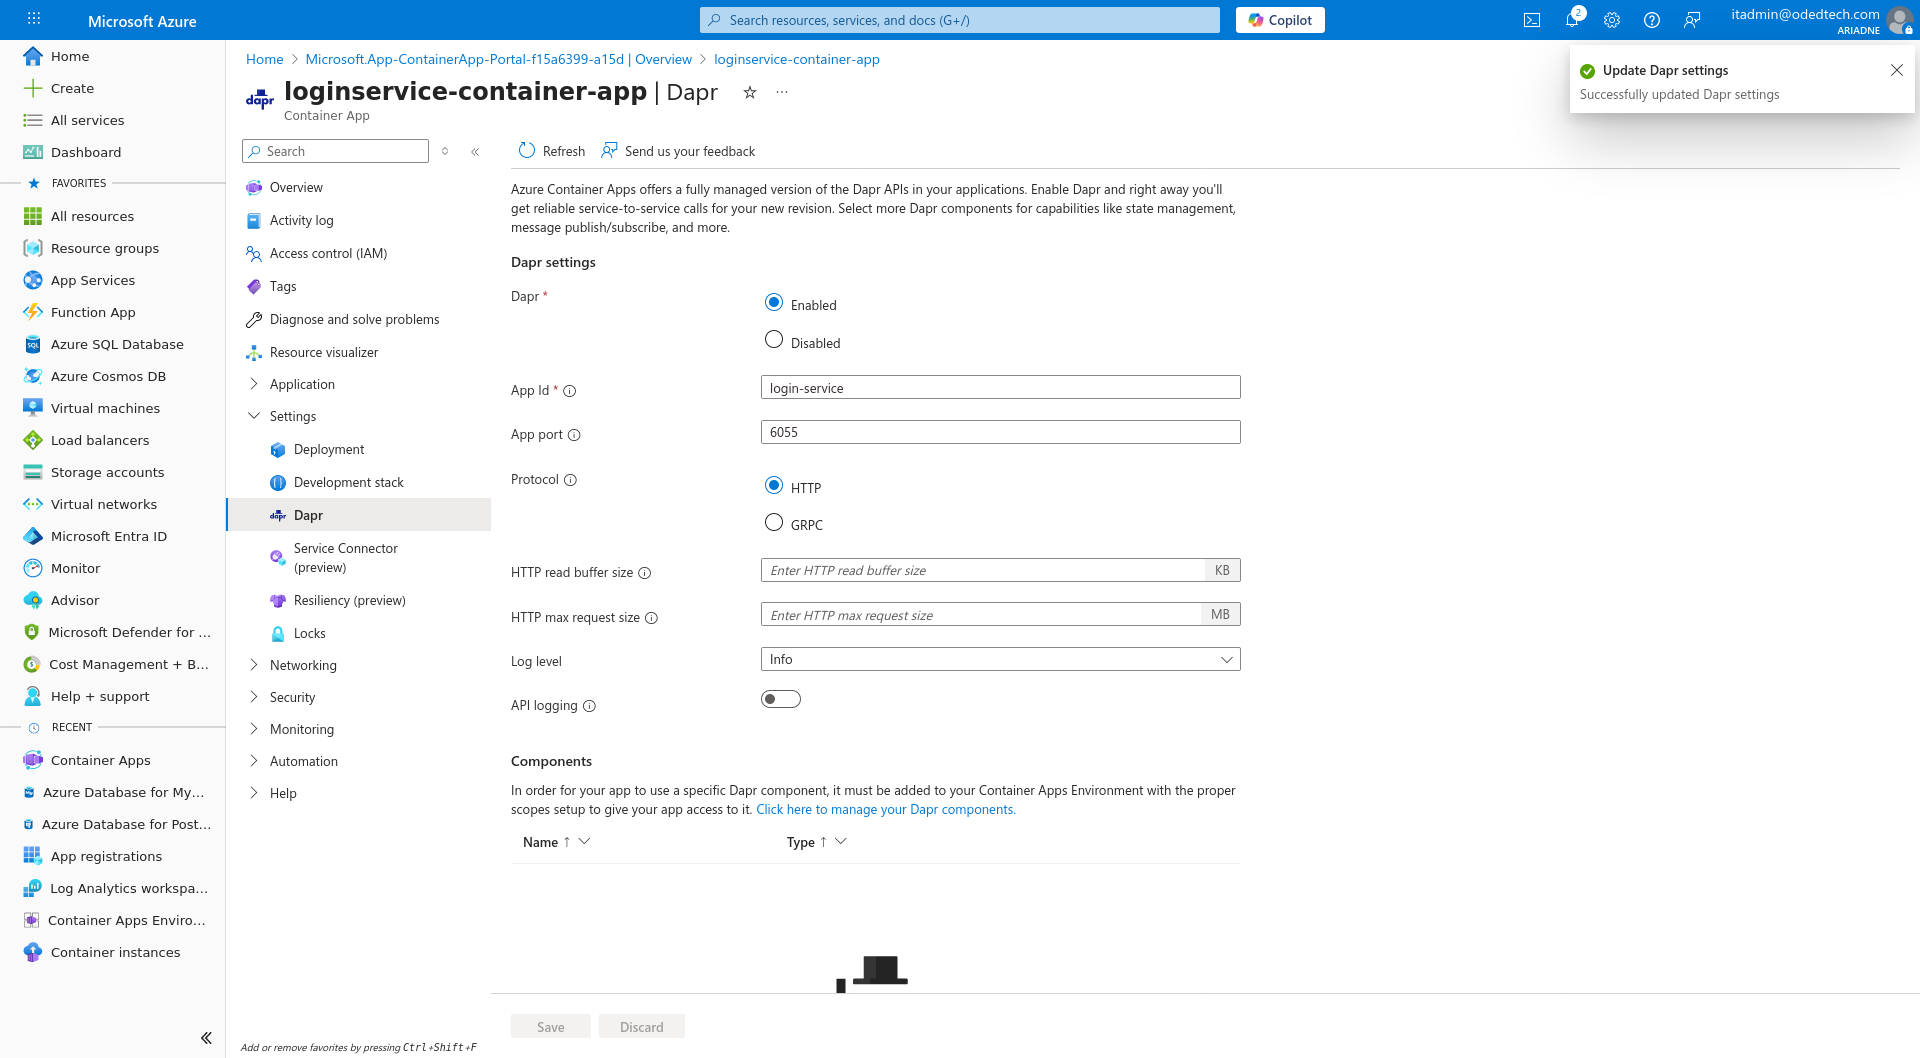
4. Dapr
-
Dapr offers built-in service discovery, simplifying how microservices locate and communicate with each other.
-
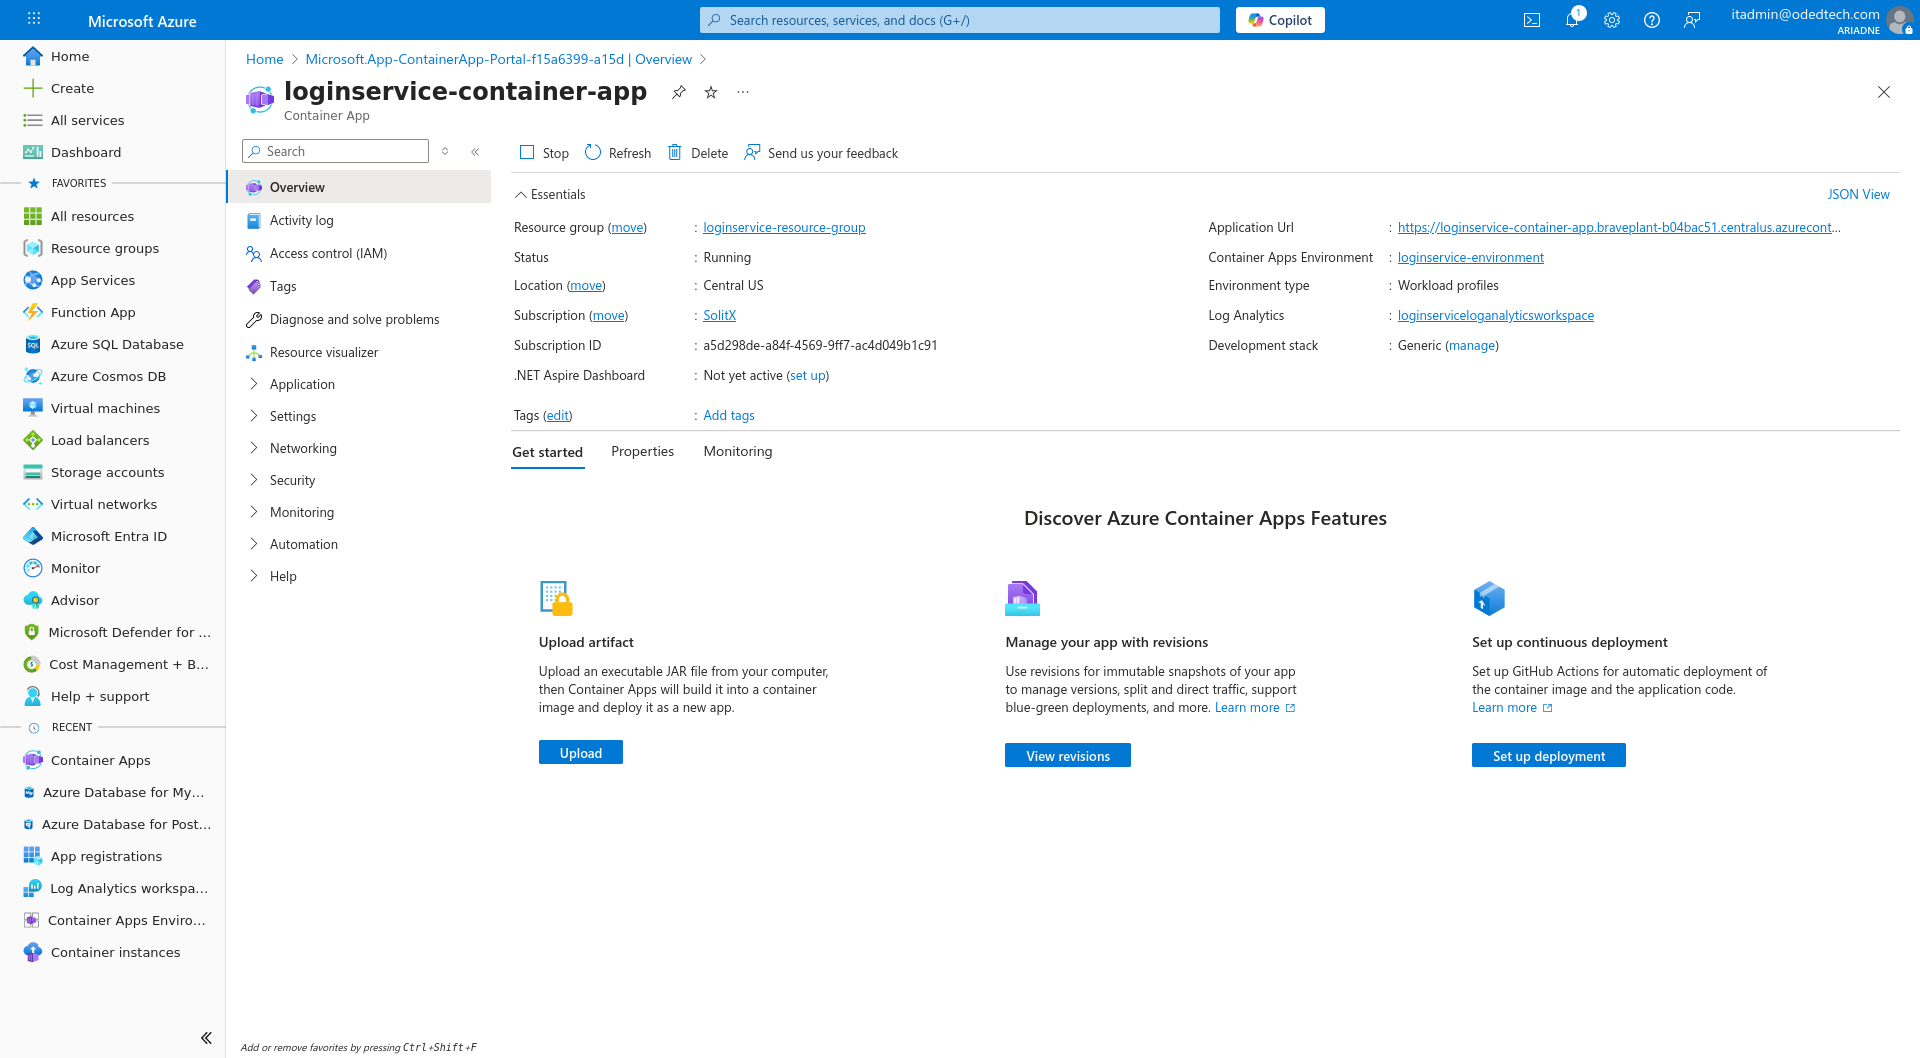
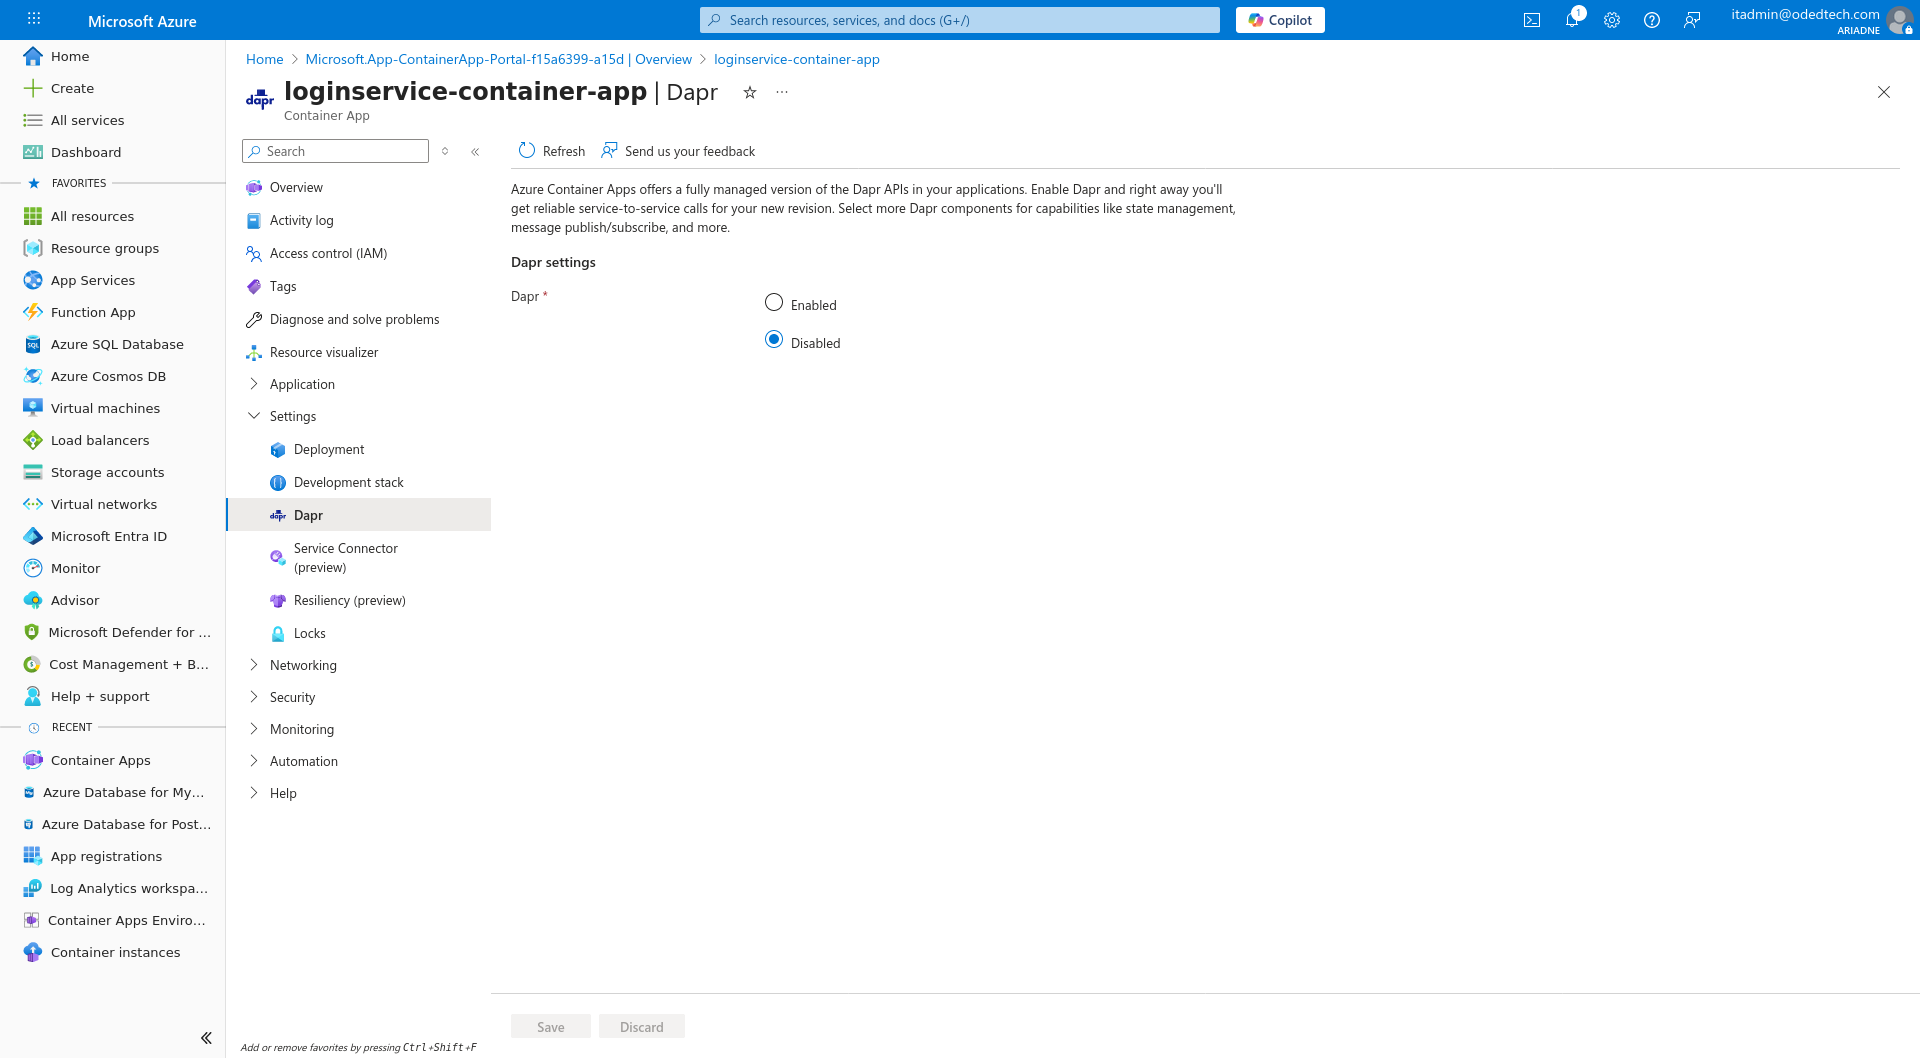
In the container app overview, Click on
Settings→Dapron the left side panel.
-
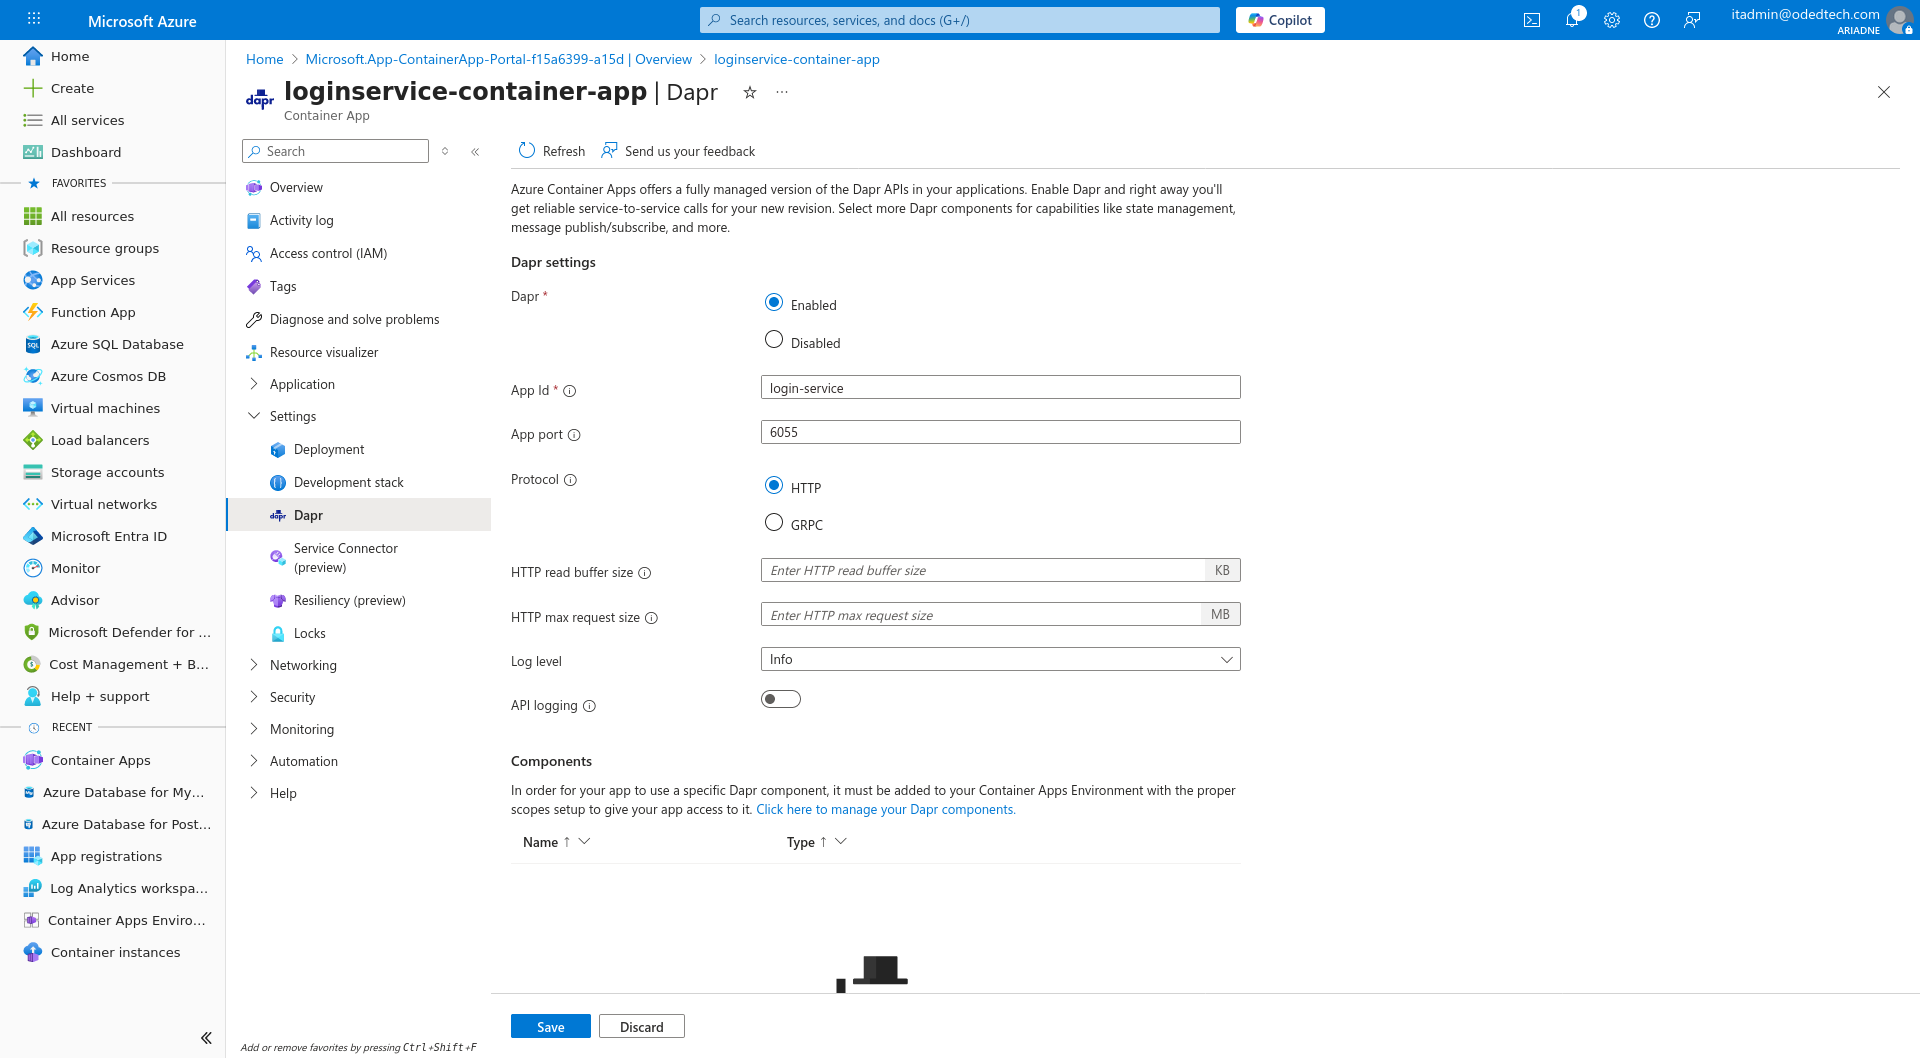
Select
Enable. -
In
App Id, enter the name of the application used in the source code (Eg:login-service). -
In
App Portenter the port number of the application used in the source code (Eg:6055).
-
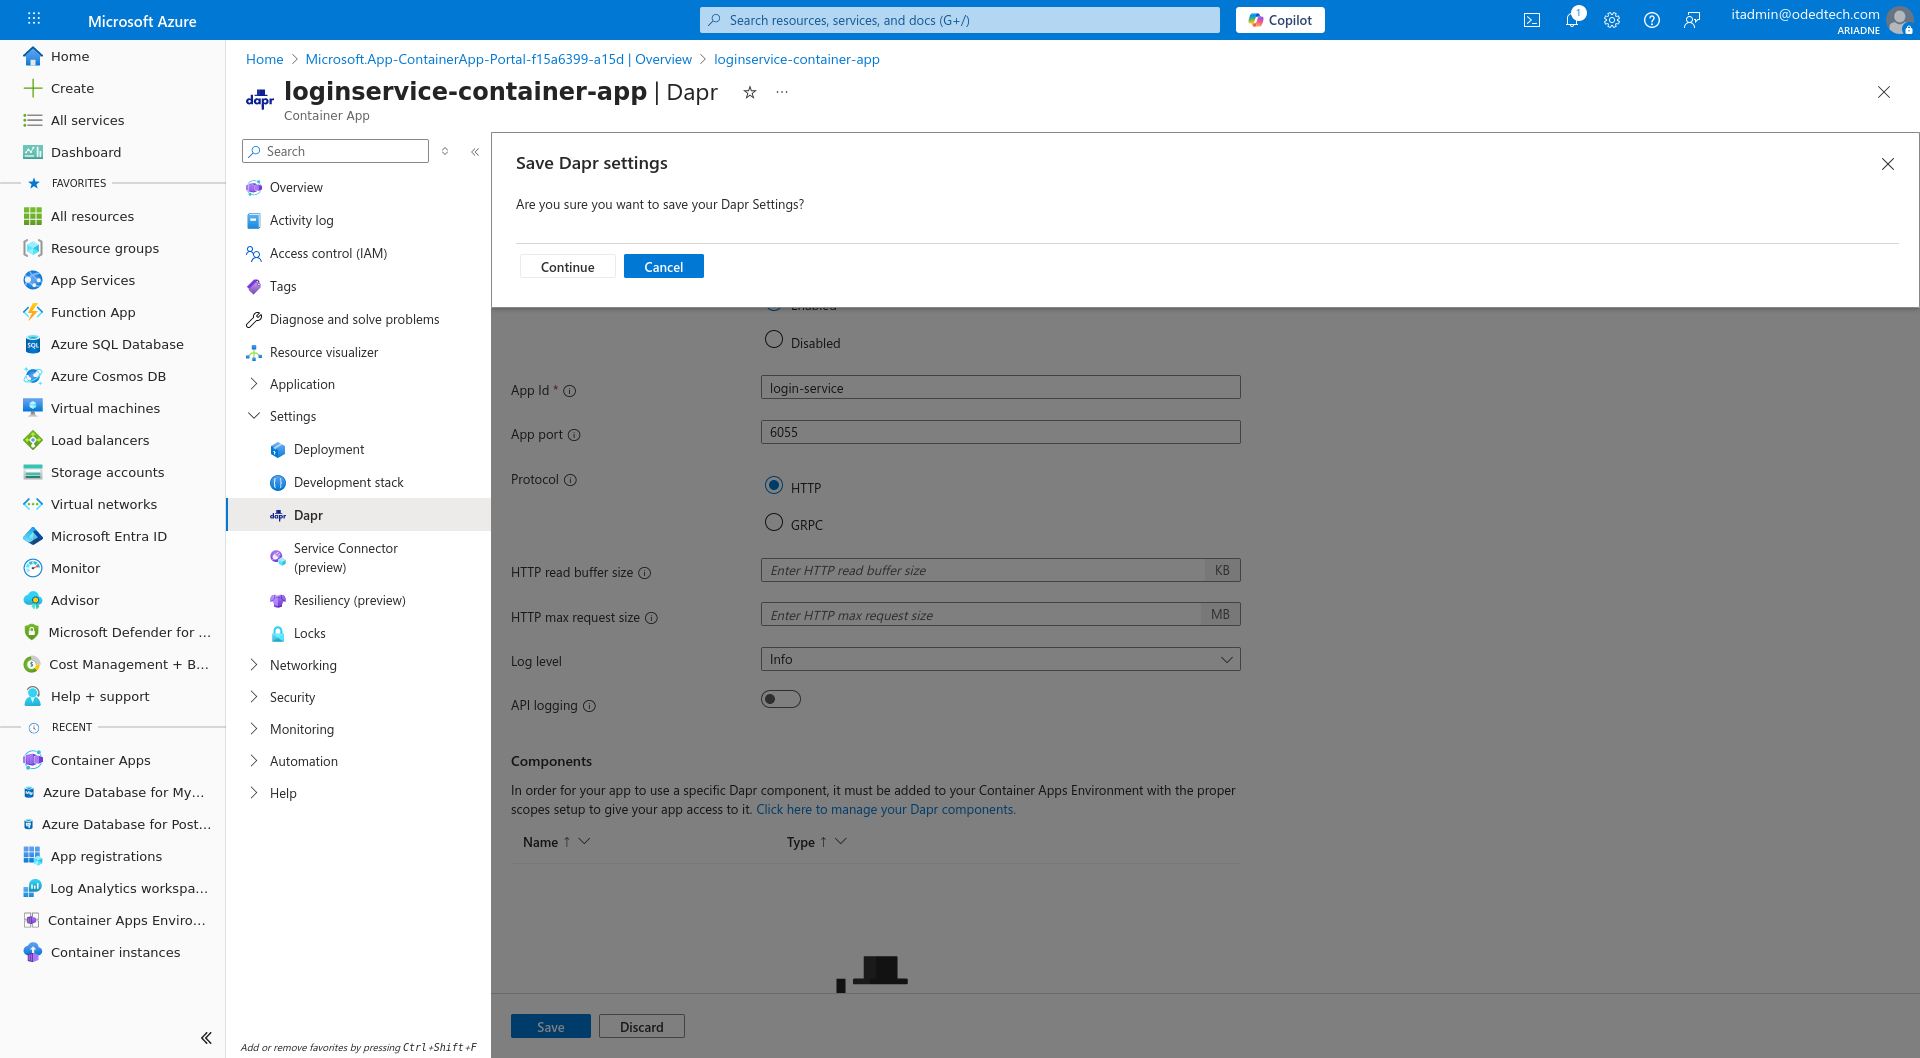
Click on
Save→Continue.
-
A confirmation notification is shown with the message
Update Dapr settings → Successfully updated Dapr settings.
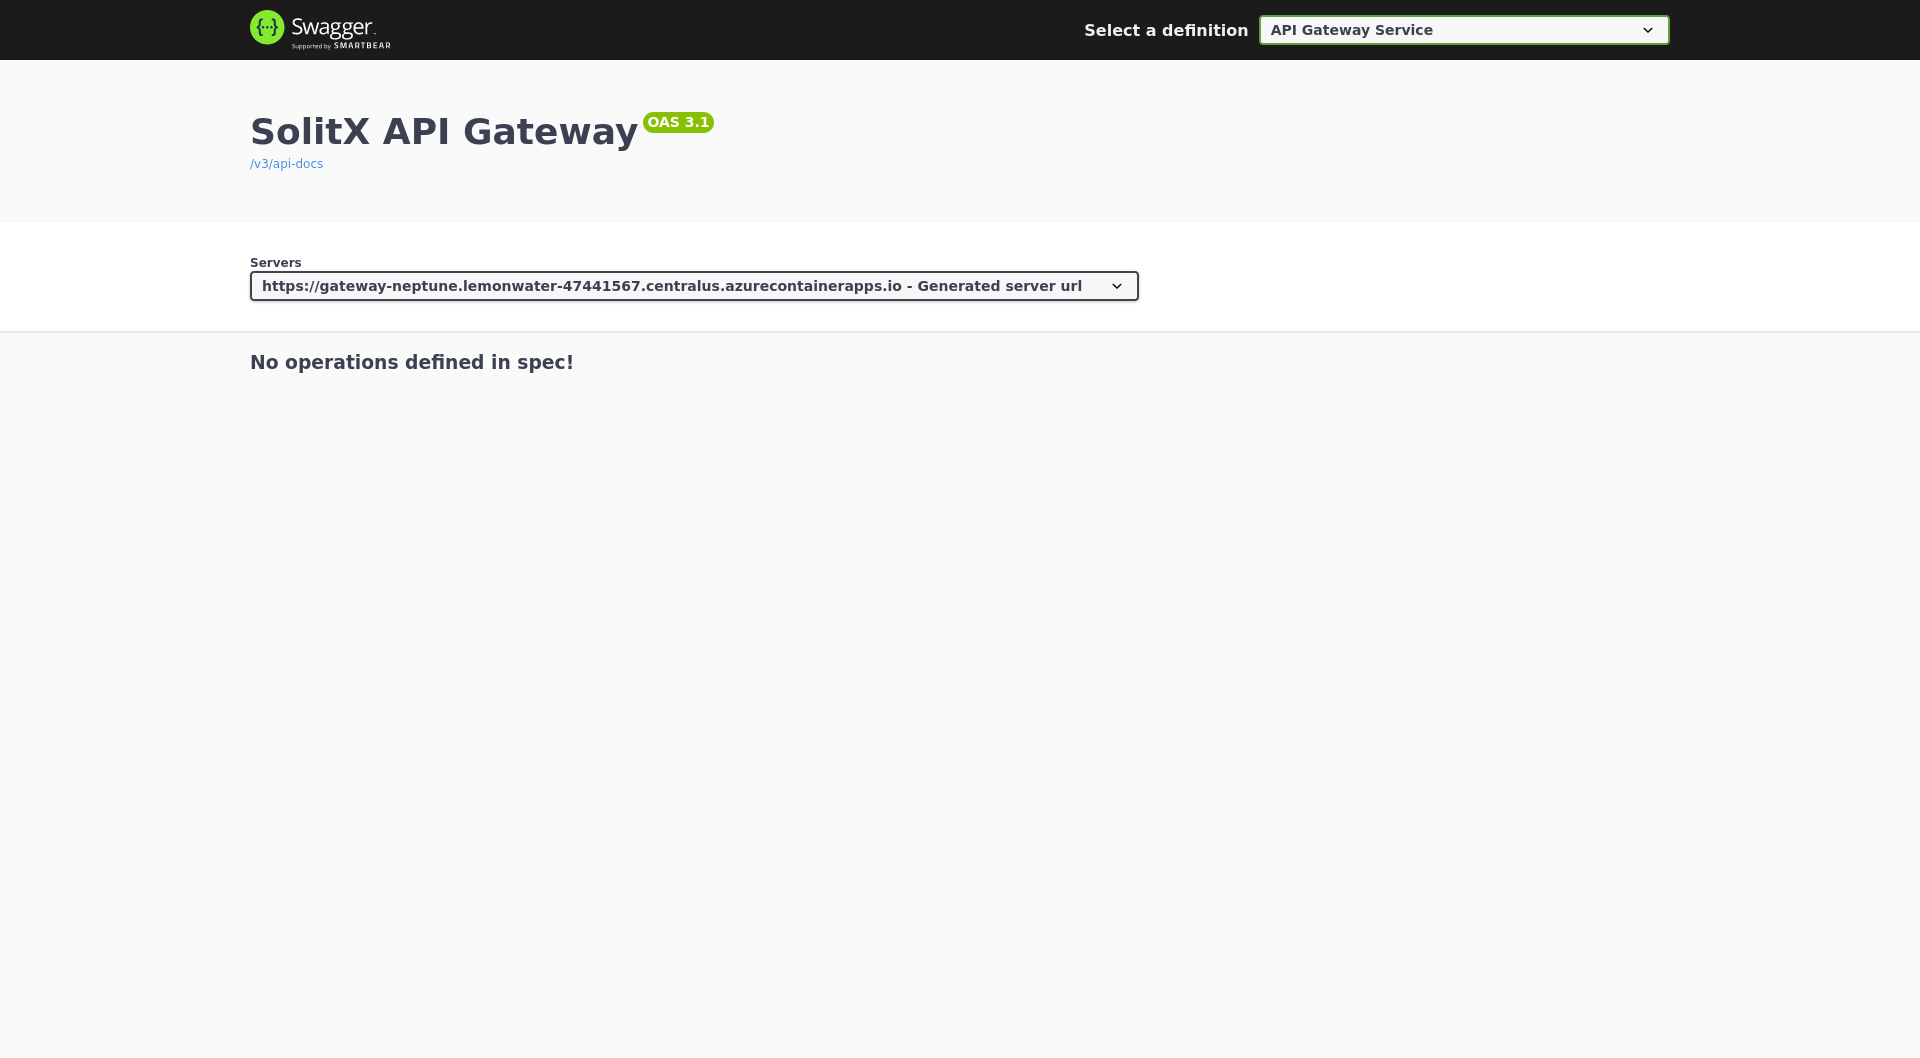
Access Swagger using gateway URL
-
To install the gateway and view other services (like login-service) through the gateway
-
Ensure that installation steps 1–4 of the
solitx-gatewayservice are completed successfully. -
To access Swagger using the gateway URL:
-
Copy the
Application URLfrom the deployed container app and append/swagger-ui/index.htmlto the end of it. -
Example:
https://gateway-app-name.region.azurecontainerapps.io/swagger-ui/index.html
-
-