Creation of Virtual Machine (VM)
Sign in to azure portal
-
Visit the Azure portal.
-
Sign in with your Azure account credentials.
Create virtual machine
-
Enter
virtual machinesin the search. -
Under
Services, selectVirtual machines.
-
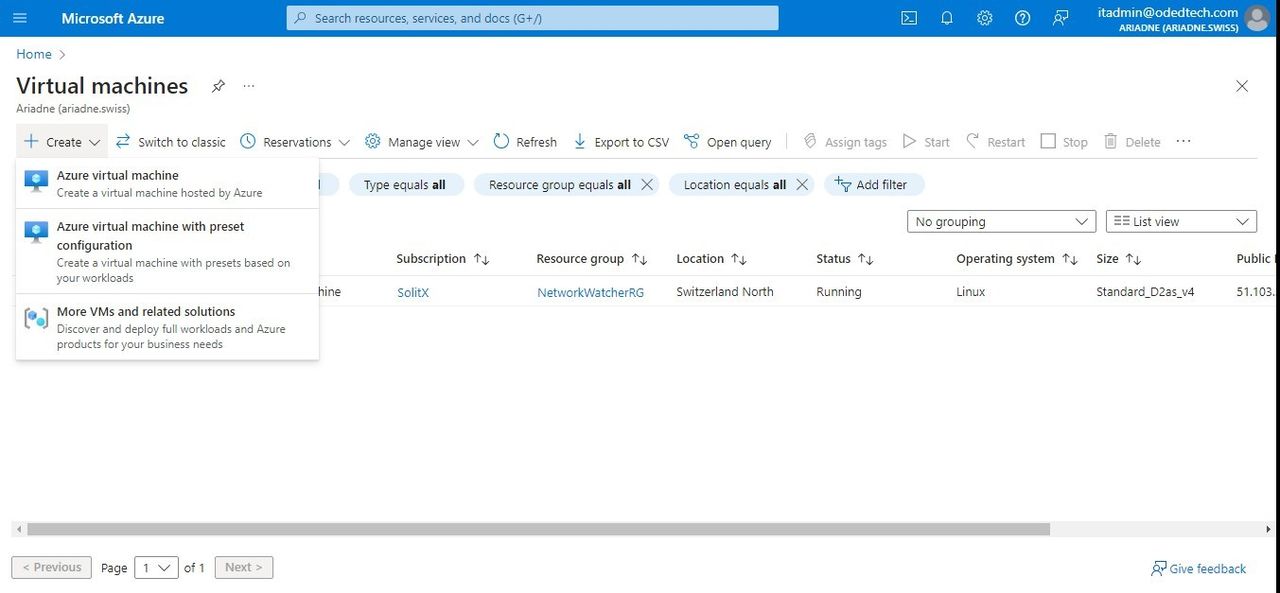
In the
Virtual machinespage, selectCreateand thenVirtual machine. TheCreate a virtual machinepage opens.
1. Basics
1.1. Project details
-
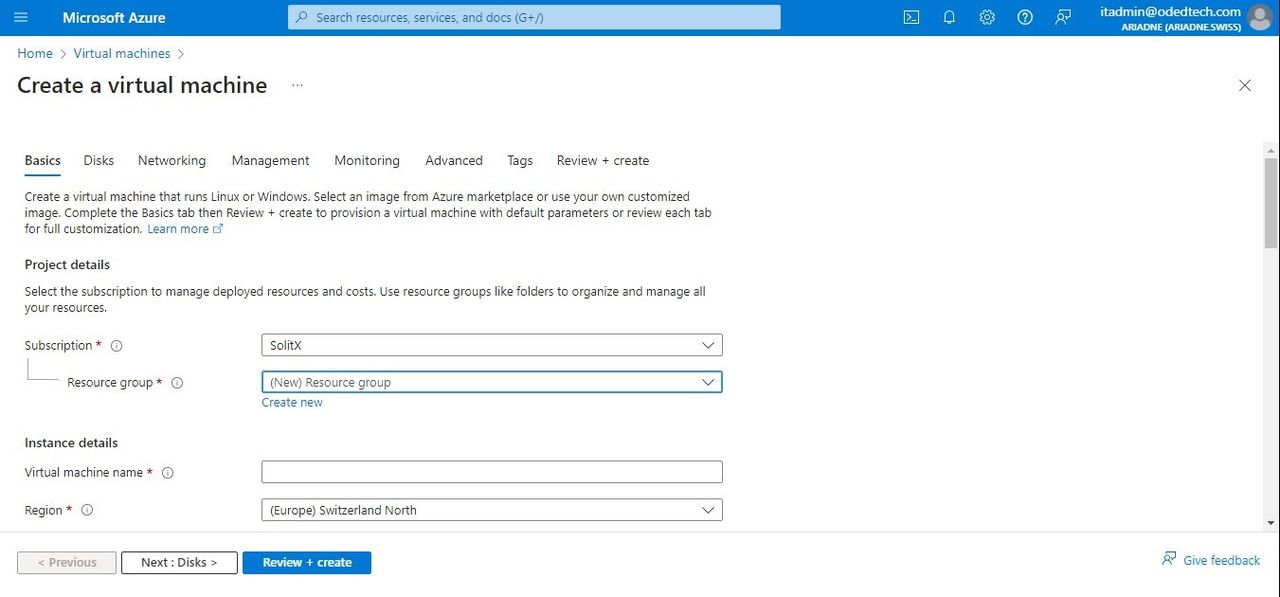
In the
Basicstab, underProject details, select from the available list of resource group (Or) choose toCreate newresource group. -
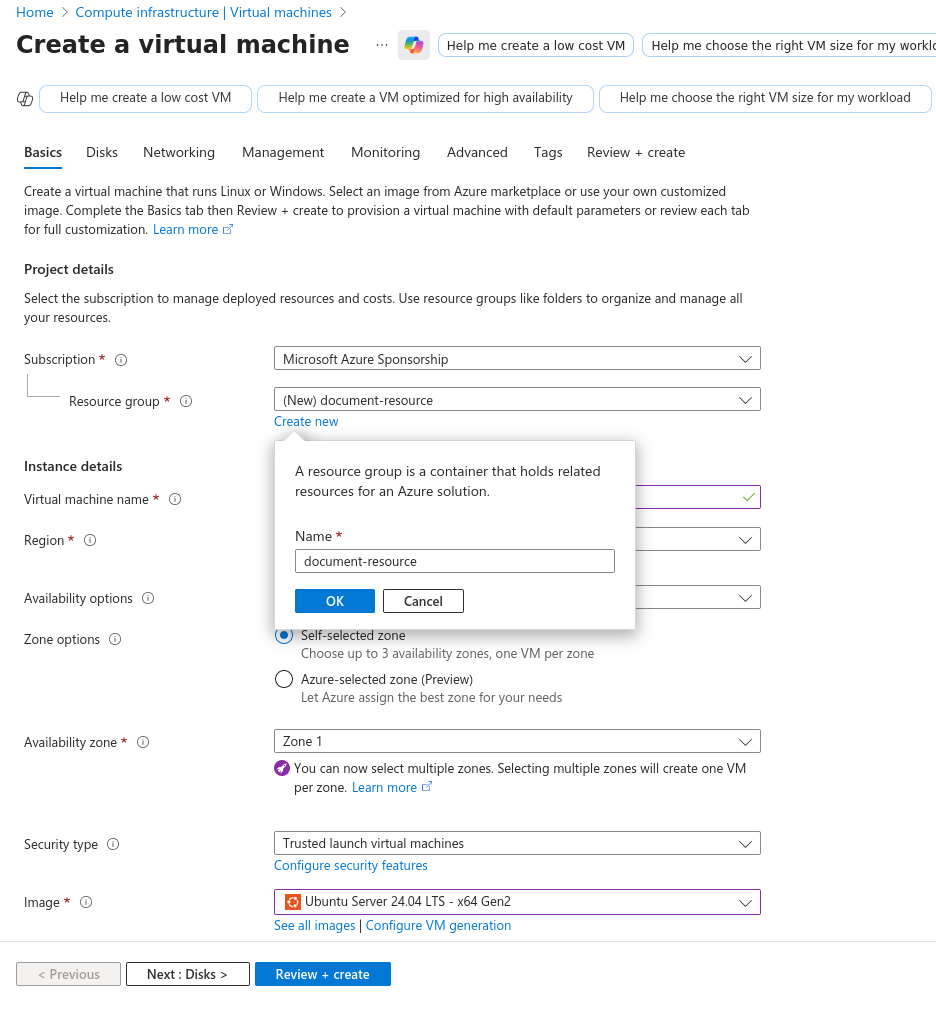
Enter a name for the resource group (Eg:
document-resource) and clickOK.
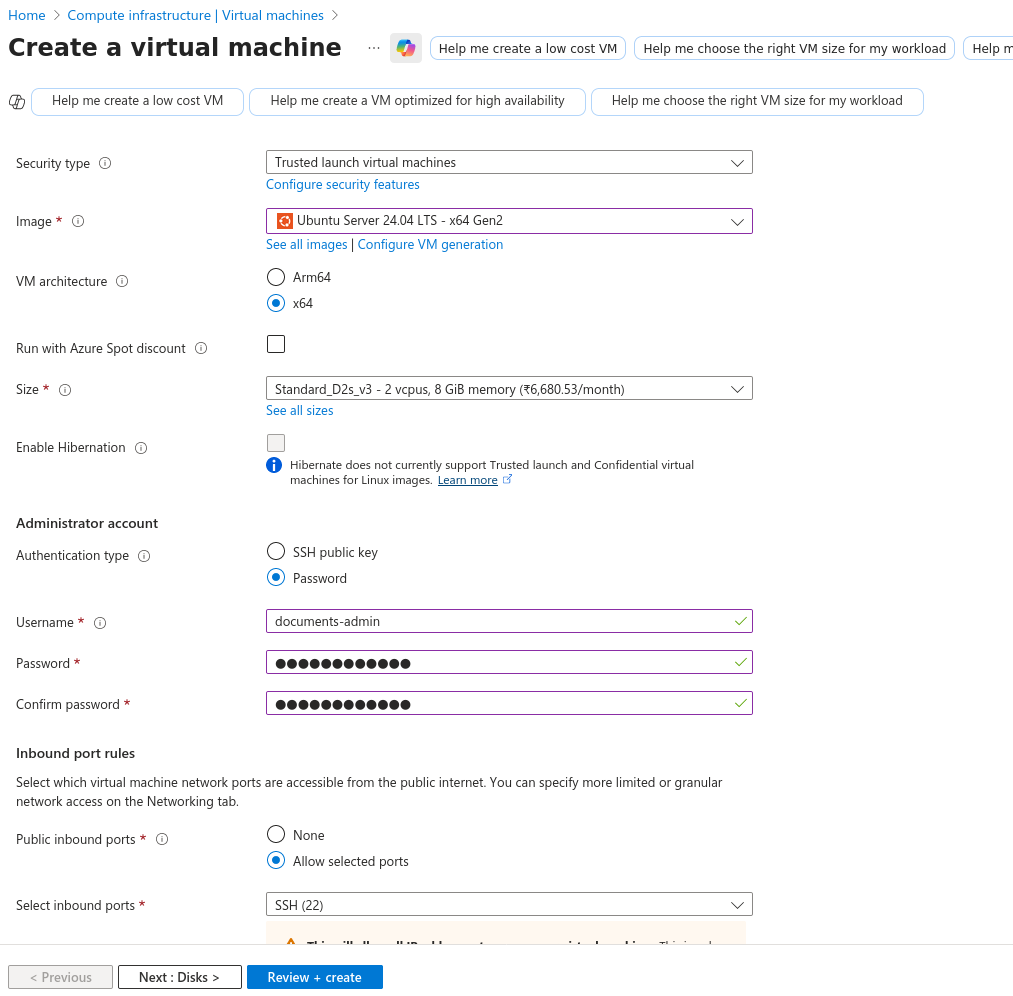
1.2. Instance details
-
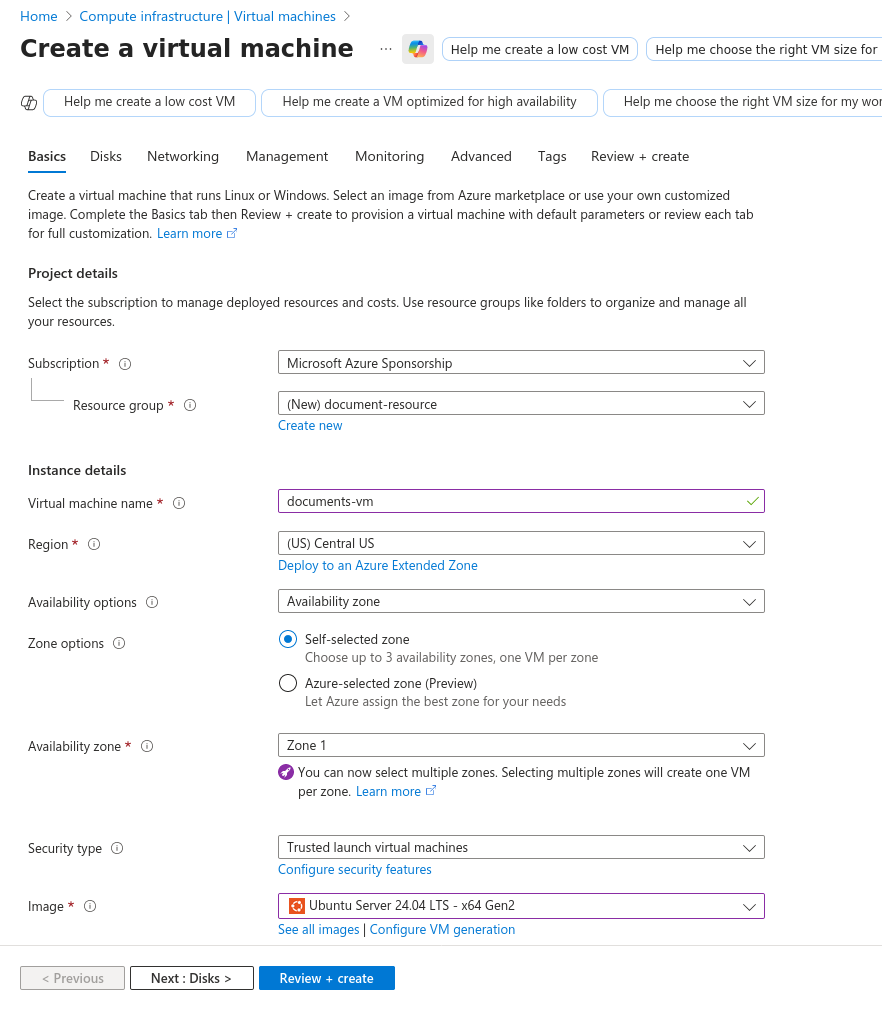
Under
Instance details, enter a name for theVirtual machine name(Eg:documents-vm). -
Choose an image for your
Imagesection (Eg:Ubuntu Server 24.04 LTS - x64 Gen2). -
Leave the other defaults.
2. Networking
-
In the
Networkingsection, a new virtual network is already created by azure and selected by default.
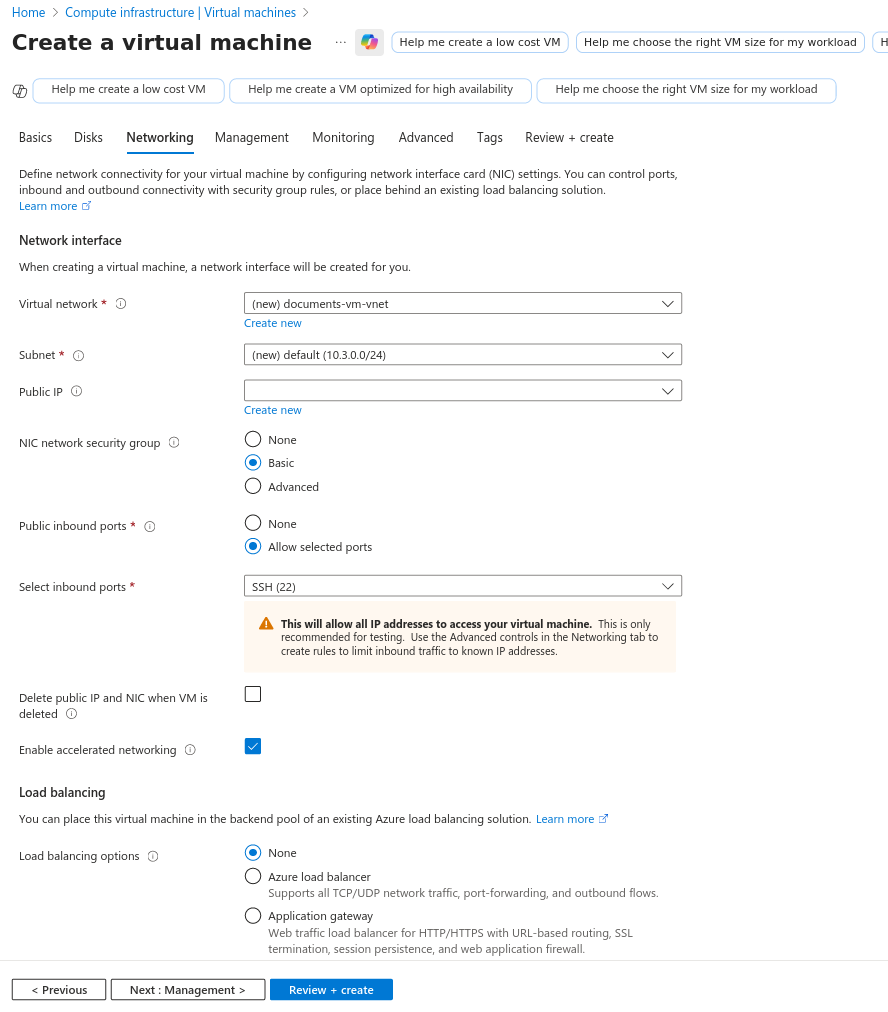
-
Just click on
Next: Management>→Next: Monitoring>→Next: Advanced>→Next: Tags>→Next: Review + create>.
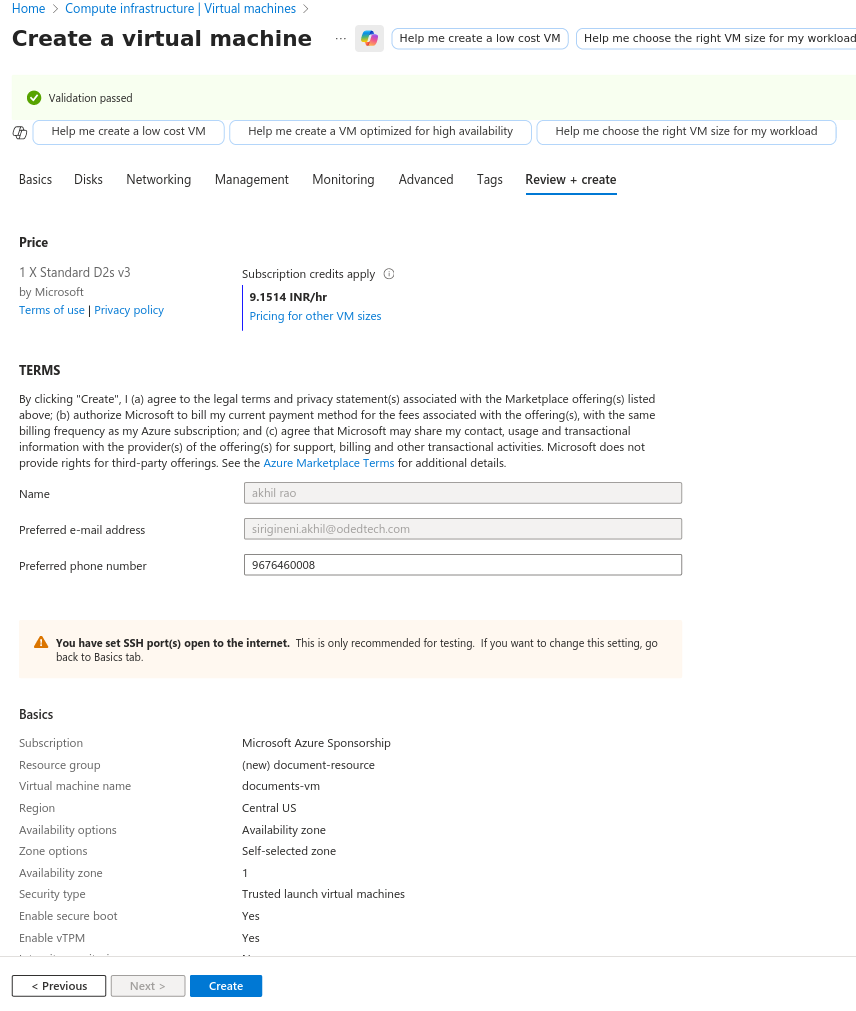
3. Review + create
-
On the
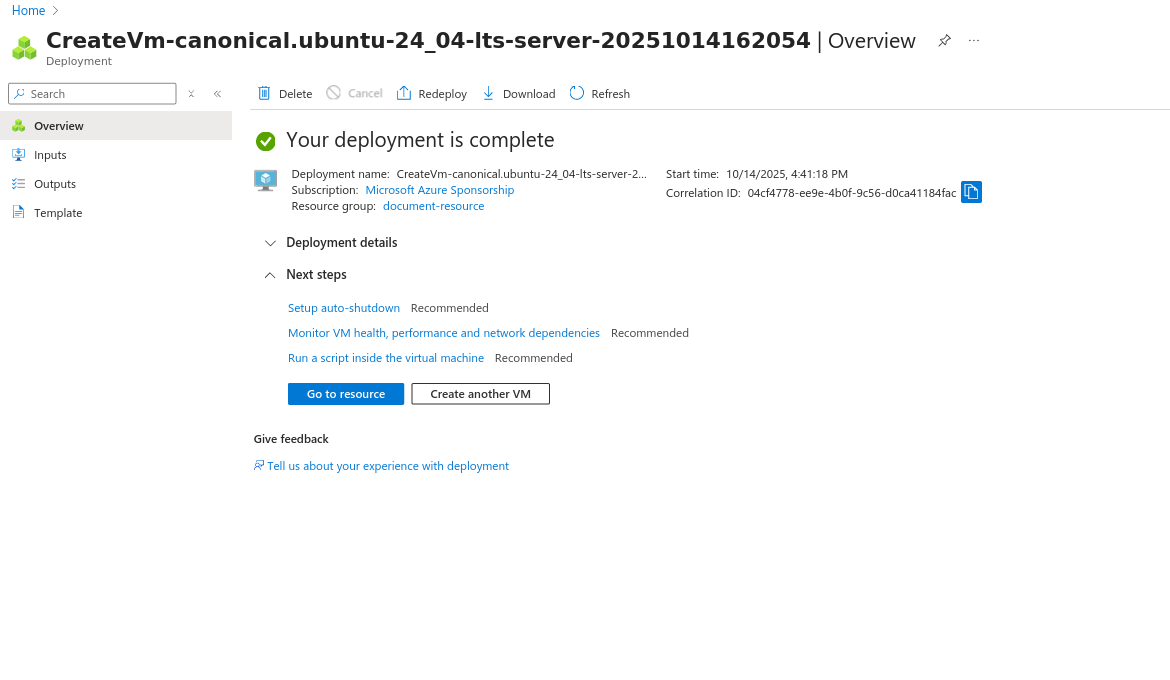
Review + createpage, the details about the VM, which is about to be created, can be seen. Review the settings and selectCreate.
-
When the deployment is finished, select
Go to resource.
Overview
-
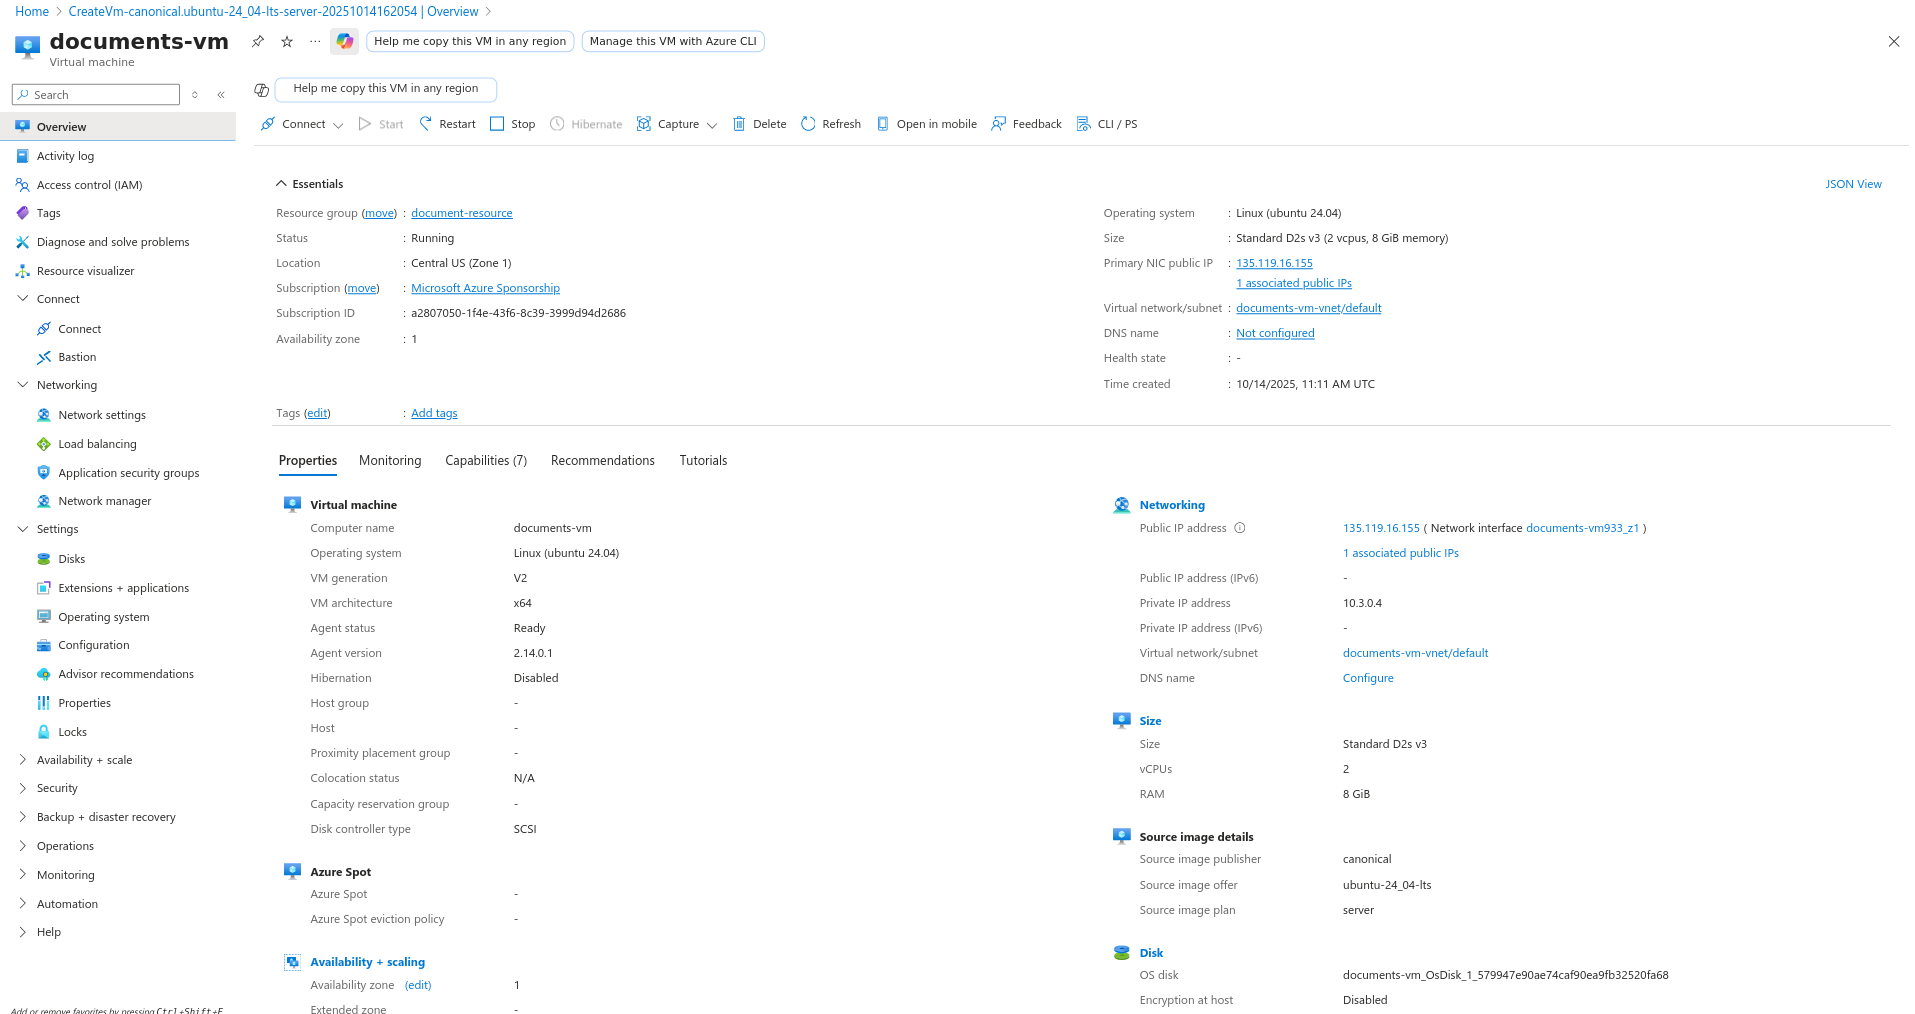
On this page, the overview of newly created virtual machine can be seen.
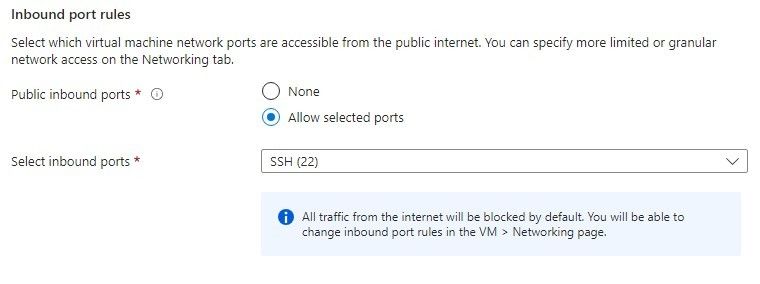
Create Inbound port rules
-
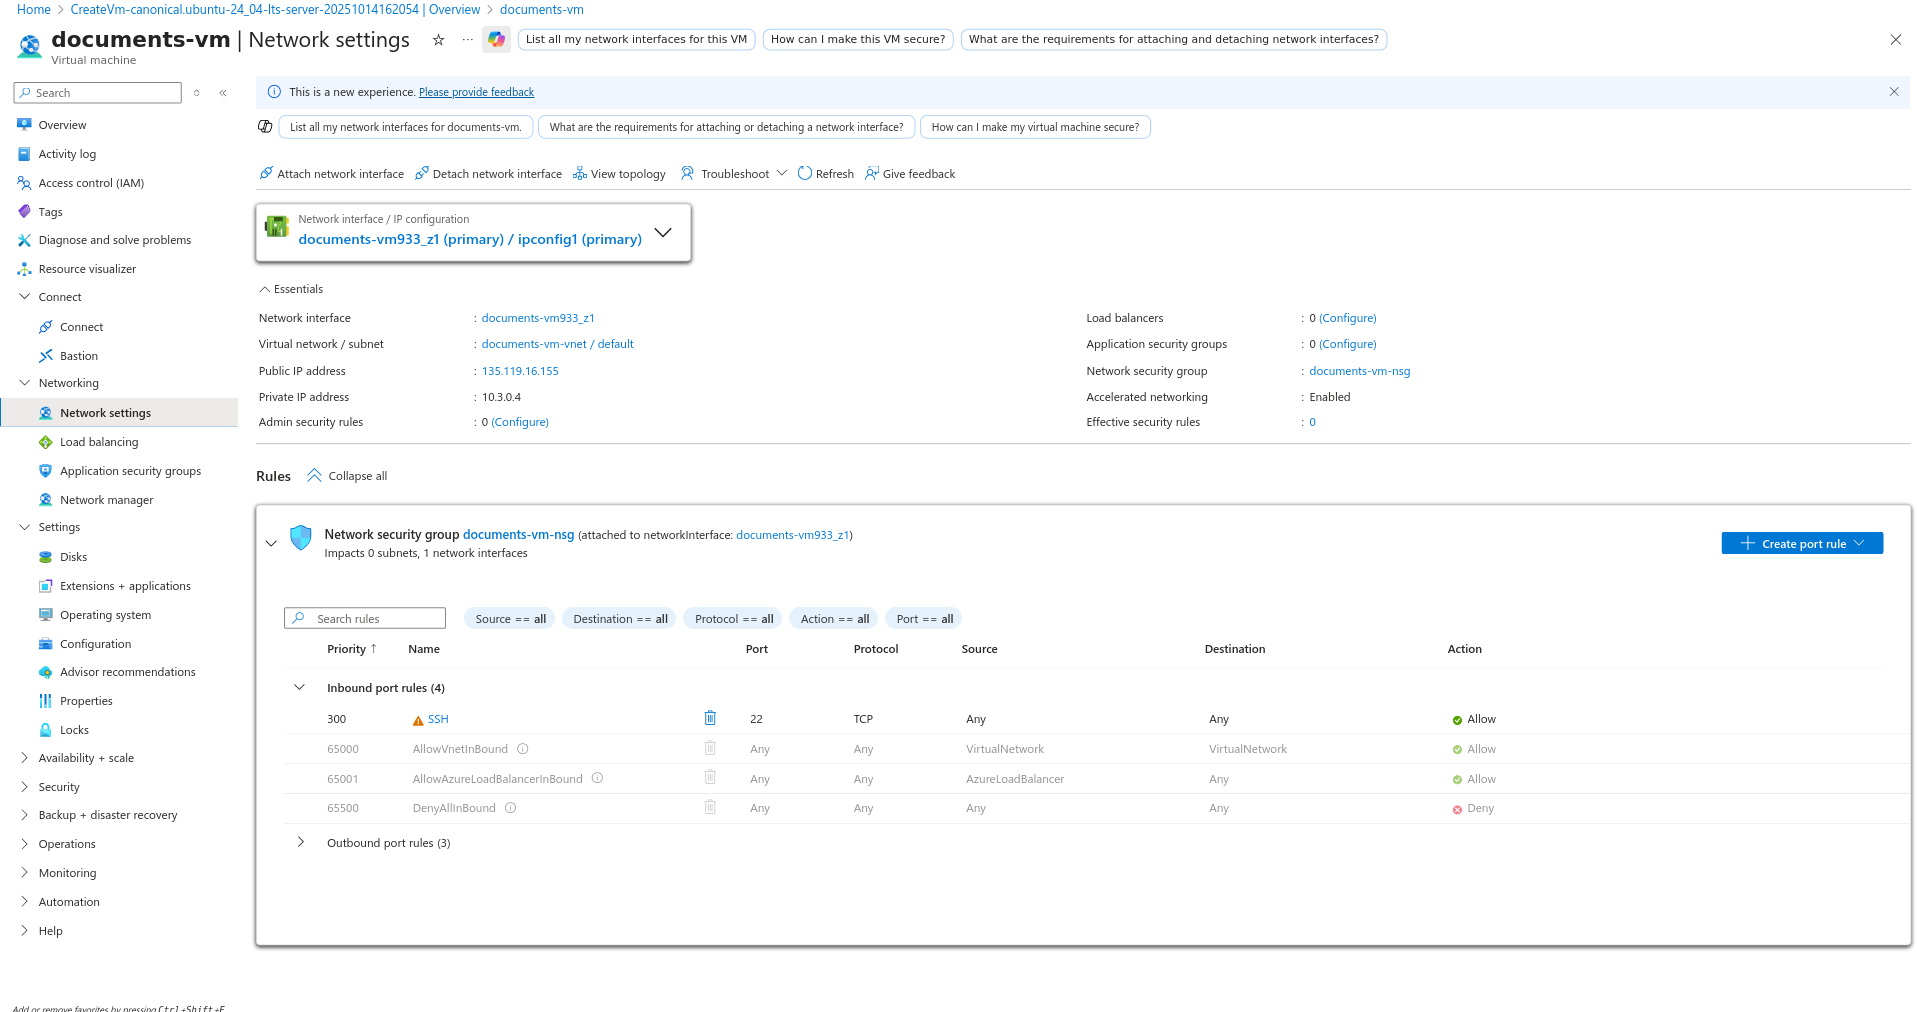
In the left side panel, under
Networkingsection, go toNetwork Settings→Create port rule→Inbound port rule.
-
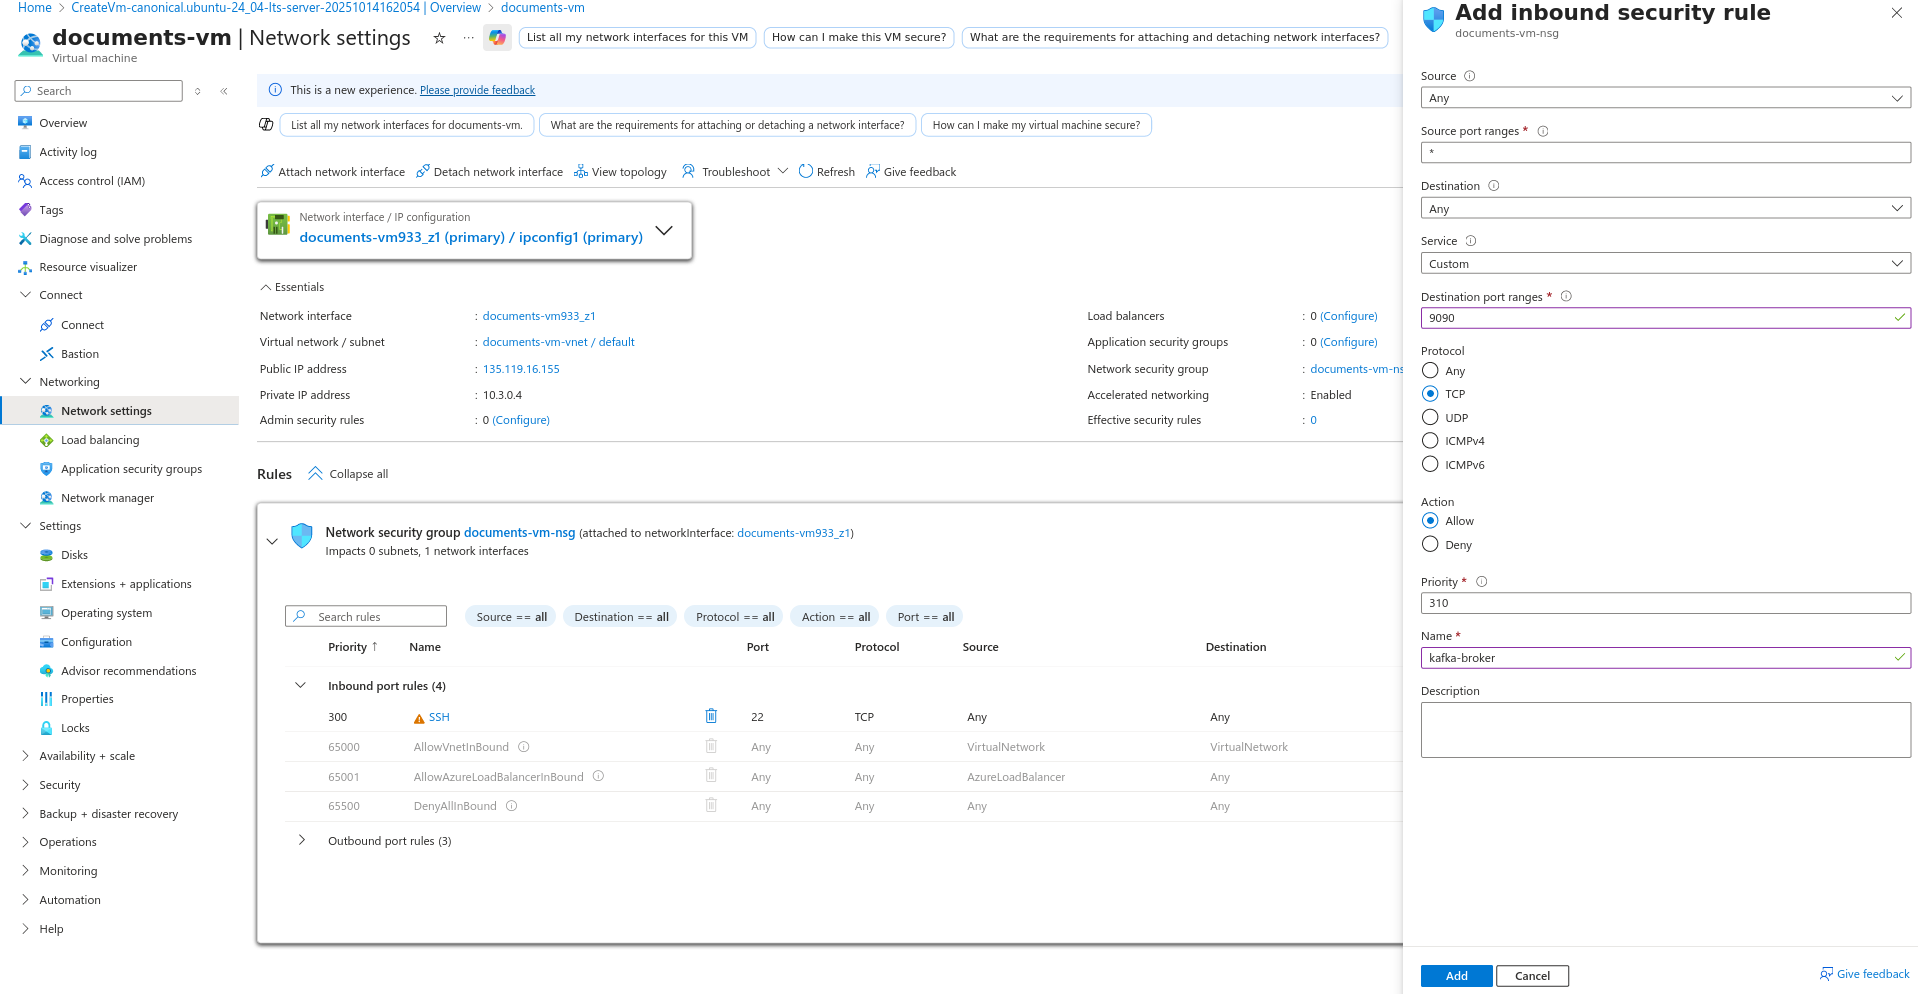
In the
Add inbound security rulemodal, under theDestination port ranges, enter the port number (Eg:9090). -
In the
ProtocolselectTCP. -
In the
Name, enter the name of the entered port number (Eg:kafka-broker). -
Click
Add.
|
Whichever installation is done in the VM, the corresponding port numbers must also be added using the |