Persistence setup on MS Azure
Sign in to azure portal
-
Visit the Azure portal.
-
Sign in with your Azure account credentials.
Navigate to Create a resource
-
Click on the
+ Create a resourcebutton on the left-hand side.

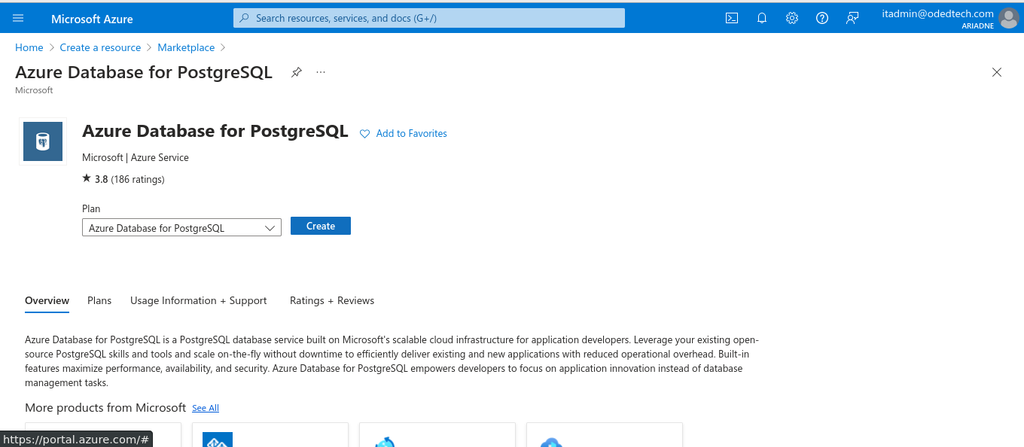
1. Search for Azure Database for PostgreSQL
-
In
Search the Marketplacebox, typeAzure Database for PostgreSQL. -
Select
Azure Database for PostgreSQLfrom the search results.

-
Click on the
Azure Database for PostgreSQL→ Create.
Basics
Configure basic details of the project.
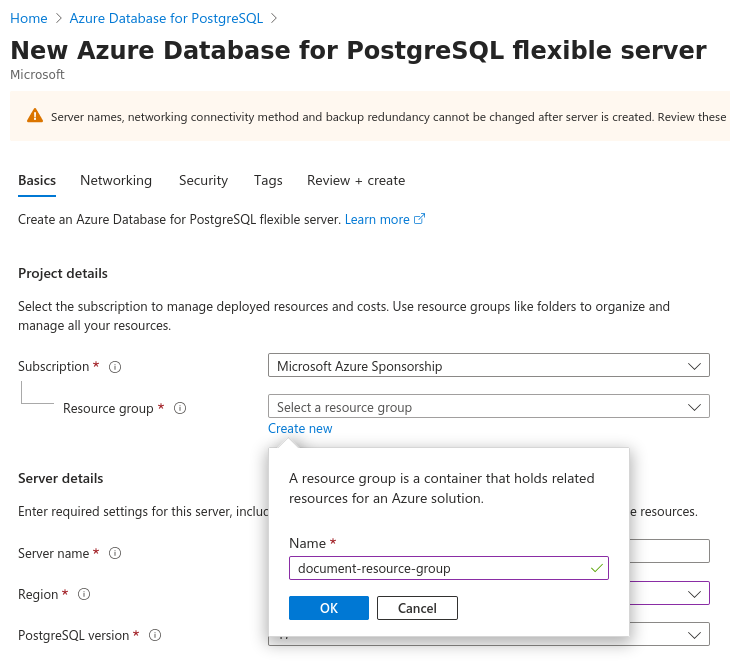
1. Project details
-
Select the default resource group or create a new resource group.
-
In the
Subscriptionfield, select theMicrosoft Azure Subscription(Default). -
In the
Resource groupfield, create a new resource group or select an existing one from your subscription. -
For creating new, Click on
Create New→ Enter the name → ClickOK.
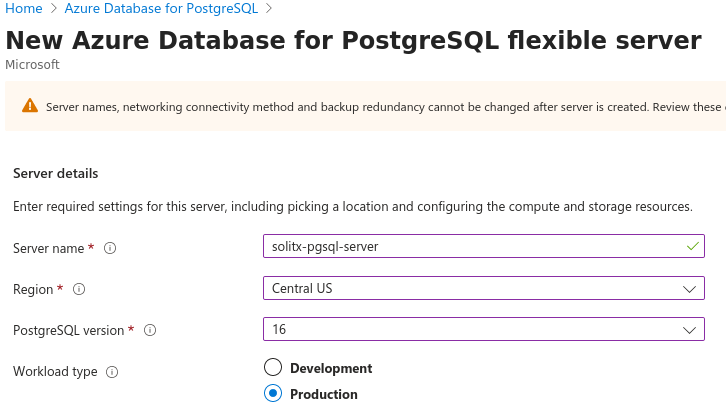
2. Server details
-
Provide a unique name for your PostgreSQL server (eg:
SolitX PgSQL server). -
Choose the appropriate region for your PostgreSQL server (eg:
Central US). -
Select PostgreSQL version
16. -
Select the workload type as
Production.
2.1. Compute server settings
-
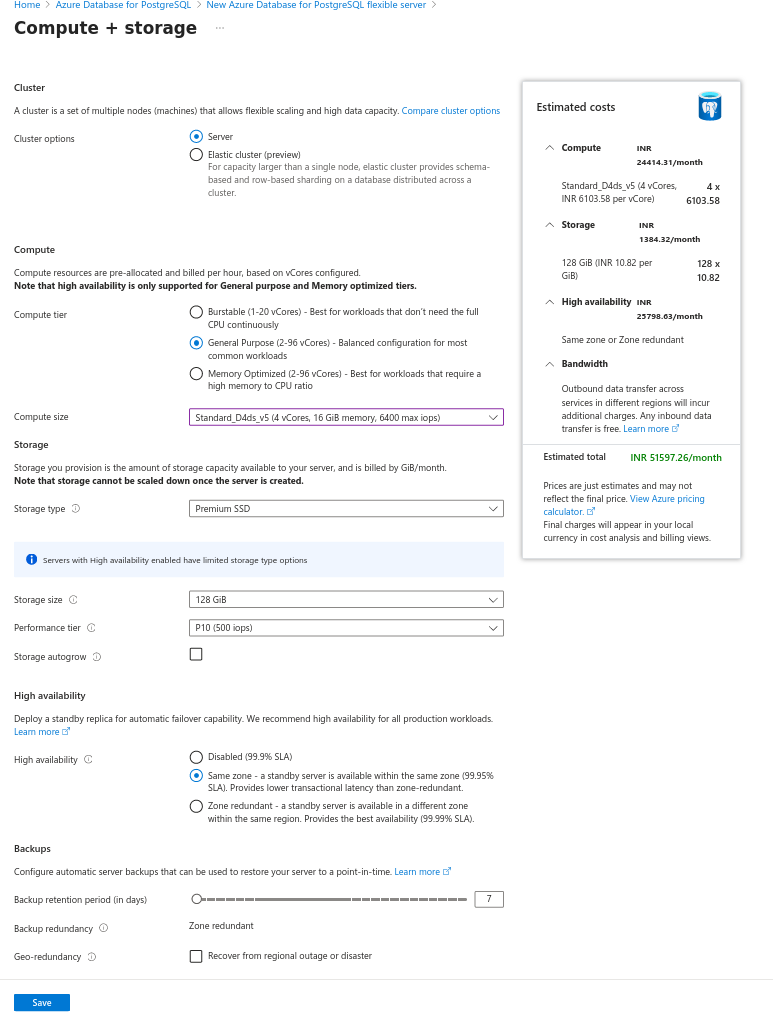
In the
Server details, in theCompute + storagesection, click onConfigure server. -
Select
ClusterasServer. -
Select the
Compute tierasGeneral Purpose (2-96 vCores) - Balanced configuration for most common workloads. -
Compute size is
Standard_D4ds_v5 (4 vCores, 16 GiB memory, 6400 max iops). -
In the
Storage, select theStorage typeasPremium SSD. -
Storage sizeis128GiB. -
Performance tierisP10 (500 iops) -
In
High availability, selectSame zone - a standby server is available within the same zone (99.95% SLA). Provides lower transactional latency than zone-redundant. -
Let the
Backupsbe the default settings. -
Click
Save.
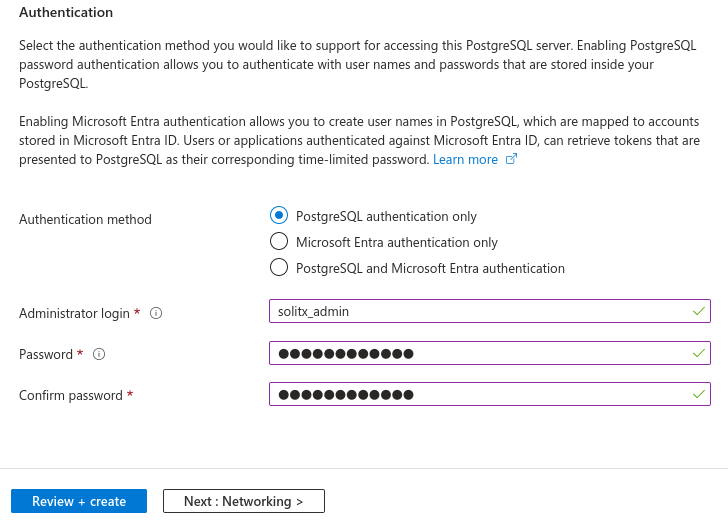
3. Authentication
-
Select
PostgreSQL authentication onlyinAuthentication methodsection. -
Configure the admin username and password which indeed used in the code later on.
-
Eg:
Administrator login→solitx-admin, -
Eg:
Password→*, -
Eg:
Confirm Password→*.
-
-
After configuring the
Basics, click onNextwhich is theNetworkingsection to configure the networking details.
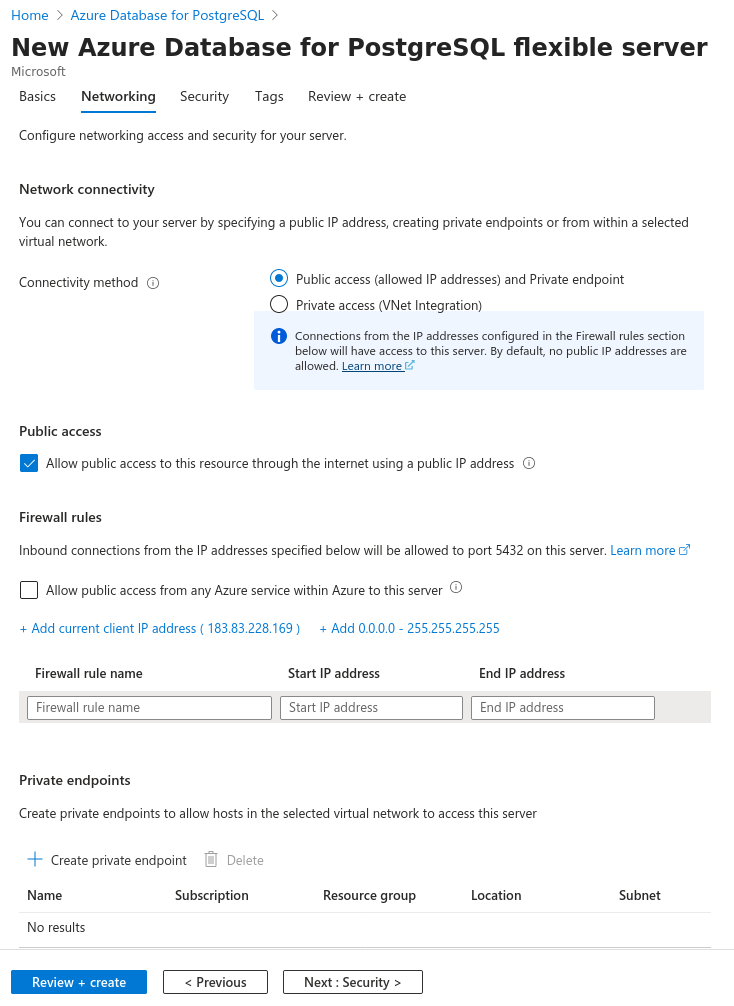
Networking
-
In
Connectivity methodclick onPublic access (allowed IP addresses) and Private endpoint. -
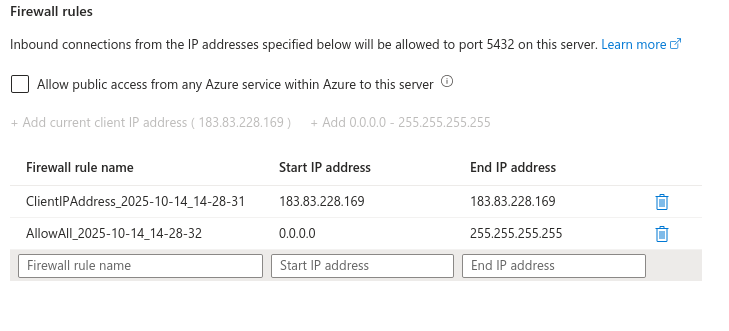
Under
Firewall rulesclick on+ Add current client IP address ( 183.83.228.169 )and+ Add 0.0.0.0 - 255.255.255.255.
-
Click on
Nextwhich is theSecuritysection to configure the security details.
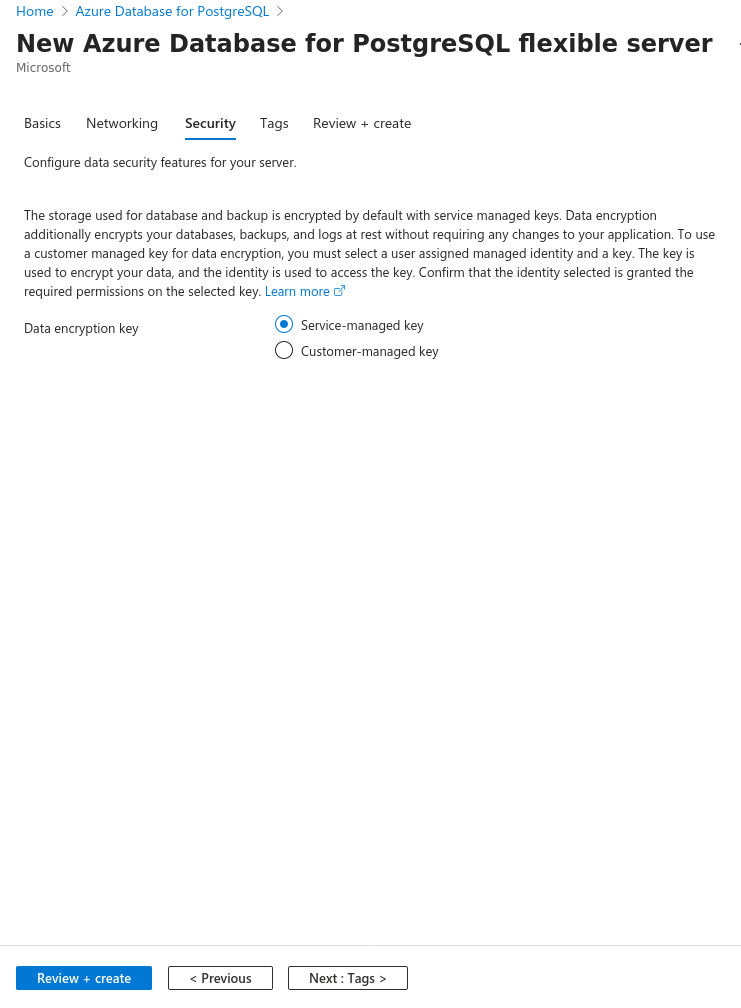
Security
-
In the
Data encryptionsection, by default, theService-managed keyis selected. If not, select it. -
Click on
Nextwhich is theTagssection to configure the tags.
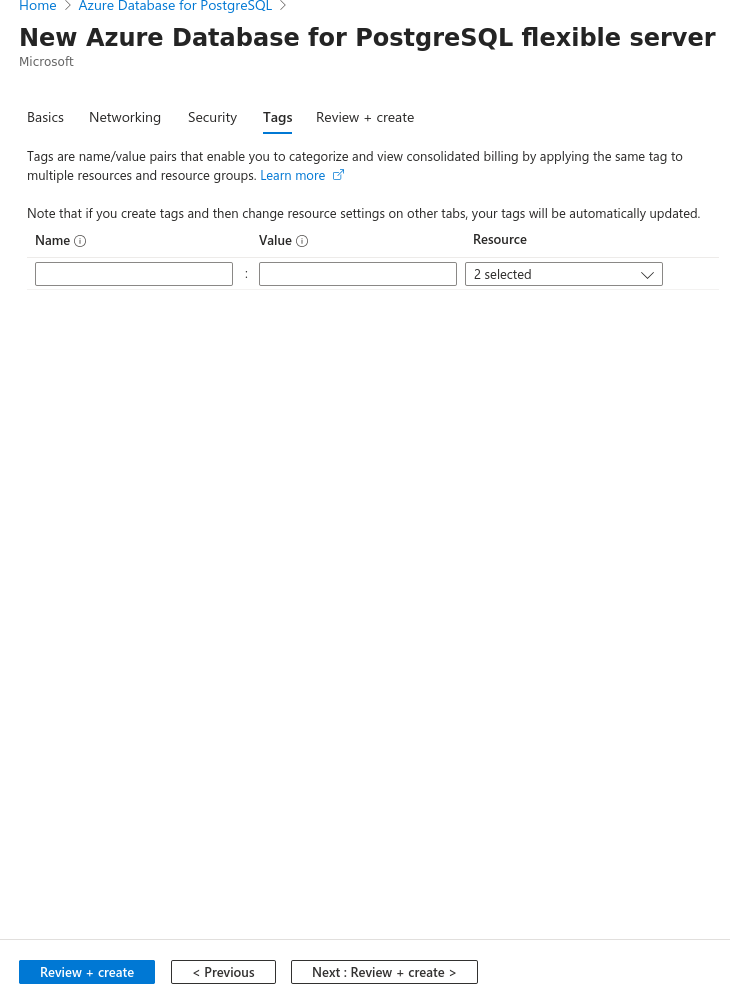
Tags
-
Leave the tags section as it is and click on
Next: Review + create >button.
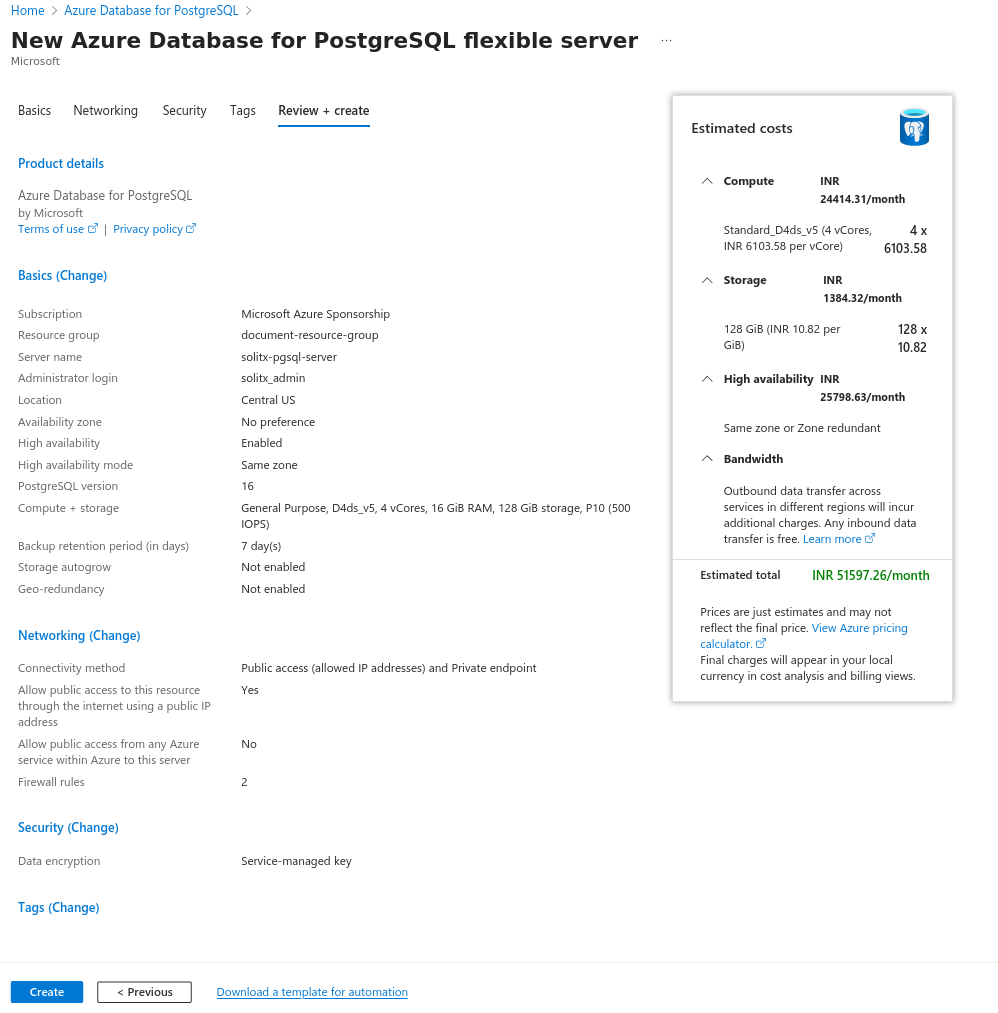
Review + create
-
Review and click on
Createto create the new azure database for PostgreSQL server. -
In this section, all the details which are configured during the creation process along with the estimated costs can be verified before actually creating the database.
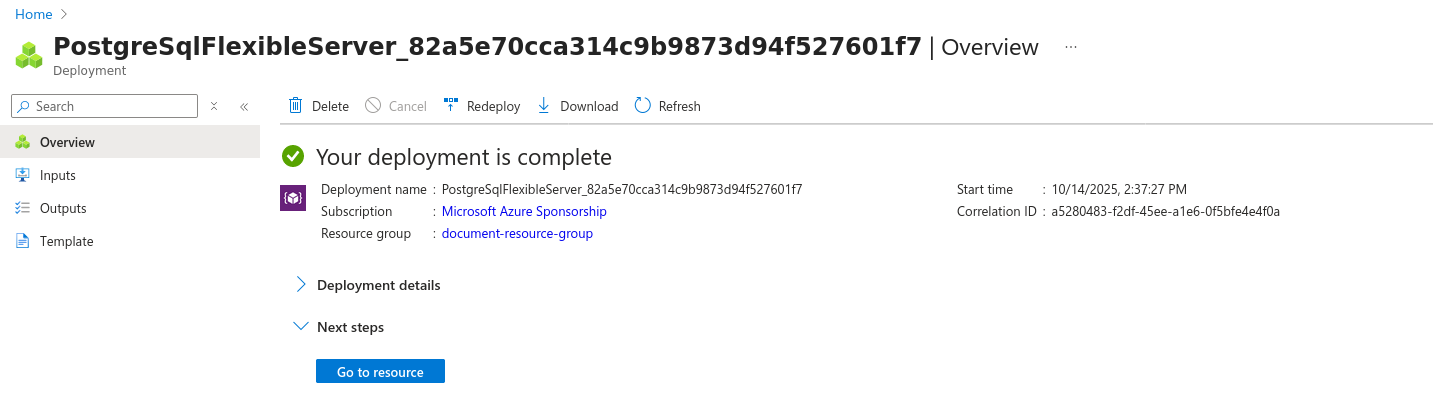
Overview
-
Select
Createto provision the server. This operation may take a few minutes. -
You will automatically be taken to a screen in which you can monitor the progress of your deployment.
-
Once the deployment is done select
Go to resourcewhich opens the server’sOverviewpage.
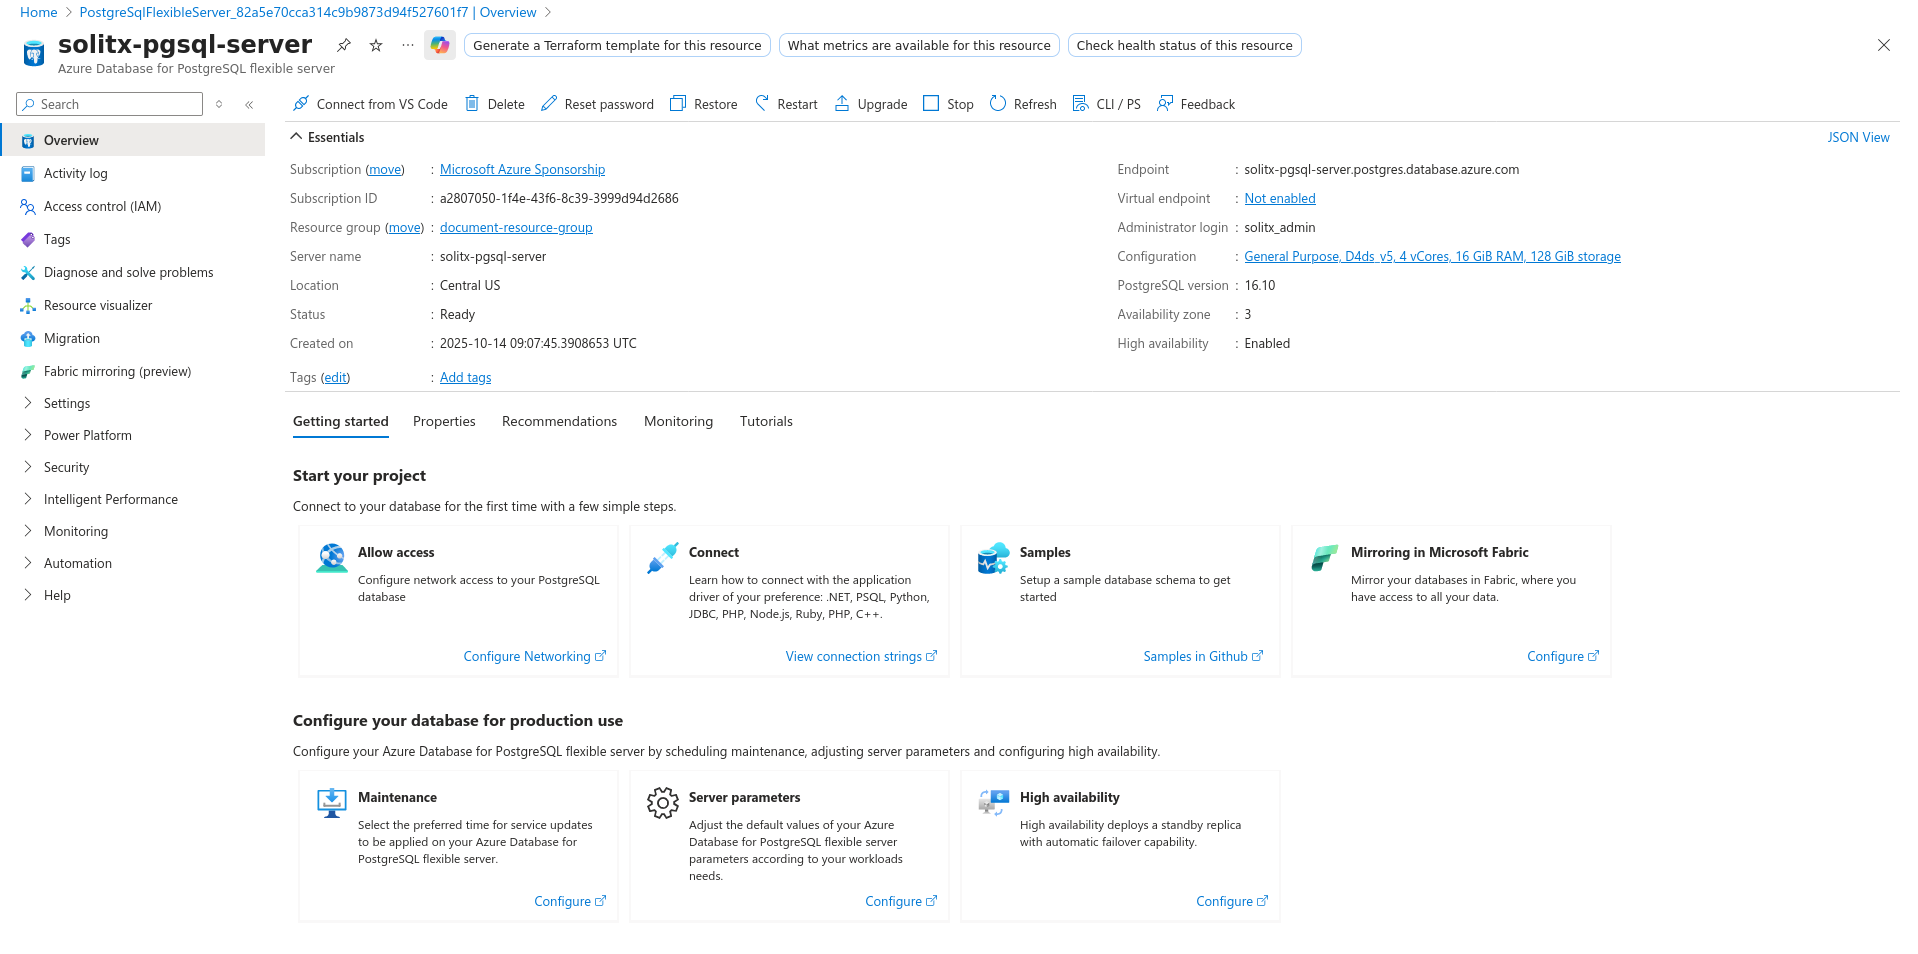
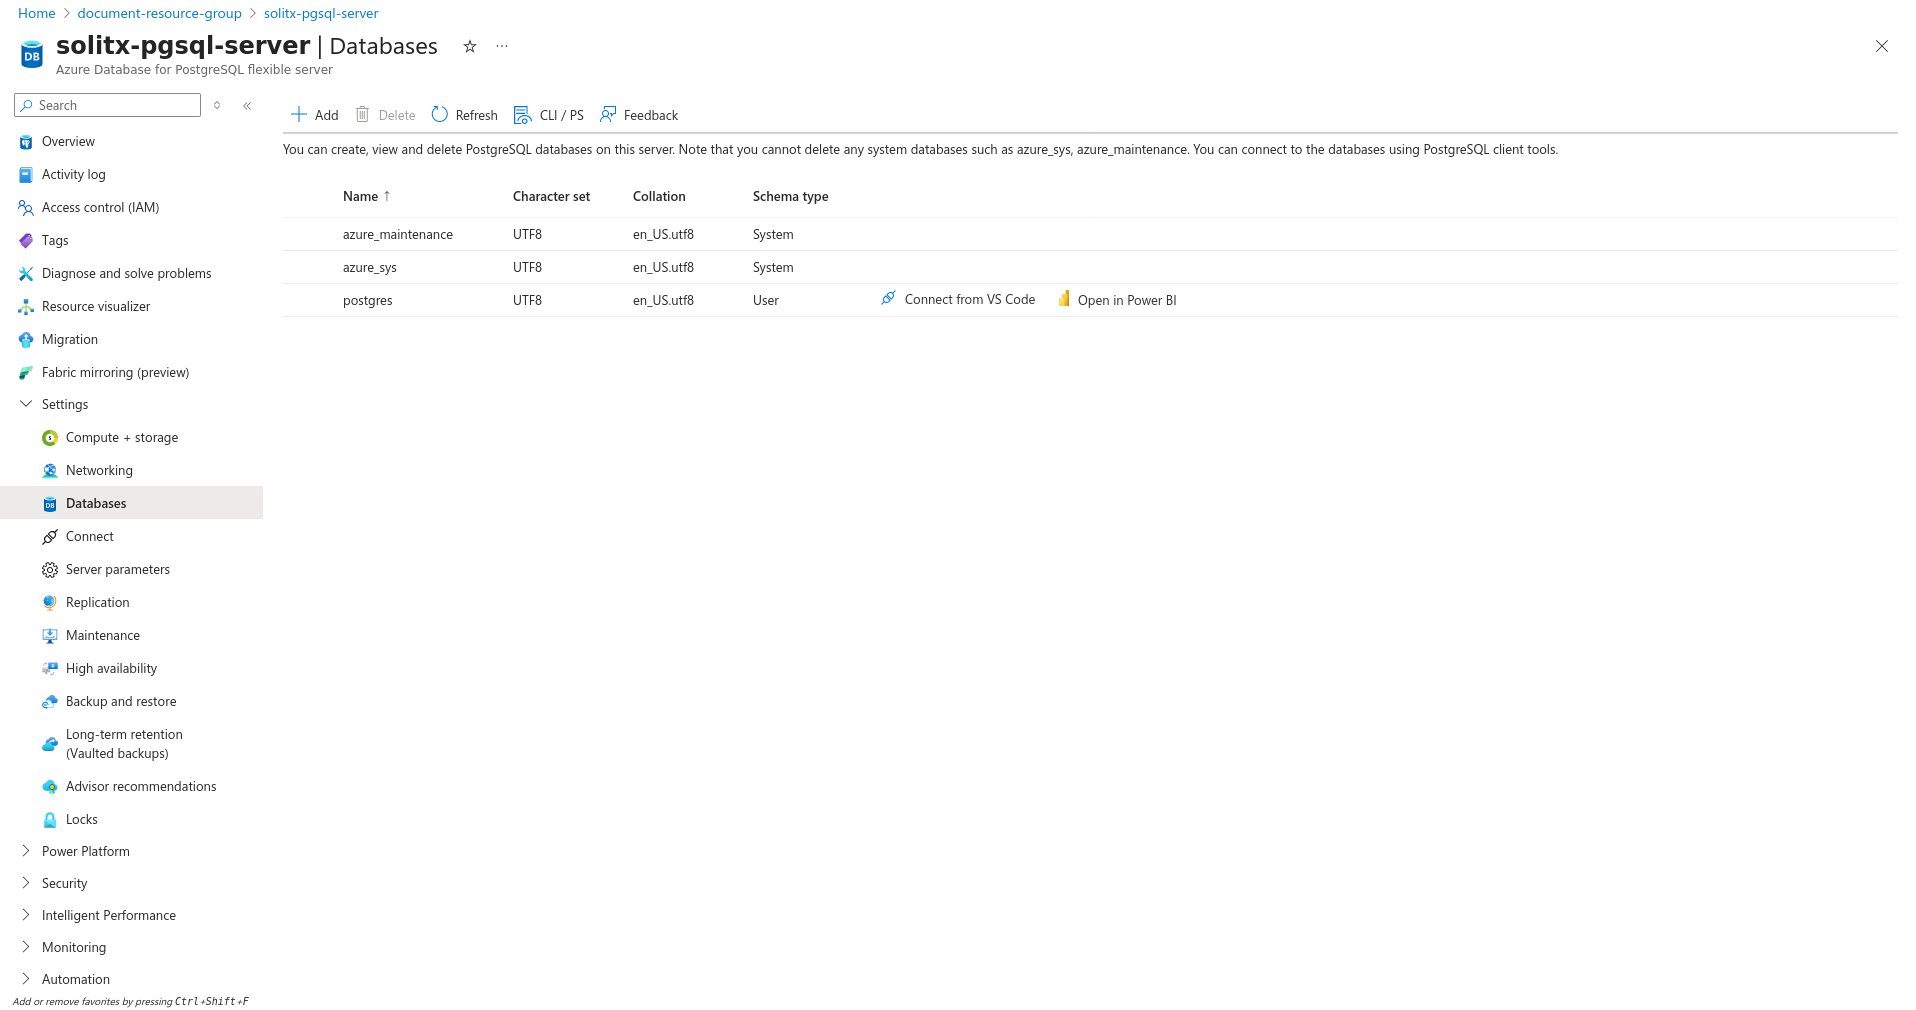
Create a database
-
From the overview page, on the left side panel, click on
Settingsdropdown →Databases. -
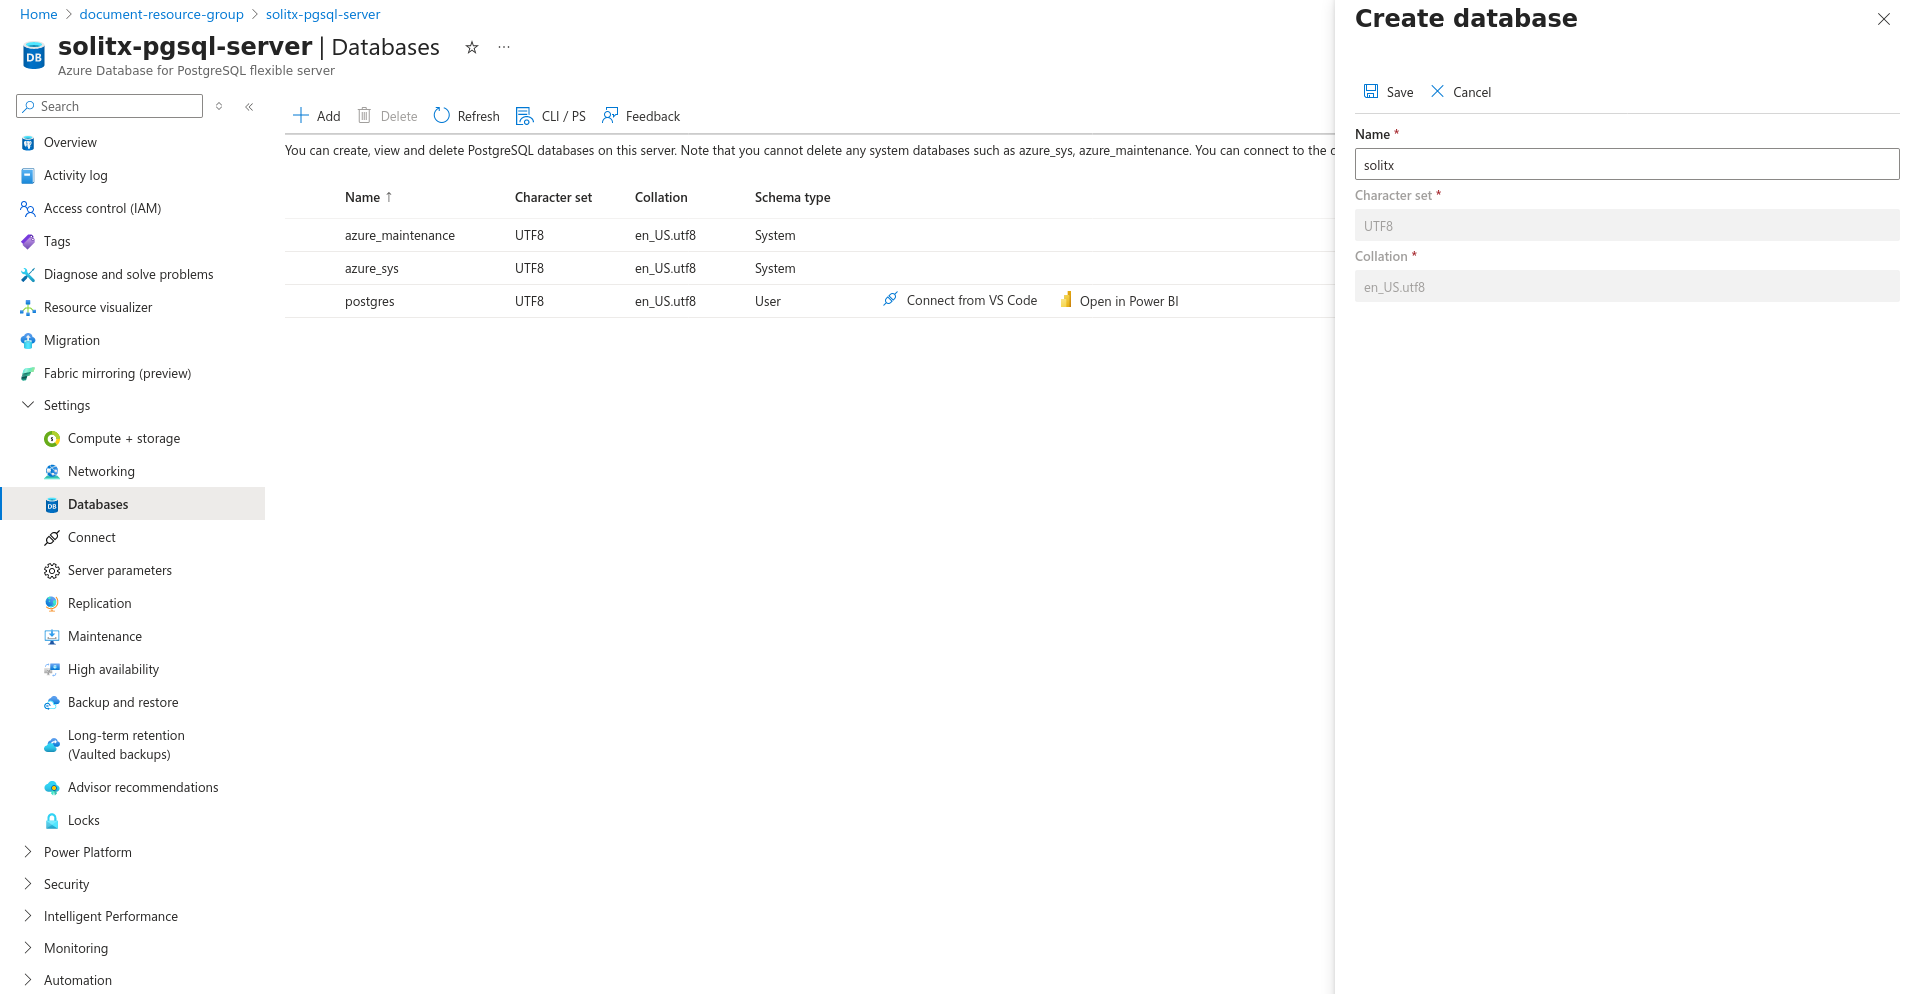
Click
Add- ACreate a databasemodal will be opened from the right.
-
Enter
Name(Eg:solitx) and click onSave.
-
Finally to access the database the URL will be the
Endpoint/databasename. Here it issolitx-pgsql-server.postgres.database.azure.com/solitx.
|
The |